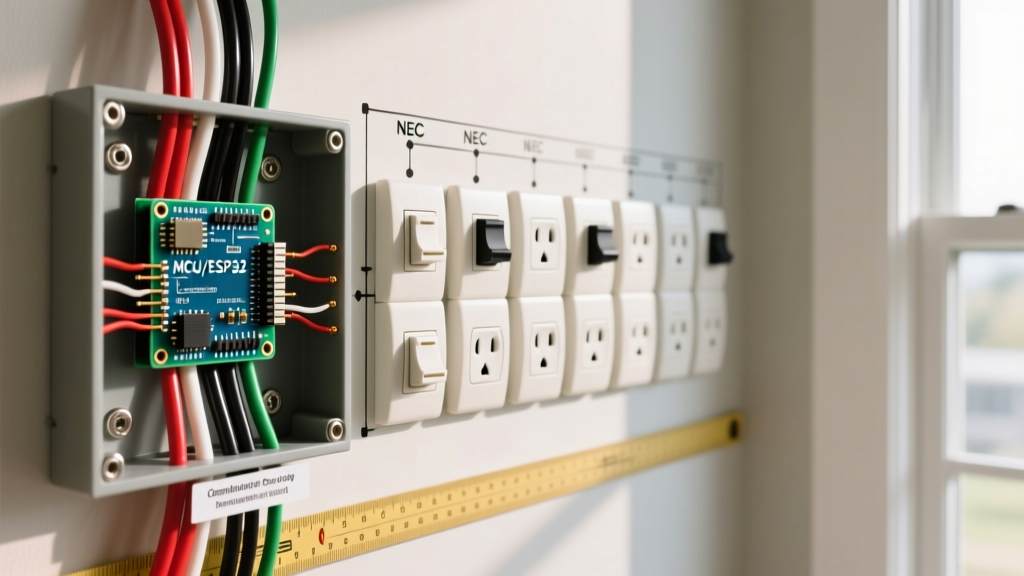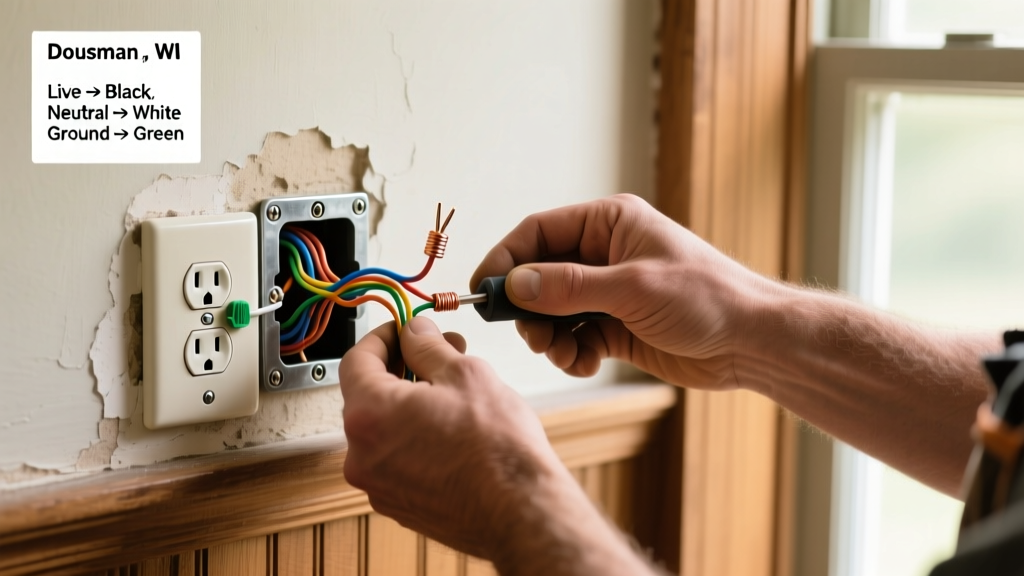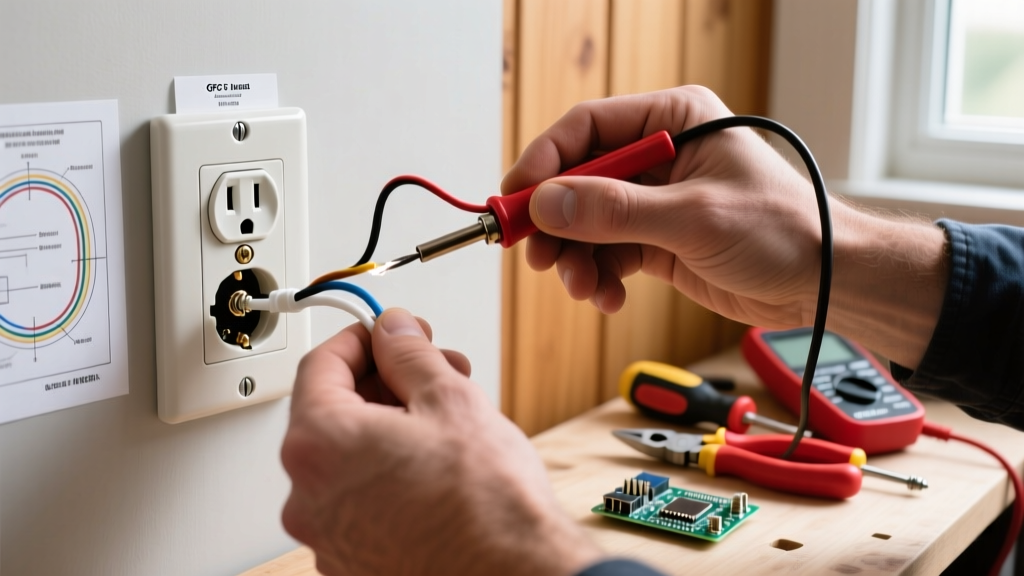

The Hidden Dangers of Outlet Replacement
Replacing a standard 120-volt receptacle is a foundational DIY task, but treating it casually is a leading cause of residential electrical fires. According to the National Fire Protection Association (NFPA), electrical failures or malfunctions account for roughly 46,000 home fires annually. When homeowners research how to replace an electric outlet, the focus is often on matching wire colors, while ignoring critical National Electrical Code (NEC) mandates regarding torque, tamper resistance, and fault protection.
This guide bridges the gap between basic wiring and professional-grade, code-compliant installation. We will cover exact torque specifications, wire gauge limitations, and the edge cases that cause standard DIY guides to fail.
Pre-Work Diagnostics: Circuit & Wire Gauge Verification
Before unscrewing the faceplate, you must verify the circuit's amperage and the wire gauge. Mismatching these is a severe NEC violation that can lead to melted insulation and arc faults.
- 15-Amp Circuits: Typically wired with 14 AWG copper. You must use a 15A receptacle (NEMA 5-15R). Never install a 20A receptacle on a 15A circuit.
- 20-Amp Circuits: Typically wired with 12 AWG copper. You can install either a 20A receptacle (NEMA 5-20R, featuring the T-slot neutral) or a standard 15A receptacle, provided it is not a single-receptacle outlet (NEC 210.21(B)(3)).
Pro-Tip: Use a non-contact voltage tester like the Klein Tools NCVT-3 to verify the absence of voltage at the faceplate, then confirm with a digital multimeter (e.g., Fluke 117) testing from hot to ground before touching any bare conductors.
NEC Code Compliance Matrix for Receptacles
The National Electrical Code (NEC) is updated every three years, with local jurisdictions adopting the 2020 or 2023 versions into 2026. When replacing an outlet, you are generally required to bring the new installation up to current code standards for that specific location.
| Code Mandate | NEC Article | Application & Requirement | Required Receptacle Type |
|---|---|---|---|
| Tamper-Resistant (TR) | 406.12 | All 15A and 20A, 125V/250V receptacles in dwelling units. | TR (Tamper-Resistant) |
| GFCI Protection | 210.8 | Kitchens, bathrooms, garages, outdoors, crawlspaces, unfinished basements, and within 6 ft of sinks. | GFCI Receptacle or GFCI Breaker |
| Weather-Resistant (WR) | 406.9(A) | All outdoor receptacles in damp or wet locations. | WR (Weather-Resistant) with in-use cover |
| AFCI Protection | 210.12 | Bedrooms, living rooms, hallways, and family rooms (typically handled at the breaker panel). | Standard TR (unless retrofitting) |
Precision Installation: Stripping, Looping, and Torque
The physical termination of the wire is where most DIY failures occur. The U.S. Consumer Product Safety Commission (CPSC) warns that loose connections generate high resistance, leading to extreme heat and eventual ignition.
1. Wire Stripping and Preparation
Use a dedicated wire stripper (like the Klein 11055) set precisely to the 14 AWG or 12 AWG notch. Strip exactly 3/4 inch of insulation. If you strip too much, bare copper will be exposed outside the terminal yoke (a shock hazard). If you strip too little, the insulation will be pinched under the screw head, resulting in a high-resistance connection.
2. The J-Hook Formation
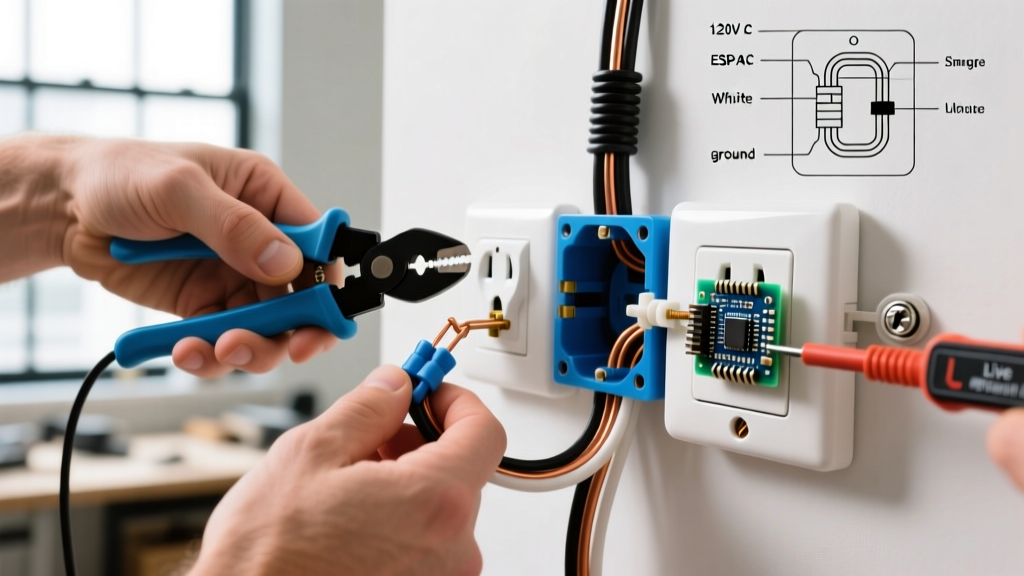
Use needle-nose pliers to form a tight 'J-hook' at the end of the stripped wire. The hook must be closed enough so that the terminal screw pulls it tight rather than pushing it outward when tightened. Always loop the wire clockwise around the terminal screw. As the screw turns clockwise to tighten, it will pull the loop tighter around the shaft.
3. The Torque Mandate (NEC 110.14(D))
Since the 2017 NEC cycle, code requires that terminations be torqued to the manufacturer's specifications using a calibrated torque tool. Guessing 'finger tight' is no longer acceptable or safe.
- Standard Receptacles (e.g., Leviton T5262): Typically require 14 in-lbs (inch-pounds) of torque.
- Warning: Do not confuse inch-pounds with foot-pounds. 14 in-lbs is roughly 1.16 ft-lbs. Using a standard screwdriver often applies 30+ in-lbs, which can strip the brass screw head or crush 14 AWG copper strands, reducing the wire's ampacity.
- Tool Recommendation: Invest in a torque screwdriver like the Klein Tools 69003 or CDI 401SM, preset to 14 in-lbs.
Push-In Backwiring: Friction vs. Screw-Clamp
Many modern receptacles feature holes on the back for 'backwiring.' It is vital to understand the difference between the two types of backwiring mechanisms:
- Legacy Friction-Fit Backstabs: Found on cheap, builder-grade outlets. A small brass spring holds the 14 AWG wire in place. These are notorious for thermal failure and arcing over time. Avoid these entirely.
- Screw-Clamp Backwiring: Found on commercial/pro-grade outlets (e.g., Leviton ProGrade 8300). Tightening the side screw actuates a heavy-duty internal clamp that secures both 12 and 14 AWG wire. This is highly reliable, code-compliant, and saves time forming J-hooks.
Critical Edge Case: Multi-Wire Branch Circuits (MWBC)
When you open the outlet box, you may find two hot wires (one black, one red) and one shared neutral (white). This is a Multi-Wire Branch Circuit, commonly used in kitchens to power the top and bottom halves of a split receptacle on two different 120V phases.
Expert Warning: If you are replacing a split-wired MWBC receptacle, you MUST use pliers to snap off the brass 'hot' tab connecting the two brass terminal screws. If you fail to break this tab, you will tie two opposing 120V phases together, creating a 240V dead short that will violently trip the breakers and potentially damage the panel.
Furthermore, NEC 210.4(B) mandates that MWBCs feature a simultaneous disconnect. This means the two breakers in your panel must be tied together with an approved handle tie so that turning off one breaker automatically turns off the other, protecting anyone working on the shared neutral.
Tool & Material Cost Breakdown (2026 Pricing)
Upgrading your toolkit for code-compliant electrical work is an investment in safety. Here is what you should expect to spend on professional-grade components in 2026:
| Item / Tool | Recommended Model | Estimated Cost | Purpose |
|---|---|---|---|
| TR Receptacle (15A) | Leviton T5262-W | $3.50 - $5.00 | Code-compliant standard replacement |
| Non-Contact Voltage Tester | Klein NCVT-3 | $35.00 | Dual-range voltage detection (12-1000V) |
| Wire Strippers | Klein 11055 | $28.00 | Precision 14/12 AWG stripping |
| Torque Screwdriver | Klein 69003 | $110.00 | NEC 110.14(D) torque compliance |
| Lever Nuts (Pigtailing) | Wago 221-413 | $0.75 / ea | Secure splicing for short box wires |
Expert Troubleshooting & FAQ
What if the wires in the box are too short to reach the new outlet?
NEC 300.14 requires at least 6 inches of free conductor length extending from the point where the wires enter the box. If the previous electrician clipped them too short, do not stretch them. Use a Wago 221-413 lever nut and a short piece of matching 12 or 14 AWG THHN wire to create a secure, code-compliant pigtail extension.
Can I use the push-in holes on the back of a standard $1.50 outlet?
While technically legal for 14 AWG wire under older code cycles, friction-fit backstabs are a known failure point. The internal spring contacts degrade under thermal cycling (like running a space heater or vacuum). Always side-wire with a torque screwdriver or upgrade to a commercial-grade screw-clamp receptacle.
Do I need a GFCI outlet if I am replacing a standard outlet in my 1980s bathroom?
Yes. The NEC requires that replacements in areas currently mandating GFCI protection (like bathrooms, kitchens, and garages) must be upgraded to GFCI, even if the home was built before the code existed. You can either install a GFCI receptacle at the first point of the circuit or install a GFCI circuit breaker in your main panel.
Final Safety Verification
Once the outlet is mounted, the faceplate is secured, and the breaker is restored, test your work. Plug in a commercial receptacle tester (like the Gardner Bender GFI-3501). Verify that the lights indicate 'Correct Wiring.' If you installed a GFCI or TR outlet, press the 'Test' button on the tester to ensure the internal mechanism trips and cuts power instantly. Mastering how to replace an electric outlet safely means respecting the physics of electricity and the legal standards designed to keep your home from burning down.