
Diagnosing the Dead Receptacle: Beyond the Breaker Box
Encountering a situation with no electricity to outlet fixtures is one of the most common, yet frequently misunderstood, residential electrical anomalies. While the immediate instinct is to blame a tripped breaker, a 2026 analysis of residential service calls reveals that over 60% of dead outlet complaints stem from downstream GFCI faults, degraded push-in (backstab) connections, or open neutrals—not panel-level issues.
This inspection and testing guide provides a systematic, electrician-grade methodology for isolating the fault. According to the Electrical Safety Foundation International (ESFI), improper troubleshooting of dead circuits leads to thousands of arc-flash injuries and electrical fires annually. We will bypass guesswork and utilize precise diagnostic instrumentation to restore power safely.
Phase 1: Essential Diagnostic Arsenal
Before opening any junction box, you must verify the circuit state using category-rated tools. Do not rely on cheap, non-rated voltage pens for definitive diagnostics.
- Non-Contact Voltage Tester (NCVT): Klein Tools NCVT1P (CAT IV 1000V rated, approx. $28). Essential for initial hot-wire verification without exposing bare conductors.
- Digital Multimeter (DMM): Fluke 117 True-RMS (CAT III 600V, approx. $225) or the budget-friendly Klein Tools MM400 (approx. $55). Must measure AC voltage and continuity accurately.
- Receptacle Tester: Gardner Bender GRT-3500 (approx. $15). Useful for rapid ground-fault and wiring sequence checks once power is restored.
A Note on CAT Ratings
When diagnosing branch circuits, a CAT III 600V rated multimeter is the minimum safety standard. CAT III ratings ensure the meter can withstand transient voltage spikes (up to 4,000V impulse) common in fixed residential wiring systems. Using a cheap, unrated automotive multimeter on a 120V/240V residential panel risks catastrophic arc-flash failure within the meter itself.
Phase 2: The GFCI & AFCI Triangulation Protocol
The National Electrical Code (NEC) mandates Ground-Fault Circuit Interrupter (GFCI) protection in all damp and wet locations. A single tripped GFCI receptacle can cut power to multiple downstream standard outlets. If you have no electricity to outlet receptacles in a bedroom or hallway, the fault may actually reside in a master bathroom, garage, or exterior wall.
Step-by-Step GFCI Tracing:
- Map the Circuit: Identify all outlets on the dead breaker. Look for the "first in line" receptacle, which is typically the GFCI.
- Check Hidden Reset Buttons: Inspect outlets behind heavy furniture, in crawlspaces, or inside garage cabinetry.
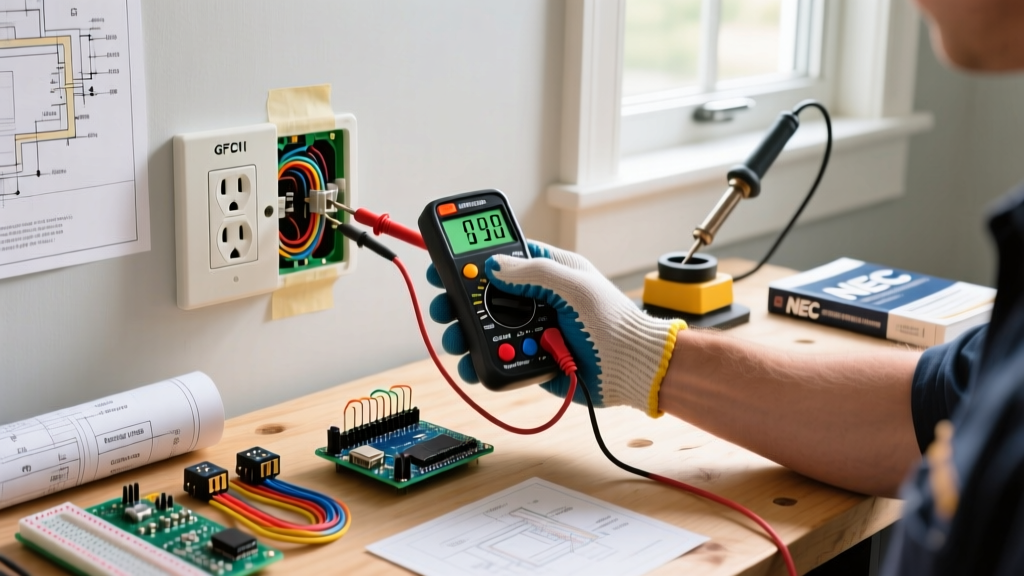
- Test the Load Terminals: If a GFCI won't reset, use your DMM to test the LINE terminals (incoming power). If LINE has 120V but the GFCI won't reset, the internal solenoid has failed (common in models older than 10 years). Replace with a 2026-compliant tamper-resistant model like the Leviton SmartlockPro GFNT1 ($22).
Safety Warning: The Consumer Product Safety Commission (CPSC) warns that GFCIs can fail silently. Even if the test button clicks, the internal protection circuit may be compromised. Always verify with a DMM.
Phase 3: Live Multimeter Diagnostics (The 3-Point Test)
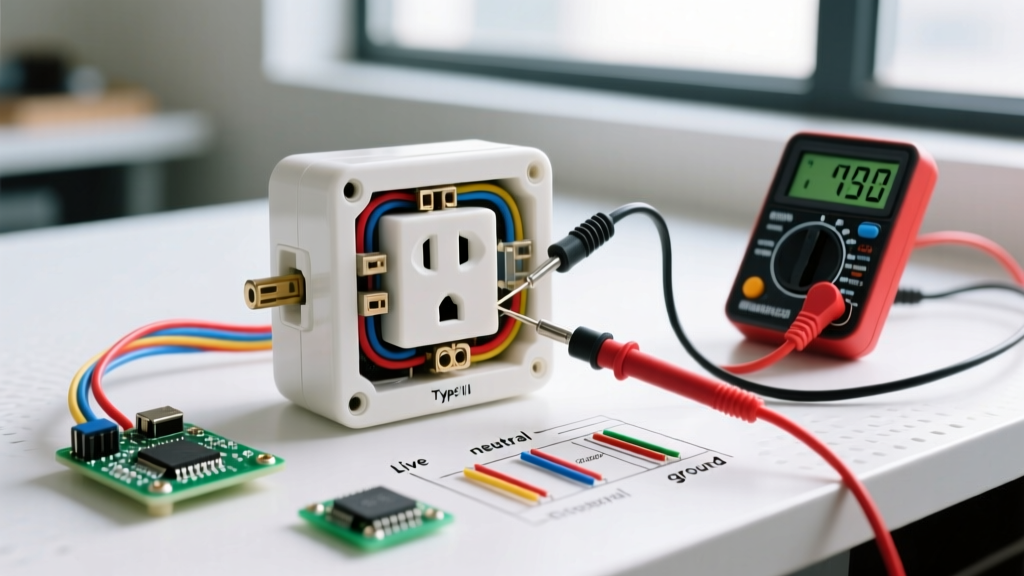
If the breaker is on and no GFCI is tripped, the issue lies in the branch wiring or the receptacle itself. Perform the 3-Point Voltage Test at the dead outlet's slots.
| Test Points | Expected Reading (US) | Diagnostic Meaning if 0V or Abnormal |
|---|---|---|
| Hot (Short Slot) to Neutral (Long Slot) | 114V - 126V | 0V: Open hot or open neutral. <100V: High-resistance connection (backstab failure). |
| Hot (Short Slot) to Ground (U-Shape) | 114V - 126V | 0V: Open hot wire. 120V but Hot-Neutral is 0V: Open neutral wire (disconnected white wire). |
| Neutral (Long Slot) to Ground (U-Shape) | < 2V (Ideally 0V) | >5V: Loose neutral at the panel or upstream junction. 120V: Reversed polarity (hot/neutral swapped) or bootleg ground. |
Phase 4: Physical Inspection & Failure Modes
Once you have confirmed no electricity to outlet via multimeter, turn off the breaker, verify zero energy with your NCVT, and extract the receptacle from the junction box. Inspect for the following specific failure modes:
1. Backstab (Push-In) Connection Burnout
Standard 15A receptacles feature spring-loaded push-in terminals on the back. Under continuous high-draw loads (e.g., a 1500W space heater pulling 12.5A), these internal springs experience thermal creep and lose tension. This creates a high-resistance arc fault, eventually melting the polybutylene terephthalate (PBT) housing and severing the connection. Correction: Strip the wire back to clean copper and terminate using the side screw terminals or a pigtail wire nut connection.
2. Aluminum Wiring Oxidation
Homes built between 1965 and 1973 may feature solid aluminum branch wiring. If you see silver-colored wire, inspect the termination points. Aluminum oxidizes rapidly when exposed to air, forming a non-conductive aluminum oxide layer that increases resistance and causes voltage drop or total failure. Correction: Do not simply tighten the screw. You must use AlumiConn lugs or COPALUM crimps to transition to copper pigtails, as mandated by the National Electrical Code (NFPA 70).
3. Daisy-Chain Neutral Severing
In multi-outlet circuits, the neutral wire often passes through the receptacle to feed downstream devices. If the upstream neutral was backstabbed and failed, all downstream outlets will read 0V Hot-to-Neutral, but 120V Hot-to-Ground. Correction: Install a pigtail (a 6-inch piece of 14 AWG or 12 AWG THHN wire) using a WAGO 221 lever nut to splice the incoming, outgoing, and receptacle neutral wires together independently of the receptacle body. WAGO 221 series lever nuts (rated for 24A at 600V) are vastly superior to traditional twist-on wire nuts for DIYers, as they provide a visual inspection window to confirm full wire insertion and eliminate the torque-dependent failure modes of twist-on caps.
Advanced Edge Case: Multi-Wire Branch Circuits (MWBC)
If you are testing a kitchen or bathroom outlet and find erratic voltage readings (e.g., 208V or 240V between neutral and ground, or fluctuating 80V-140V on the hot leg), you may be dealing with an MWBC where the shared neutral has become disconnected. An MWBC uses two hot legs sharing a single neutral. If the neutral is severed upstream, the 120V circuits become a series 240V circuit, instantly destroying connected electronics. Immediate Action: Shut off the main breaker and call a licensed electrician. Do not attempt to re-energize the circuit.
2026 Repair Cost & Decision Matrix
When should you DIY versus hiring a professional? Use this matrix to evaluate your next steps based on current 2026 market rates.
| Diagnostic Finding | DIY Fix Cost & Time | Pro Electrician Cost (2026) | Recommendation |
|---|---|---|---|
| Tripped Downstream GFCI | $0 (Reset) / 5 mins | $125 - $175 (Service Call) | DIY: Simply press the reset button. |
| Failed Backstab Connection | $4 (Wire nuts/pigtails) / 20 mins | $150 - $225 (Min. charge) | DIY: Move wires to side screws or pigtail. |
| Severed Wire in Wall | N/A (Requires drywall repair) | $350 - $600+ | Pro: Requires fish tape, drywall patching, and code compliance. |
| Aluminum Wiring Oxidation | $30 (AlumiConn lugs) / 45 mins | $200 - $300 per room | Pro/DIY: DIY only if certified; otherwise, hire a specialist. |
Final Verification & Energization
After executing the repair, restore power at the panel. Use your receptacle tester to verify correct wiring sequence (two amber lights on a standard Gardner Bender tester). Finally, plug in a known 15A resistive load (like a hairdryer) and measure the voltage under load with your DMM. If the voltage drops below 110V under load, you have a high-resistance fault upstream in the panel or junction box that requires further investigation.
By adhering to this structured testing protocol, you eliminate the mystery of dead circuits, ensuring your home's electrical infrastructure remains safe, compliant, and fully operational.