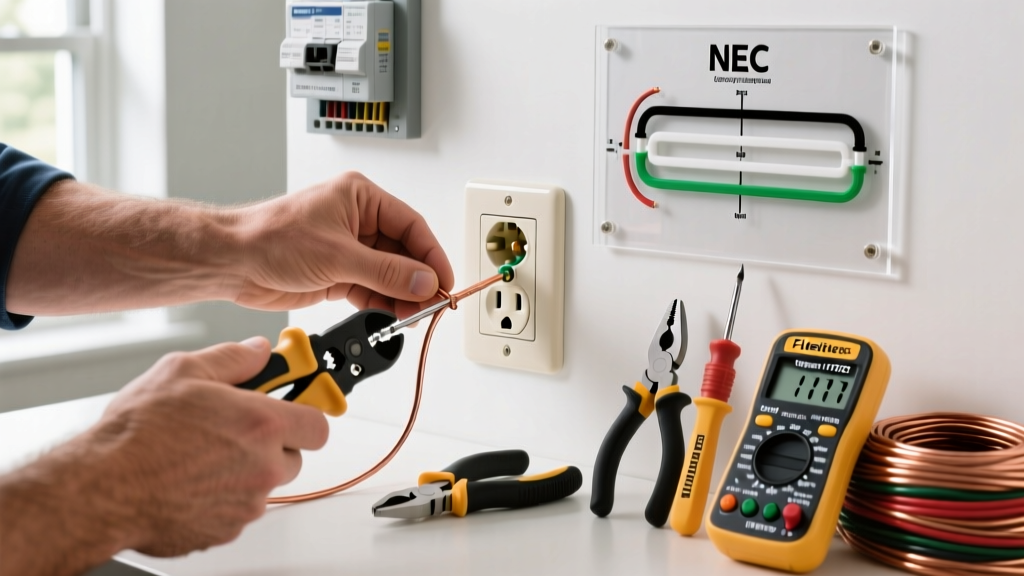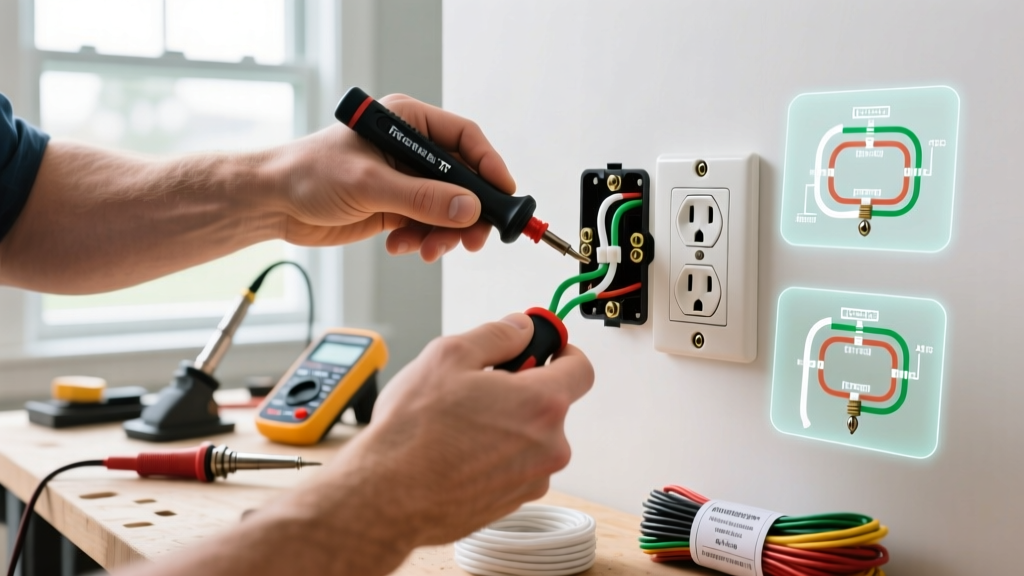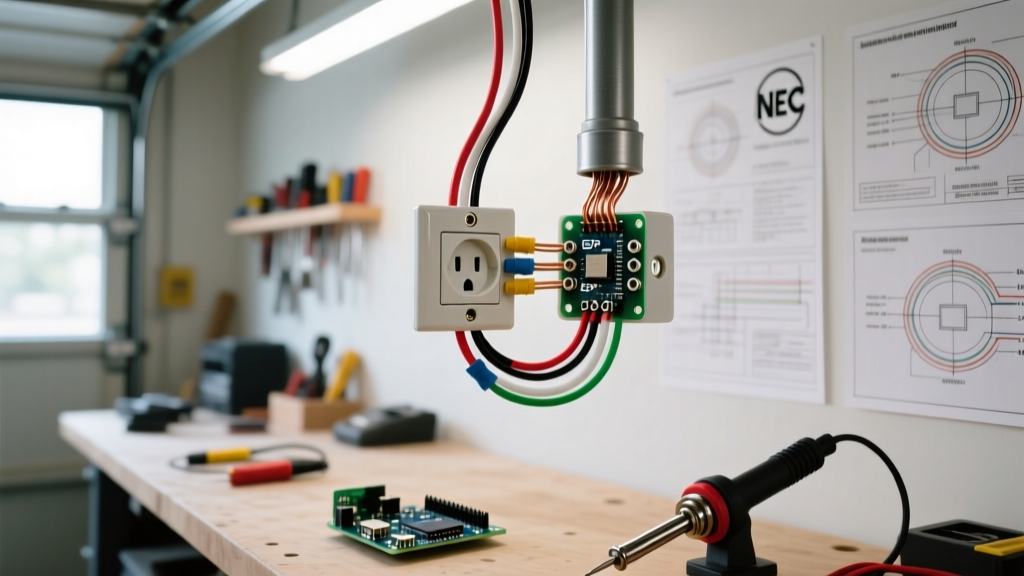

The Workshop Scenario: Why Install a Hanging Electrical Outlet?
In high-ceiling garages, woodworking shops, and automotive bays, floor space is premium real estate. Routing extension cords across concrete floors creates severe trip hazards, invites physical damage from rolling tool chests, and degrades the cord jacket over time. The professional solution is installing a hanging electrical outlet—often referred to as a pendant drop or suspended receptacle. This setup delivers power exactly where your workbench, welder, or EV charger needs it, dropping safely from the ceiling joists.
However, wiring a hanging electrical outlet is not as simple as splicing a piece of scrap wire to a standard duplex receptacle. The physical stress of gravity, combined with the vibration from heavy machinery, requires specialized flexible cords, mechanical strain relief, and strict adherence to the National Electrical Code (NEC). In this guide, we break down the exact materials, code requirements, and step-by-step wiring procedures to build a durable, code-compliant workshop drop in 2026.
NEC Code Requirements for Suspended Receptacles
Before cutting any wire, you must understand the legal and safety boundaries defined by the National Fire Protection Association (NFPA) regarding flexible wiring methods. The most common DIY mistake is using standard NM-B (Romex) solid-core cable as a hanging drop. This is a severe code violation and a fire hazard.
Code Alert: NEC Article 334.12 explicitly prohibits using NM-B cable in ways that subject it to physical damage or where it is used as a substitute for flexible cord. Solid copper work-hardens under the continuous stress of its own weight and will eventually snap inside the jacket, causing an arc fault.
Instead, you must use flexible cord rated for pendant use. According to NEC Article 400.7(A)(1), flexible cords and cables are permitted for use as pendants. Furthermore, OSHA Standard 1910.305 dictates that flexible cords used in industrial or workshop environments must be rated for extra-hard usage (such as SOOW) or hard usage (SJOOW) to resist oils, moisture, and physical abrasion.
Materials and Cost Breakdown
Building a heavy-duty hanging electrical outlet requires specific components designed to handle mechanical strain. Below is a tested bill of materials for a standard 15-amp, 120-volt workshop drop.
| Component | Recommended Model / Spec | Estimated Cost (2026) |
|---|---|---|
| Flexible Cord | 12/3 SOOW (600V, Extra-Hard Usage) | $1.80 - $2.40 / ft |
| Pendant Receptacle | Hubbell 5262-C (NEMA 5-15R, 15A) | $16.50 |
| Strain Relief Fitting | Heyco SR-110 or Hubbell 4758 | $3.25 |
| Ceiling Junction Box | Raco 175 (4" Octagonal, 1.5" Deep, Metal) | $4.10 |
| Cord Grip (Ceiling) | Leviton 12277-C (1/2" NPT) | $5.00 |
Total estimated material cost for a 10-foot drop: $47.00 - $55.00.
Step-by-Step Installation Guide
Step 1: Mount the Ceiling Junction Box
Locate a ceiling joist and mount the Raco 175 metal octagonal box directly to the wood using two #10 x 1.5-inch structural screws. Do not rely on drywall anchors; the dynamic load of pulling a plug from a hanging outlet can exceed 15 pounds of force, which will rip a drywall-mounted box out of the ceiling. Feed your incoming branch circuit wires (from a GFCI-protected breaker) into the box and secure them with an appropriate Romex connector.
Step 2: Prepare the SOOW Flexible Cord
Measure and cut your 12/3 SOOW cord to the desired length, adding 18 inches for termination slack. Stripping SOOW cord requires care. Use a cable scoring tool to score the outer rubber jacket about 6 inches from the end. Peel the jacket back and snip it off. Inside, you will find black, white, and green insulated wires, along with aramid yarn (Kevlar) fillers and a paper separator. Trim the filler yarn flush so it does not interfere with the strain relief fitting.
Step 3: Install the Strain Relief Fittings
This is the most critical safety step. Thread the Heyco SR-110 strain relief fitting onto the bottom of the pendant receptacle and the Leviton cord grip onto the ceiling junction box. Pass the SOOW cord through both fittings. The internal neoprene bushings must clamp down tightly on the outer jacket of the cord, not the individual insulated wires. Tighten the compression nuts until you cannot pull the cord through by hand (approximately 35 in-lbs of torque).
Step 4: Wire the Pendant Receptacle
Strip 3/4 inch of insulation from the black, white, and green wires. For a Hubbell 5262-C pendant receptacle, wire as follows:
- Black (Hot): Terminate to the brass-colored screw.
- White (Neutral): Terminate to the silver-colored screw.
- Green (Ground): Terminate to the green grounding screw.
Use a torque screwdriver set to 14 in-lbs to secure the terminal screws. This prevents loose connections that could cause thermal expansion and eventual arcing inside the pendant housing.
Step 5: Terminate at the Ceiling Box
At the ceiling junction box, strip the SOOW cord wires and connect them to the incoming branch circuit using Wago 221-413 lever nuts. Wago connectors are superior to standard wire nuts for this application because they handle the transition from flexible stranded wire (SOOW) to solid wire (NM-B) much more reliably without the risk of the stranded wire wrapping around the solid wire and slipping. Connect ground to ground, neutral to neutral, and hot to hot. Tuck the wires neatly into the box and secure the cover plate.
GFCI Protection for Hanging Drops
Under recent NEC adoptions (2023 and continuing into 2026), all 125-volt and 250-volt receptacles in garages and accessory buildings require Ground Fault Circuit Interrupter (GFCI) protection. Because placing a bulky GFCI receptacle at the end of a hanging cord adds excessive weight and creates a physical damage risk, the best practice is to provide GFCI protection at the source.
Install a GFCI circuit breaker (such as the Square D HOM220GFIC) in your main panel, or wire a dead-front GFCI device (like the Leviton 07299-W) in a standard wall box upstream of the ceiling drop. This ensures code compliance while keeping the hanging outlet lightweight and durable.
Troubleshooting Common Wiring Failures
Even with proper materials, hanging electrical outlets can experience issues if edge cases are ignored. Here are the most common failure modes and how to resolve them:
- Voltage Drop on Long Drops: If your hanging outlet is more than 60 feet from the panel (including the vertical drop), a 12 AWG cord will experience noticeable voltage drop when running high-draw tools like MIG welders or air compressors. Solution: Upgrade the SOOW cord to 10/3 AWG and use a 20-amp NEMA 5-20R pendant receptacle.
- Cord Twisting and Jacket Fatigue: If the drop is frequently moved or rotated, the internal strands can work-harden and break. Solution: Install a heavy-duty swivel cable reel (like the Reelcraft Series D) at the ceiling box instead of a fixed pendant drop.
- Loose Strain Relief: If the cord slips out of the ceiling grip when a heavy plug is pulled, the compression nut was not tightened onto the outer jacket. Solution: Ensure the internal bushing is sized correctly for the exact outer diameter of your specific SOOW cord brand, as OD can vary by up to 0.05 inches between manufacturers.
By selecting the correct extra-hard usage cord, utilizing mechanical strain relief, and adhering to NEC pendant codes, your hanging electrical outlet will provide safe, reliable, and clutter-free power to your workspace for decades.