
The Hidden Dangers of Legacy 30-Amp Receptacles
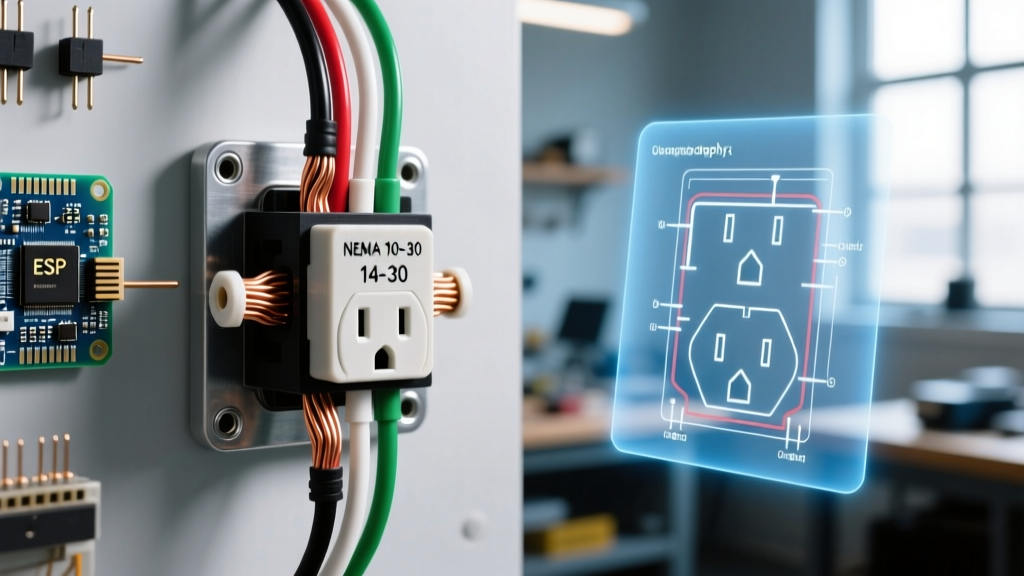
If your home was built before 1996, your laundry room likely houses an obsolete 3-prong dryer receptacle. Upgrading this legacy 30 amp electrical outlet is not just a matter of modern convenience; it is a critical life-safety intervention. The older NEMA 10-30 configuration lacks a dedicated equipment grounding conductor (EGC). Instead, it relies on the neutral wire to carry both return current and fault current, a design that the National Electrical Code (NEC) banned for new installations due to the severe risk of lethal electric shock if the neutral connection fails.
As of the 2026 NEC adoption cycle, the mandate for 4-wire, separately grounded circuits for heavy appliances is strictly enforced. Whether you are replacing a scorched receptacle, upgrading a workshop for a new 30-amp air compressor, or bringing an older home up to modern safety standards, understanding the physical and electrical nuances of this upgrade is paramount.
NEMA 30-Amp Configuration Matrix
Before purchasing materials, you must identify your specific 30-amp application. A '30 amp outlet' is a broad term that encompasses several distinct NEMA configurations, each designed for different load profiles and environments.
| NEMA Config | Prongs | Voltage / Phase | Primary Application | Grounding Status |
|---|---|---|---|---|
| 10-30R | 3 | 125/250V Split | Pre-1996 Electric Dryers | Ungrounded (Obsolete) |
| 14-30R | 4 | 125/250V Split | Modern Electric Dryers, EVSE | Grounded (Current Std) |
| TT-30R | 3 | 125V Single | Recreational Vehicles (RVs) | Grounded |
| L6-30R | 3 (Twist) | 250V Single | Workshop Welders, Generators | Grounded (No Neutral) |
This guide focuses primarily on the most common and hazardous residential upgrade: transitioning from a NEMA 10-30 to a NEMA 14-30R.
Critical Pre-Upgrade Assessment: The 10/2 vs. 10/3 Cable Dilemma
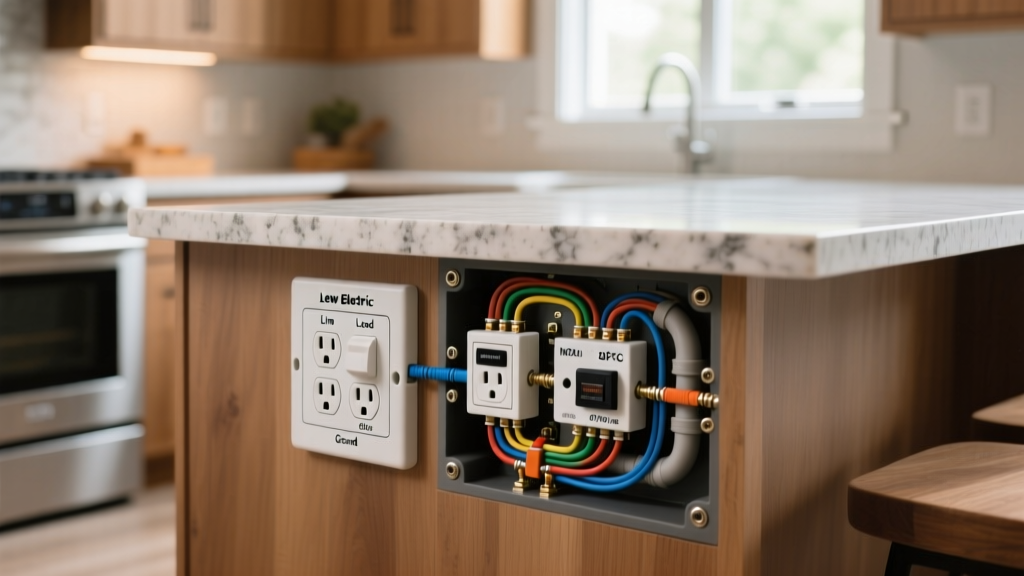
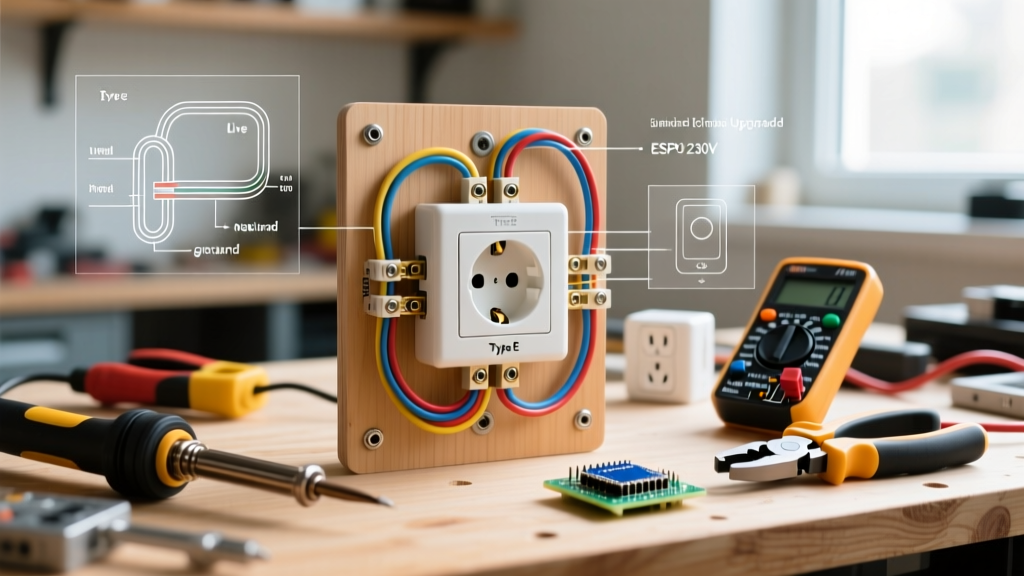
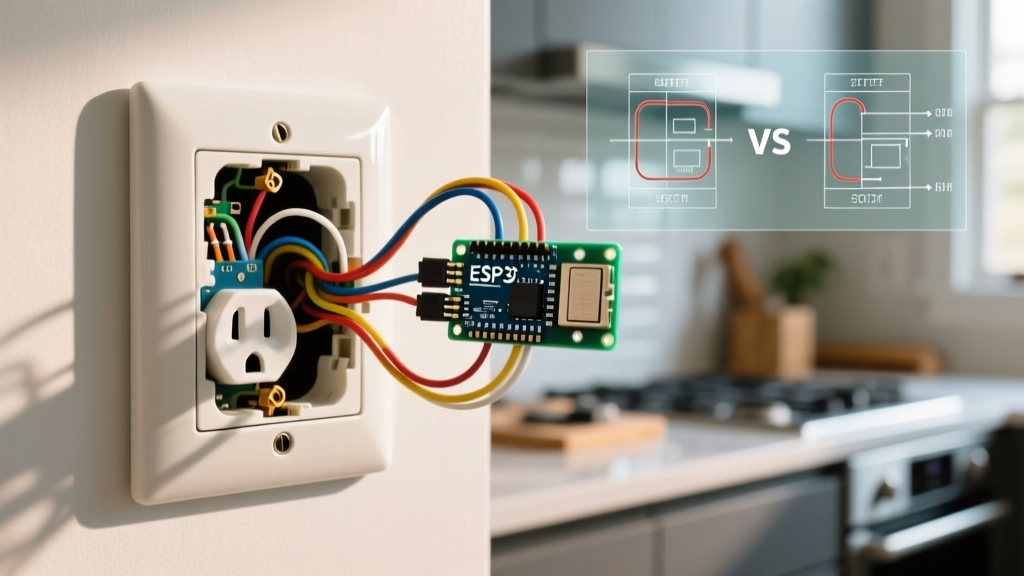
The single biggest point of failure for DIYers attempting this upgrade is assuming they can simply swap the receptacle faceplate. You cannot. A NEMA 14-30R requires four distinct connections: Hot A, Hot B, Neutral, and Ground.
Evaluating Your Existing Wiring
- Scenario A (10/3 NM-B Cable): You open the wall and find a cable with Black, Red, White, and Bare Copper wires. This is ideal. The black and red are your 120V hots (240V across them), the white is the dedicated neutral, and the bare wire is your EGC. You can proceed with a direct receptacle swap.
- Scenario B (10/2 NM-B Cable): You find only Black, White, and Bare Copper. In legacy installations, the white wire was re-identified with black tape and used as a second hot leg, while the bare wire served as the neutral/ground bond. You cannot wire a 14-30R to this cable. You must either pull a new 10/3 cable back to the panel or, per NEC 250.130(C), retrofit a separate 10 AWG equipment grounding conductor run directly back to the panel's grounding bus bar.
Expert Warning: Never attempt to 'bootleg' a ground by bonding the neutral terminal to the ground terminal on a new 14-30R receptacle. This creates a parallel neutral path, energizing the appliance chassis with return current and posing an immediate electrocution hazard.
Step-by-Step Upgrade: NEMA 10-30 to NEMA 14-30R
Assuming you have verified the presence of a proper 10/3 cable with a dedicated ground, follow this precise procedure.
Phase 1: Isolation and Extraction
- De-energize the Circuit: Locate the 2-pole 30-amp breaker (e.g., Square D HOM230 or Eaton BR230) in your main service panel and switch it to the OFF position.
- Verify Zero Potential: Use a CAT IV rated non-contact voltage tester (like the Klein Tools NCVT-4IR) and a multimeter to confirm 0V across all terminal pairs at the old receptacle.
- Extract the Legacy Receptacle: Remove the center mounting screw, pull the NEMA 10-30R from the junction box, and disconnect the wires. Note the condition of the wire insulation; if it is brittle or cracked from years of thermal cycling, strip back to fresh copper.
Phase 2: Termination and Torque
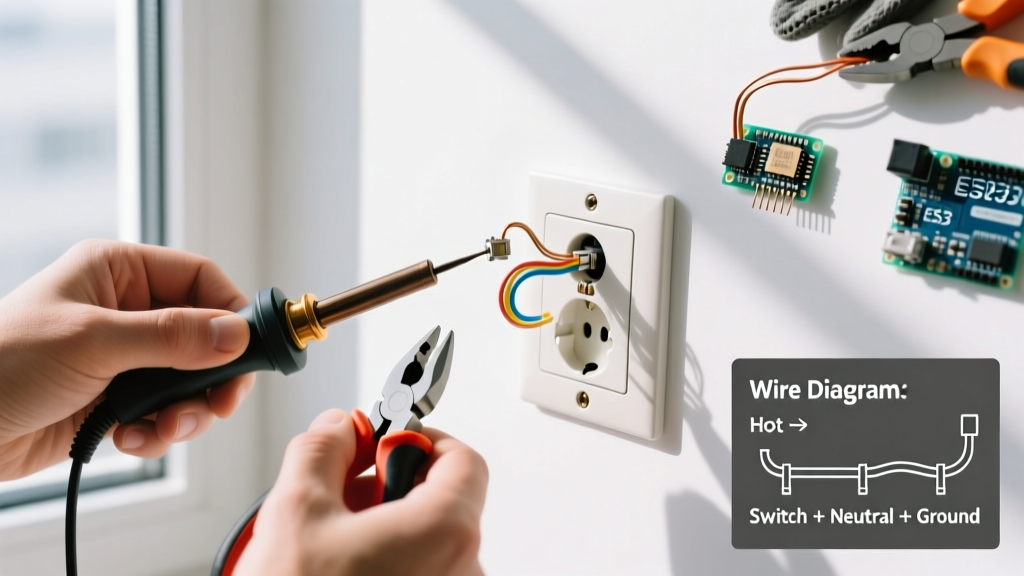
- Prepare the Conductors: Strip exactly 3/4 inch of insulation from the black, red, and white wires using precision strippers. Leave the bare ground wire slightly longer (approx. 1 inch) to ensure a solid wrap around the grounding screw or deep insertion into the ground lug.
- Terminate the Ground (Green Screw): Connect the bare copper EGC to the green grounding terminal. This must be done first to ensure a continuous safety path.
- Terminate the Neutral (Silver Terminal): Insert the white neutral wire into the silver 'W' or 'X' designated terminal. Ensure no bare copper is exposed outside the terminal block.
- Terminate the Hots (Brass Terminals): Connect the black and red wires to the remaining brass 'X' and 'Y' terminals. In a standard 240V split-phase setup, the polarity between the two hots is interchangeable.
- Apply Calibrated Torque: This is where professionals separate themselves from amateurs. Use a calibrated torque screwdriver (such as the Klein Tools 69010) set to the manufacturer's specification—typically 14 to 18 inch-pounds for 30-amp receptacles. Under-torquing leads to thermal creep, arcing, and eventual melting of the receptacle face.
Material Costs and Component Selection (2026 Pricing)
Do not compromise on the physical receptacle. Cheap, imported receptacles often feature thin brass contact blades that lose tension over time, leading to high-resistance connections and fire hazards under heavy 30-amp loads.
- Leviton 278-S00 (NEMA 14-30R): The industry standard residential grade receptacle. Features robust thermoplastic construction and deep wire wells. Cost: $14 - $18.
- Hubbell HBL9430A (Industrial Grade): Overkill for a standard dryer, but exceptional for workshop environments with frequent plug/unplug cycles. Features nickel-plated brass blades for maximum corrosion resistance. Cost: $35 - $45.
- 10/3 NM-B Cable (Southwire/Cerrowire): Required if your existing cable lacks a dedicated neutral. Current 2026 copper market fluctuations place this at approximately $1.60 to $2.10 per linear foot.
- 2-Pole 30A Breaker: Must match your panel brand (e.g., Siemens Q230, Square D QO230). Cost: $12 - $25.
Edge Cases and Troubleshooting
The Breaker Trips Immediately After Upgrade
If the new 30-amp breaker trips the moment you plug in the appliance, you likely have a neutral-to-ground fault inside the appliance itself. Older dryers wired for 3-prong outlets often have an internal bonding strap connecting the neutral terminal to the appliance chassis. When you upgrade to a 4-prong cord and receptacle, you must remove this internal bonding strap inside the dryer's terminal block. Failing to remove it creates a parallel neutral path, tripping modern AFCI/GFCI breakers or causing dangerous chassis energization.
Voltage Drop on Long Runs
If your 30 amp electrical outlet is located in a detached garage or at the far end of a large property (exceeding 100 feet from the panel), 10 AWG copper wire will experience significant voltage drop under full load. For runs over 120 feet, upgrade your cable to 8 AWG copper or 6 AWG aluminum to maintain the NEC-recommended maximum 3% voltage drop for branch circuits.
Authoritative Safety Standards and References
Electrical upgrades must always align with current national and local safety codes. The procedures outlined in this guide are based on the following authoritative frameworks:
- National Fire Protection Association (NFPA): The transition away from ungrounded dryer receptacles is codified in NFPA 70 (National Electrical Code), specifically Article 250.140, which strictly prohibits using the grounded circuit conductor (neutral) for grounding equipment on the load side of the service disconnect.
- Electrical Safety Foundation International (ESFI): For broader context on preventing residential electrical fires and understanding the hazards of improper appliance grounding, consult the ESFI Home Electrical Safety Guidelines. Their data consistently highlights that improper 240V appliance wiring is a leading cause of severe residential electrical fires.
Always consult with a licensed master electrician and your local Authority Having Jurisdiction (AHJ) to ensure your specific upgrade meets all municipal permitting and inspection requirements.