
Diagnosing the Outlet for Electric Dryer: Beyond the Basics
When an electric dryer fails to start or tumbles without producing heat, homeowners often blame the appliance's internal heating element or thermal fuse. However, the root cause frequently lies in the wall receptacle or the dedicated circuit feeding it. An outlet for electric dryer applications operates under extreme thermal and electrical stress, pulling up to 30 amps continuously at 240 volts. Over time, this heavy load can degrade connections, trip breakers in unusual ways, or expose wiring faults that mimic a broken appliance.
Troubleshooting a 240-volt NEMA 14-30R or NEMA 10-30R receptacle requires a methodical approach, prioritizing safety and precise voltage measurements. According to the U.S. Consumer Product Safety Commission (CPSC), electrical failures and improper wiring in laundry areas are leading contributors to residential fires. This guide provides a professional-grade diagnostic framework to isolate whether the fault lies in the breaker panel, the branch circuit wiring, the receptacle itself, or the dryer cord.
The Half-Trip Phenomenon: Drum Spins but No Heat
The most misunderstood issue in dryer diagnostics is the half-tripped breaker. Electric dryers utilize two distinct voltage systems simultaneously: a 120-volt circuit to power the drive motor, timer, and control board, and a 240-volt circuit dedicated exclusively to the heating element.
Why Half-Trips Happen
A standard 30-amp double-pole breaker (such as the Square D HOM230) supplies two 120-volt legs (L1 and L2) that are 180 degrees out of phase. If a short circuit or severe overload occurs on just one leg, the thermal-magnetic trip mechanism on that specific pole may activate before the internal common-trip bar forces the adjacent pole to open. Alternatively, a homeowner may have previously reset a tripped breaker without pushing it firmly to the OFF position first, leaving one pole internally disconnected while the other remains engaged.
- Symptom: The dryer control panel lights up, the drum spins, but the exhaust air remains at room temperature.
- Diagnosis: You have 120V on one leg, but 0V on the second leg, resulting in 0V across the heating element.
- Fix: Turn the breaker completely OFF until you hear a definitive click, then push it firmly to ON. If it immediately trips again, you have a hard short in the dryer cord, the receptacle, or the appliance heating element.
Multimeter Testing Protocol for 240V Receptacles
To accurately diagnose the outlet for electric dryer power delivery, you must use a CAT III or CAT IV rated digital multimeter (such as the Fluke 117 or Klein Tools MM400). Never rely on non-contact voltage testers for 240V diagnostics, as they cannot detect phase loss or neutral faults.
With the dryer unplugged and the breaker ON, insert your multimeter probes directly into the receptacle slots. A standard modern NEMA 14-30R outlet has four slots: two hot (X and Y), one neutral (W), and one ground (G).
Expected Voltage Matrix
| Probe 1 | Probe 2 | Expected Reading | Indicates Fault If... |
|---|---|---|---|
| Hot (X) | Hot (Y) | 240V (+/- 5%) | Reading is 120V or 0V (Breaker or open splice) |
| Hot (X) | Neutral (W) | 120V (+/- 5%) | Reading is 0V or fluctuating (Open neutral) |
| Hot (Y) | Neutral (W) | 120V (+/- 5%) | Reading is 0V or fluctuating (Open neutral) |
| Hot (X) | Ground (G) | 120V (+/- 5%) | Reading is 0V (Missing ground bond at panel) |
| Neutral (W) | Ground (G) | 0V to 2V | Reading is above 5V (Neutral-ground voltage drop) |
Expert Insight: If your Hot-to-Hot reading is significantly low (e.g., 205V instead of 240V), you are experiencing severe voltage drop. This high-resistance connection generates massive heat inside the wall and will cause the dryer's high-limit thermostat to prematurely cycle off the heating element.
Physical Inspection: Receptacle Degradation and Torque Specs
If your voltage readings at the receptacle face are abnormal, the next step is to remove the outlet cover and pull the receptacle from the electrical box. Always shut off the main breaker before performing this step.
Terminal Burn and Aluminum Oxidation
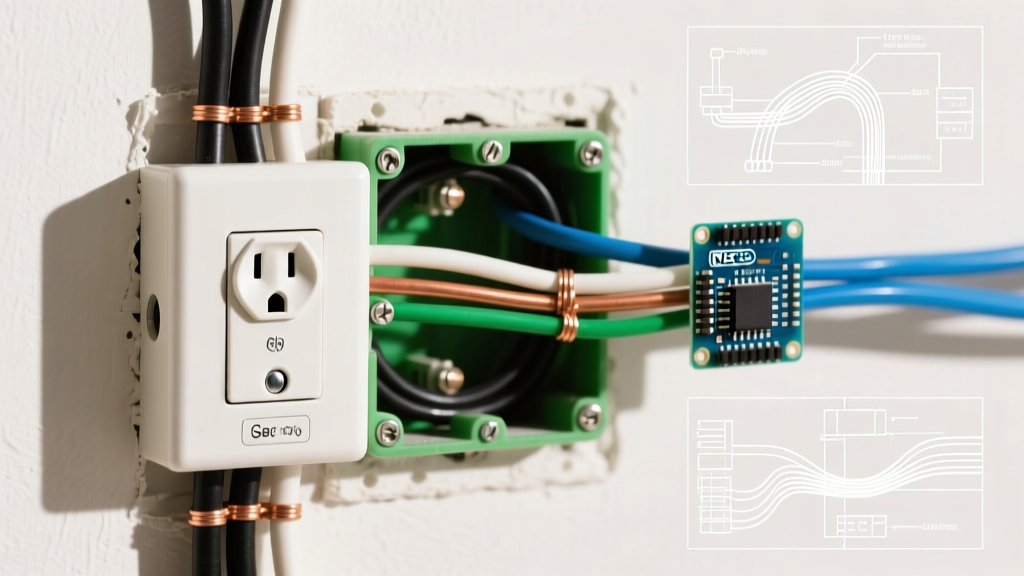
Inspect the terminal screws on the back of the receptacle (commonly a Leviton 278-S00 or Hubbell HBL278). If the home was wired with aluminum SER cable (8 AWG), the aluminum wire is highly susceptible to creep and oxidation. Over years of thermal cycling, the aluminum compresses under the screw head, loosening the connection. This creates an arc fault that melts the plastic faceplate and chars the wire insulation. If you see black soot or melted plastic, the receptacle must be replaced immediately.
The 2026 NEC Torque Requirement
The National Fire Protection Association (NFPA) strictly enforces NEC Article 110.14(D), which mandates that all electrical connections be tightened to the manufacturer's specified torque using a calibrated torque screwdriver. Hand-tightening a 30-amp dryer outlet is a code violation and a fire hazard. For 10 AWG copper wire on a standard NEMA 14-30R receptacle, the required torque is typically 14 in-lbs. Failing to use a torque driver is the leading cause of premature outlet failure in new installations.
3-Prong vs. 4-Prong Configuration Faults
Many older homes still feature the obsolete NEMA 10-30R (3-prong) outlet, while modern codes require the NEMA 14-30R (4-prong). Misconfigurations during the transition between these two standards cause severe operational and safety issues.
The Bonding Jumper Error
In a 3-prong setup, the dryer's neutral and ground are bonded together at the appliance terminal block via a copper bonding jumper. When upgrading to a 4-prong cord and outlet, this jumper must be removed. If a homeowner installs a 4-prong cord but forgets to remove the bonding jumper, neutral return current will flow back to the panel through the bare copper ground wire. This energizes the dryer's metal chassis, creating a severe shock hazard and potentially causing nuisance tripping if the panel utilizes advanced ground-fault monitoring.
Cost Estimates and When to Call a Professional
While replacing a simple receptacle faceplate is a manageable DIY task for those experienced with 240V systems, deeper circuit faults require a licensed electrician. According to data tracked alongside U.S. Department of Energy appliance efficiency standards, ensuring proper voltage delivery is critical for the dryer's energy consumption and lifespan.
- Receptacle Replacement (DIY): $15 to $30 for a high-grade NEMA 14-30R receptacle (e.g., Hubbell or Bryant).
- Breaker Replacement (Electrician): $150 to $250. Replacing a faulty 30A double-pole breaker requires working inside the main panel near the exposed main lugs, which carry lethal fault currents.
- Full Circuit Rewire (Electrician): $400 to $850. If the existing 10/3 NM-B Romex is damaged, melted, or lacks a separate ground wire (requiring an upgrade from 3-prong to 4-prong), a new cable must be pulled from the panel to the laundry room.
Final Diagnostic Checklist
- Verify the dryer is plugged in completely and the cord strain relief bracket is tightly secured to prevent internal wire pulling.
- Perform the hard-reset on the double-pole breaker at the main panel.
- Test Hot-to-Hot voltage at the receptacle (Target: 240V).
- Test Hot-to-Neutral voltage on both legs (Target: 120V each).
- Inspect the receptacle terminals for thermal damage, arcing, or loose torque.
- Confirm the appliance bonding jumper matches the cord configuration (removed for 4-prong, installed for 3-prong).
By following this structured diagnostic path, you can confidently determine whether the failure lies within the wall or the appliance, saving unnecessary service calls and ensuring your laundry room operates safely.