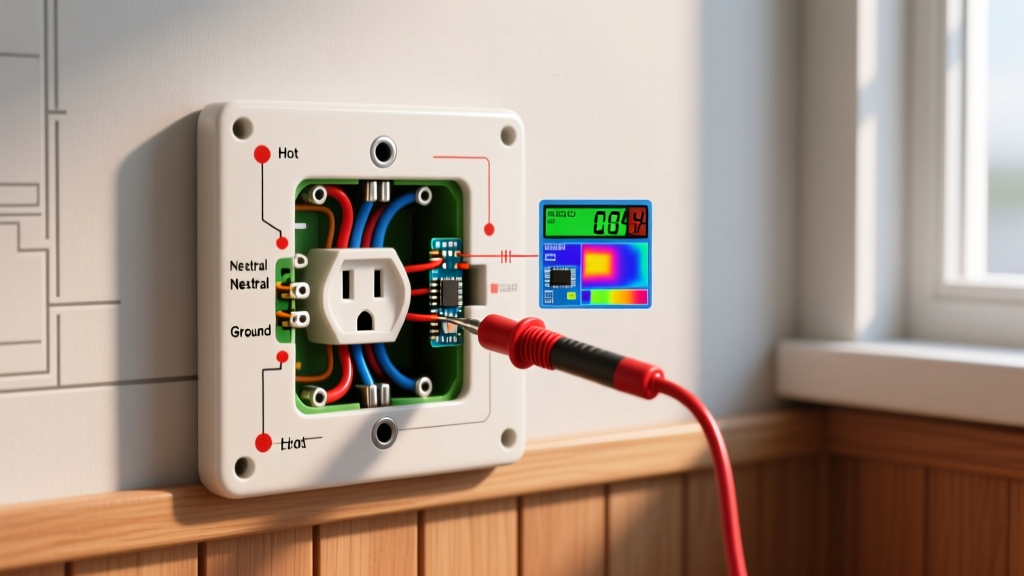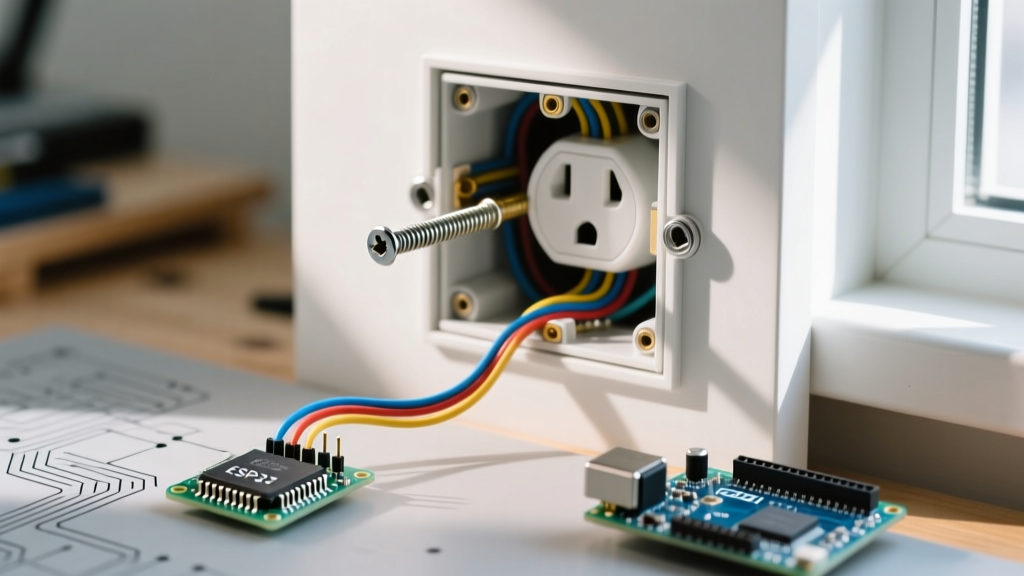

Upgrading a kitchen backsplash or repairing damaged drywall often leaves electrical receptacles sitting deep inside the wall cavity. When faced with a gap between the outlet yoke and the finished wall surface, many DIYers and even some apprentice electricians instinctively reach for long electrical outlet screws to bridge the distance. While a 2-inch or 3-inch 6-32 machine screw might physically pull the device flush to the tile, this shortcut introduces severe mechanical and electrical hazards that violate the National Electrical Code (NEC).
As of 2026, home inspectors and master electricians continue to flag recessed boxes as a primary fire and shock hazard. Troubleshooting these installations requires more than just finding a longer screw; it demands a systematic diagnosis of box depth, wire crowding, and code compliance. This guide breaks down the exact failure modes of over-sized screws, NEC box extender requirements, and the step-by-step diagnostic matrix for fixing recessed receptacles safely.
The Hidden Dangers of Over-Sizing Outlet Screws
Standard receptacle mounting screws are typically 3/4-inch long. When you substitute them with 2-inch or 2.5-inch long electrical outlet screws, the excess threaded shaft protrudes deep into the electrical box. This creates three critical failure modes:
1. Wire Insulation Puncture
Standard 14/2 and 12/2 NM-B (Romex) cables have a PVC jacket thickness of roughly 0.15 inches, with individual THHN wire insulation measuring about 0.03 inches. Inside a shallow 2.5-inch deep metal or plastic box, wires are often folded tightly against the side walls. A blunt-tipped 6-32 machine screw driven with a high-torque impact driver or heavily torqued hand screwdriver can easily crush the cable jacket and pierce the hot or neutral wire insulation. This creates an immediate ground fault, a latent short circuit, or an arc-fault condition that may not trip the breaker until the wire heats up under load.
2. Yoke Bending and Device Strain
If a long screw bottoms out against the back of the electrical box before the outlet yoke is pulled flush to the wall, continued tightening will bend the brass or steel mounting yoke. This mechanical stress transfers directly to the plastic face of the receptacle, leading to micro-fractures. Over time, thermal expansion and contraction from plugging in high-draw appliances (like space heaters or microwaves) will cause the receptacle face to crack, exposing live terminal screws.
3. Thread Stripping and Plaster Ear Failure
Older metal boxes often feature worn or corroded 6-32 threaded plaster ears. Forcing a long screw through an extender or thick spacer misaligns the thread angle, stripping the box ear entirely and leaving the receptacle loose inside the wall cavity.
NEC Code Compliance: Box Extenders vs. Long Screws
The National Fire Protection Association (NFPA) NEC Article 314.20 explicitly governs recessed boxes. The code states that in walls or ceilings constructed of wood or other combustible material, boxes must be flush with the finished surface or project from it. In non-combustible surfaces (like drywall or tile), boxes may be recessed by a maximum of 1/4 inch (6 mm).
Expert Diagnostic Rule: If the gap between the box edge and the finished wall is 1/4-inch or less, you can legally use longer screws and spacers. If the gap exceeds 1/4-inch, long electrical outlet screws alone are a code violation. You must install a listed box extender to bridge the combustible gap and prevent sparks from igniting the wall cavity.
Diagnostic Flowchart: Extender or Just a Longer Screw?
- Step 1: Remove the outlet cover and measure the gap from the box edge to the wall surface using a digital caliper or tape measure.
- Step 2: Is the gap ≤ 1/4"? Yes: Use 1-inch or 1.25-inch screws with nylon spacers. No: Proceed to Step 3.
- Step 3: Is the gap > 1/4"? You must install a UL-listed box extender (e.g., Arlington BE1 or Caddy TSBS1).
- Step 4: Select the appropriate screw length based on the combined depth of the extender and the outlet yoke.
Screw Sizing Matrix for Recessed Receptacles
Choosing the correct hardware prevents bottoming out and wire damage. Use this matrix to select the right combination of extenders and screws. Note that standard receptacles require 6-32 UNC machine screws, while standard switches and metal box mounting holes often require 8-32 UNC or 10-32 UNC. Never use drywall or wood screws for electrical devices.
| Recess Depth | Required Hardware | Max Screw Length | Est. Cost (2026) |
|---|---|---|---|
| 1/8 inch | Nylon Spacers (Hubbell CAT-S) | 1 inch (6-32) | $0.50 / pack |
| 1/4 inch | Nylon Spacers + 1.25" Screw | 1.25 inches (6-32) | $1.10 / set |
| 1/2 inch | Arlington BE1 Box Extender | 1.5 inches (6-32) | $2.40 / extender |
| 3/4 inch | Caddy TSBS1 Deep Extender | 2 inches (6-32) | $3.15 / extender |
| 1+ inch | Deep Extender + Tile Ring | 2.5+ inches (6-32) | $5.50+ / setup |
Step-by-Step Troubleshooting and Installation Guide
When diagnosing a loose or recessed outlet, follow this precise installation protocol to ensure safety and code compliance.
- Kill the Power and Verify: Turn off the breaker and test with a non-contact voltage tester (e.g., Klein Tools NCVT1TIR) and a multimeter to confirm zero voltage at the line and load terminals.
- Inspect the Box Interior: Shine a high-lumen flashlight into the box. Look for wires pressed tightly against the side walls where the mounting screws will enter. If wires are blocking the screw path, use a flathead screwdriver to gently push them deeper into the back of the box.
- Install the Box Extender: For gaps over 1/4-inch, slide the Arlington BE1 plastic extender over the wires and push it into the existing box. The BE1 features adjustable depth collars that snap off to match your exact wall depth.
- Measure and Cut the Screws: If you cannot find the exact length of 6-32 machine screw, buy 2.5-inch screws and cut them to size. Crucial: Use thread-preserving cutting holes on linework pliers (like the Klein Tools 11063W) to cut the screw. Cutting with standard diagonal cutters crushes the leading threads, making it impossible to start the screw in the extender or box ear.
- Torque to Specification: Tighten the screws until the yoke is snug against the wall or extender. Stop immediately if you feel the screw bottoming out. Do not over-torque, as this will crack the plastic extender or the receptacle face.
Common Failure Modes and Edge Cases
Even with the right hardware, troubleshooting recessed boxes can reveal underlying issues that require specialized fixes.
The "Spinning Screw" Syndrome
If your long electrical outlet screw spins endlessly without pulling the outlet tight, you have either bottomed out against the back of a shallow metal box, or you are using a 6-32 screw in an 8-32 threaded hole. Fix: Remove the screw, add a 1/8-inch nylon spacer behind the outlet yoke ear to take up the excess space, and re-drive the screw. If the threads are stripped, use an 8-32 tap to re-thread the metal box ear, or rely entirely on the fresh plastic threads of a box extender.
Cracked Tile from Overtightening
When pulling an outlet flush against a newly installed ceramic or glass tile backsplash using long screws, the point-load pressure from the yoke ears can crack the tile. Fix: Always use a rectangular foam or silicone gasket pad between the outlet yoke and the tile surface to distribute the clamping force evenly across the fragile substrate.
GFCI and AFCI Depth Constraints
GFCI and AFCI receptacles are significantly deeper (often 1.75 inches or more) than standard duplex outlets. If your electrical box is already shallow (2.5 inches deep) and recessed into the wall, adding a box extender and a deep GFCI device may leave zero room for wire bending radius. According to NEC Article 300.14, you must maintain at least 3 inches of free conductor length measured from the point where it emerges from its raceway or cable sheath. If the box is too crowded to safely fold the pigtails behind a GFCI, you must upgrade to a deeper "old work" box or use a shallow-depth GFCI model (like the Leviton GFNT1, which is only 1.25 inches deep) to maintain safe wire bending space.