
The Hidden Cost of Ignoring Outlet Degradation
When an outlet stops working or exhibits erratic behavior, the immediate instinct is often to swap it for a basic $1.29 replacement. However, troubleshooting electrical outlet failures requires a deeper diagnostic approach. A dead or sparking receptacle is rarely an isolated event; it is often a symptom of upstream wiring degradation, improper termination, or shifting load demands. According to the U.S. Consumer Product Safety Commission (CPSC), faulty electrical wiring and aging receptacles account for thousands of residential fires annually. As we navigate the electrical landscape of 2026, simply replacing a faulty unit 'like-for-like' is a missed opportunity to bring your home up to modern NFPA 70 (National Electrical Code) standards.
This guide moves beyond basic continuity testing. We will break down exact failure modes, provide a diagnostic matrix for rapid troubleshooting, and outline the most cost-effective upgrade paths—including USB-C Power Delivery (PD) and self-testing GFCI receptacles.
Diagnostic Matrix: Identifying the Root Cause
Before you touch a screwdriver, you must isolate the fault. Use a True-RMS digital multimeter (such as the Fluke 117) or a dedicated solenoid voltage tester (Wiggy) to verify the absence of voltage. Below is a structured decision matrix for the most common residential outlet failures.
| Symptom | Multimeter / Tester Reading | Probable Root Cause | Required Action |
|---|---|---|---|
| Plugs fall out easily; loose fit | N/A (Mechanical failure) | Worn internal brass contact wipers due to years of friction and heat cycling. | Replace receptacle. Upgrade to 'Spec-Grade' or 'Hospital Grade' for tighter grip. |
| Outlet is completely dead | 0V Hot-to-Neutral, 0V Hot-to-Ground | Tripped AFCI/GFCI upstream, open splice in a backstabbed daisy-chain, or tripped breaker. | Check panel and upstream GFCIs. Open the dead outlet and the one immediately upstream to check for pushed-in wire failures. |
| Reads ~120V but devices won't power | 120V no-load, drops to <50V under load | 'Phantom voltage' caused by a high-resistance connection (loose wire nut or backstabbed terminal). | Remove outlet, strip wires back to clean copper, and terminate using side-screw loops or lever-nuts. |
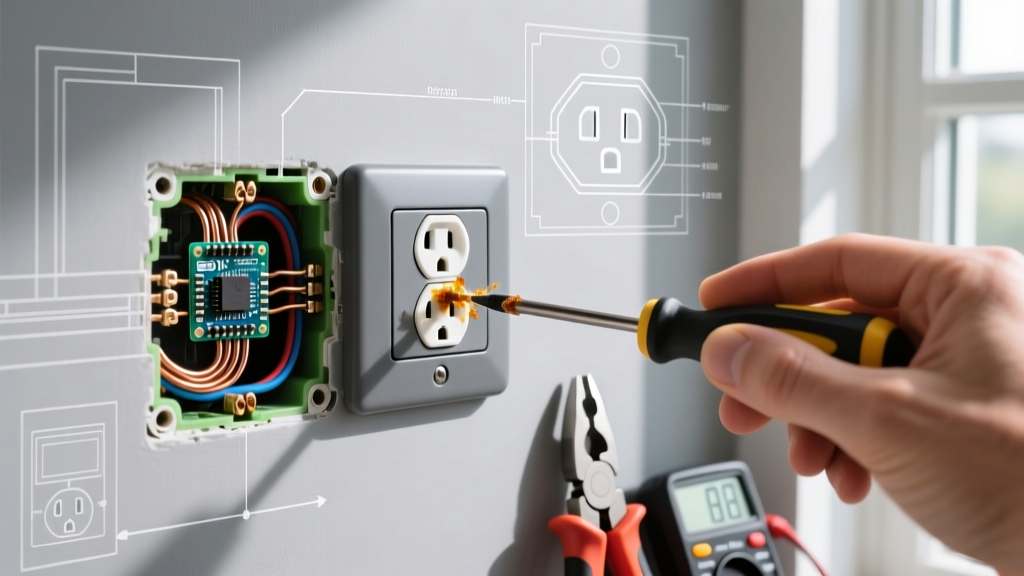
| Visible scorching or melted plastic | N/A (Thermal damage) | Overloaded circuit, undersized wire (14 AWG on 20A breaker), or loose termination causing arcing. | Immediate replacement. Inspect wire insulation for brittleness. Verify breaker sizing matches wire gauge. |
| Reverse Polarity (Tester shows red/black) | 120V Neutral-to-Ground | Hot (black) and Neutral (white) wires swapped on the brass/silver terminal screws. | Swap the wires. Hot must go to the brass screw; Neutral to the silver screw. |
The 'Like-for-Like' Trap: Why You Should Upgrade
When troubleshooting electrical outlet issues leads to a replacement, buying a standard builder-grade duplex receptacle is no longer the best practice. Modern households draw significantly more localized power for laptops, smartphones, and smart home hubs. Here is how to leverage a replacement scenario into a functional upgrade.
1. The USB-C Power Delivery (PD) Upgrade
Older USB-A receptacles (typically 5V/3A) are practically obsolete in 2026. The current standard is the USB Type-C PD receptacle, which negotiates voltage up to 20V and delivers up to 30W of power.
Top Pick: Leviton T5625-W (20W USB-C / 15A Tamper-Resistant).
Cost: ~$42.00.
Benefit: Eliminates the need for bulky power bricks, freeing up the standard 120V sockets for other appliances. Ensure the device features an internal switching power supply that doesn't bleed phantom current when idle.
2. GFCI and AFCI Code Compliance
If you are replacing an outlet in a kitchen, bathroom, garage, or outdoor area, current NEC mandates require Ground Fault Circuit Interrupter (GFCI) protection. If the upstream breaker doesn't have AFCI/GFCI combo protection, the receptacle itself must be upgraded.
Top Pick: Eaton GFNT2-W (Self-Testing GFCI, 15A).
Cost: ~$26.00.
Benefit: Older GFCIs required manual monthly testing. Modern self-testing GFCIs automatically run diagnostic checks every 3 hours and deny power if the internal ground-fault sensor has degraded.
Cost and Time Analysis: 2026 Market Rates
Whether you are a DIYer sourcing parts or hiring a licensed electrician, understanding the current market rates prevents overpayment. Below is a breakdown of material and labor costs for a single-gang outlet upgrade.
- Standard Builder-Grade Replacement: $2 - $4 (Materials) | 15 Minutes (DIY)
- Spec-Grade (Commercial) Replacement: $6 - $10 (Materials) | 15 Minutes (DIY)
- USB-C PD Upgrade: $38 - $55 (Materials) | 25 Minutes (DIY)
- GFCI Upgrade: $22 - $35 (Materials) | 30 Minutes (DIY)
- Professional Electrician Labor (2026 Avg): $125 - $185 per hour (Minimum 1-hour service call fee usually applies, making single-outlet DIY highly cost-effective).
Professional Termination Techniques: Banish the Backstab
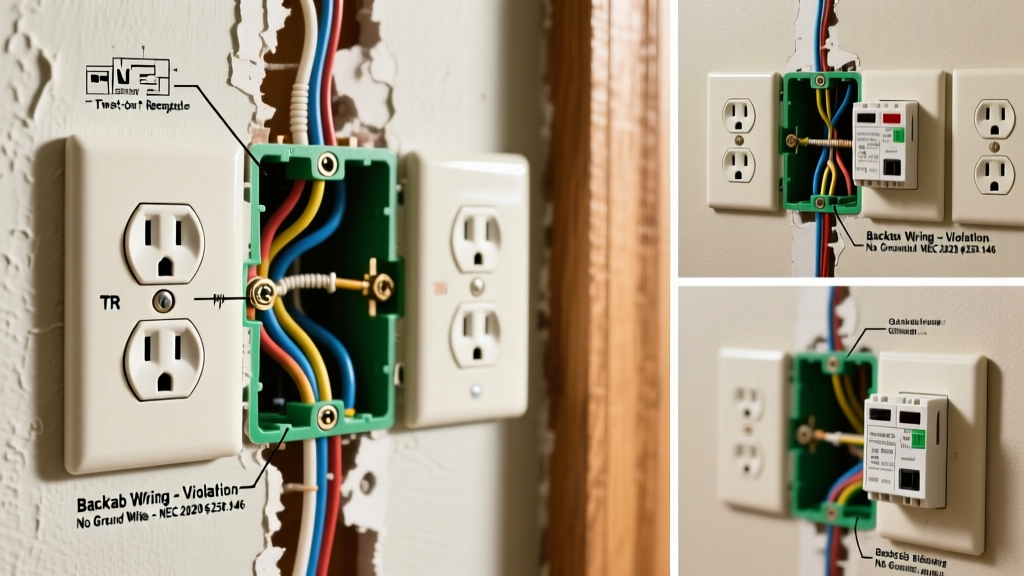
The most common cause of recurrent outlet failure is the use of 'backstab' (push-in) terminals. While permitted by code for 14 AWG solid copper wire, the internal spring-steel clamps loosen over time due to thermal expansion and contraction, leading to high-resistance arcing. The Electrical Safety Foundation International (ESFI) consistently highlights loose connections as a primary catalyst for residential electrical fires.
Expert Rule of Thumb: Never use backstab terminals on 12 AWG wire, and avoid them entirely on 14 AWG if you want a lifelong repair. Always use the side-screw termination or the newer screw-clamp (back-wire) plates found on commercial-grade receptacles.
The Shepherd's Hook Method
If using standard side-screw terminals, strip exactly 3/4-inch of insulation (use the strip gauge on the back of the yoke). Form a 'shepherd's hook' with needle-nose pliers. Loop the wire around the screw clockwise. When you tighten the screw, the clockwise rotation pulls the wire loop tighter under the screw head. If you loop it counter-clockwise, tightening the screw will push the wire out.
Torque Specifications
NEC 110.14(D) requires electrical connections to be torqued to the manufacturer's specifications. For most standard 15A and 20A receptacles, this is between 12 and 14 inch-pounds. While a calibrated torque screwdriver (like the Klein Tools 32717) is mandatory for commercial work, DIYers should tighten the screw until the brass plate seats flush against the wire insulation, then give it an additional quarter-turn. Do not overtighten to the point of stripping the brass threads.
Step-by-Step Replacement Protocol
Follow this exact sequence to ensure a safe, code-compliant upgrade.
- Kill the Power: Turn off the circuit breaker. Do not rely solely on a wall switch.
- Verify Dead: Insert a non-contact voltage tester (NCVT) into the slots, then use a plug-in circuit analyzer or multimeter to confirm 0V between Hot-Neutral and Hot-Ground.
- Extract the Yoke: Remove the faceplate and the two mounting screws. Gently pull the receptacle out of the gang box. Warning: If the box is metal and wires are crammed tightly, watch for exposed hot wires touching the metal box.
- Inspect the Wires: Look for black soot, melted insulation, or copper that is pitted and green (oxidized). If the wire is damaged, cut it back and strip a fresh 3/4-inch section. If you don't have enough slack, you must install a junction box extension or use a wire nut to pigtail a new 6-inch lead.
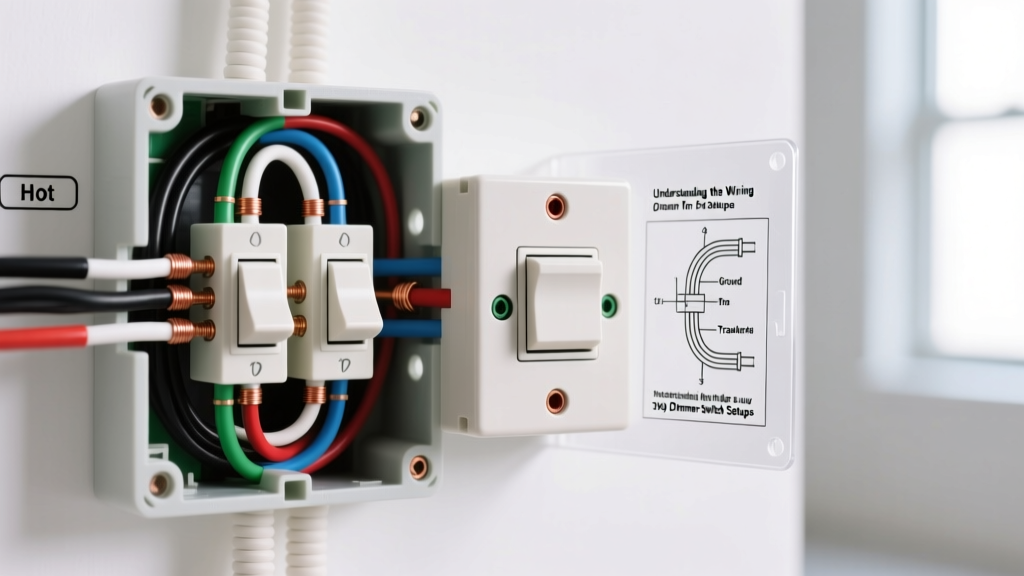
- Terminate: Connect the bare copper ground to the green screw. Connect the white neutral to the silver screw. Connect the black hot to the brass screw. Ensure no bare copper is exposed outside the terminal.
- Secure and Test: Push the wires neatly into the back of the box using a slight zig-zag fold. Mount the new receptacle, ensuring the yoke is perfectly plumb (use the built-in leveling tabs if your faceplate has them). Restore power and test with a circuit analyzer.
Final Thoughts on Outlet Diagnostics
Troubleshooting electrical outlet faults is rarely about the receptacle itself; it is about the integrity of the entire branch circuit connection. By abandoning cheap builder-grade parts and backstab terminations in favor of spec-grade components, proper torque, and modern USB-C or self-testing GFCI technology, you transform a simple repair into a permanent, code-compliant home upgrade. Always prioritize safety, verify your power is off with a trusted True-RMS meter, and consult a licensed professional if you encounter aluminum wiring or severely degraded insulation.