
The Critical Role of Hardware in Electrical Safety
When wiring a receptacle or switch, the focus is understandably on wire gauge, circuit load, and proper grounding. However, the mechanical integrity of the installation relies entirely on a few cents worth of hardware. Using the correct screws for electrical outlet installations is not merely a matter of aesthetics; it is a critical safety requirement. Incorrect fasteners can lead to loose connections, arcing, cracked device yokes, and severe fire hazards. According to the National Fire Protection Association (NFPA), mechanical stability of electrical devices within their enclosures is a foundational requirement of the National Electrical Code (NEC) to prevent strain on terminal connections.
This comprehensive tool and material guide breaks down the exact specifications, thread pitches, lengths, and metallurgical requirements for every screw used in a standard North American electrical outlet installation.
Anatomy of Receptacle Hardware: The Three Fastener Types
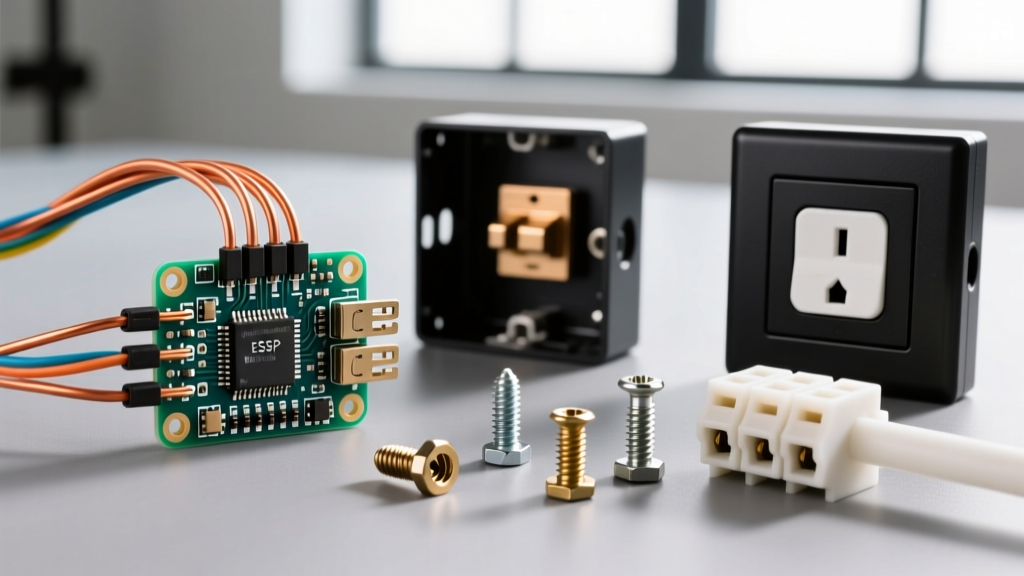
A standard outlet installation involves three distinct categories of screws. Confusing them or substituting one for another is a common DIY error that compromises the entire assembly.
1. Device Mounting Screws (Yoke to Box)
These screws secure the outlet's metal strap (the yoke) to the electrical box. The undisputed industry standard in North America is the 6-32 UNC (Unified National Coarse) screw. The '6' refers to the screw diameter (approximately 0.138 inches), and the '32' indicates 32 threads per inch. The tapped holes on the yoke of virtually every UL-listed receptacle are machined specifically for this thread pitch.
- Standard Length (1/2 inch): Used for standard drywall installations where the electrical box is flush with the wall surface.
- Extended Length (3/4 inch to 1 inch): Required when installing outlets over tile, thick wood paneling, or when using deep mud rings. Using a 1/2-inch screw in a tiled shower niche will fail to engage enough threads in the box, risking the device pulling out when a plug is removed.
2. Cover Plate Screws
These secure the decorative faceplate to the outlet yoke. They are also typically 6-32 UNC but are much shorter, usually 5/16 inch in length. They feature a specific head style—often an oval or truss head—designed to sit flush or slightly proud of the cover plate's countersunk holes.
3. Terminal and Grounding Screws
Terminal screws (which clamp the copper wire to the brass or silver contacts) are pre-installed at the factory. Never attempt to replace a lost terminal screw with a hardware store variant. According to Underwriters Laboratories (UL) standards for attachment plugs and receptacles, terminal screws undergo rigorous torque and thermal cycling tests. The metallurgy and exact thread pitch are proprietary to the device's internal bus bar. If a terminal screw is stripped or lost, the entire receptacle must be replaced.
WARNING: The Drywall Screw Disaster
Never use drywall or wood screws to mount an electrical device to a metal or plastic box. Drywall screws feature a coarse, aggressive thread pitch that will instantly strip the fine 6-32 threads inside the outlet yoke. Furthermore, drywall screws are highly brittle and lack shear strength. If a stiff plug is pulled from the outlet, a drywall screw can snap, leaving the live device loose inside the box—a primary cause of residential electrical arcing.
Grounding Screws and NEC Compliance
When working with metal electrical boxes, the box itself must be bonded to the equipment grounding conductor. The NEC (Article 250.148) mandates specific hardware for this connection. You must use a 10-32 UNC grounding screw, which is universally identified by its green hexagonal head.
The 10-32 thread is specifically chosen because it is coarse enough to tap securely into the thin 16-gauge or 18-gauge steel of a standard junction box without stripping, while providing enough surface area for a reliable ground fault current path. Many modern metal boxes come with a pre-tapped, raised green dimple specifically for this 10-32 screw.
Comprehensive Screw Sizing & Application Matrix
Use the following reference table to ensure you are pulling the correct hardware from your inventory for every stage of the outlet installation.
| Application | Thread Size | Standard Length | Head Style | Material / Coating |
|---|---|---|---|---|
| Device Mounting (Standard Drywall) | 6-32 UNC | 1/2 inch | Combo Pan / Truss | Zinc-Plated Steel |
| Device Mounting (Tile / Mud Rings) | 6-32 UNC | 3/4 inch or 1 inch | Combo Pan / Truss | Zinc-Plated Steel |
| Standard Duplex Cover Plate | 6-32 UNC | 5/16 inch | Oval / Flat Head | Color-Matched / Nickel |
| Metal Box Grounding Bond | 10-32 UNC | 3/8 inch | Hex Head (Green) | Steel / Green Paint |
| Outdoor / Damp Location Mounting | 6-32 UNC | 1/2 inch or 3/4 inch | Combo Pan | 304 Stainless Steel |
Material Coatings and Environmental Considerations
The environment dictates the metallurgy of your screws for electrical outlet hardware. Standard zinc-plated steel screws are perfectly adequate for interior, climate-controlled drywall installations. However, specific environments require upgrades:
- Damp Locations (Bathrooms, Garages): Standard zinc plating can oxidize over time, leading to rust that seizes the screw head and makes future maintenance a nightmare. Upgrade to 304 Stainless Steel 6-32 screws.
- Wet / Coastal Locations (Exterior, Oceanfront): Salt spray will corrode 304 stainless steel. For exterior weatherproof boxes in coastal regions, source 316 Marine-Grade Stainless Steel fasteners to prevent galvanic corrosion and seizing.
- Decorative Cover Plates: When installing premium brass, bronze, or matte black cover plates, use manufacturer-supplied matching screws. Using a standard zinc screw on a polished brass plate ruins the aesthetic and can cause galvanic corrosion where the dissimilar metals touch.
Torque, Tools, and Preventing Yoke Fractures
A major failure mode in modern electrical installations is the cracking of the device yoke. While older, cheaper receptacles use thick stamped steel yokes, premium spec-grade and commercial-grade outlets (such as the Hubbell Wiring Device-Katalog or Leviton Decora lines) often utilize high-impact polycarbonate or thermoplastic yokes to improve insulation and impact resistance.
These thermoplastic yokes are strong but brittle under localized torsional stress. Over-torquing the 6-32 mounting screw can cause micro-fractures in the plastic around the mounting hole. Over time, or when a user forcefully unplugs a tight cord, the yoke can shatter, leaving the live terminals exposed.
Best Practices for Tool Selection
- Use the Correct Driver Bit: Most 6-32 combo screws require a #2 Phillips or a 1/4-inch flathead. Using a #1 Phillips bit will result in 'cam-out' (slipping), which strips the screw head and damages the surrounding device surface.
- Hand-Tighten Plus a Quarter Turn: When seating the device into the box, tighten the screws until the yoke is flush and secure against the box ears or drywall. Do not use a high-torque impact driver or drill on high speed. Use a hand screwdriver or a drill on the lowest clutch setting (approx. 12-15 in-lbs).
- Utilize Plaster Ears: If the drywall cutout is too large and the outlet yoke lacks support, do not over-tighten the mounting screws to 'pull' the device flush. This bends the yoke and stresses the internal bus bars. Instead, use metal plaster ears (shims) or outlet shims to bridge the gap, allowing the screws to tighten naturally without bending the device.
Frequently Asked Questions
Can I use metric screws for electrical outlets?
No. North American electrical boxes and UL-listed devices are manufactured with Imperial (SAE) threading. Attempting to force an M3 or M4 metric screw into a 6-32 tapped hole will cross-thread and permanently destroy the yoke. Always keep a dedicated supply of 6-32 and 10-32 SAE screws in your electrical toolkit.
What do I do if the threaded hole on the outlet yoke is stripped?
If the 6-32 threads on the metal yoke are stripped, the device is compromised and should be replaced. In an absolute emergency where the device must remain in service temporarily, an electrician might use a 6-32 nut on the back of the yoke and pass a longer 6-32 machine screw entirely through the hole, clamping it with the nut. However, replacing the $3 receptacle is the only code-compliant and safe long-term solution.
Why are some cover plate screws painted or coated?
Cover plate screws are often painted to match white, ivory, or light almond thermoplastic plates. Metal plates use nickel-plated, brass, or oil-rubbed bronze screws. If you lose a matching screw, you can carefully paint a standard zinc screw with appliance epoxy paint to match the plate, but ensure the paint does not clog the Phillips drive recess.