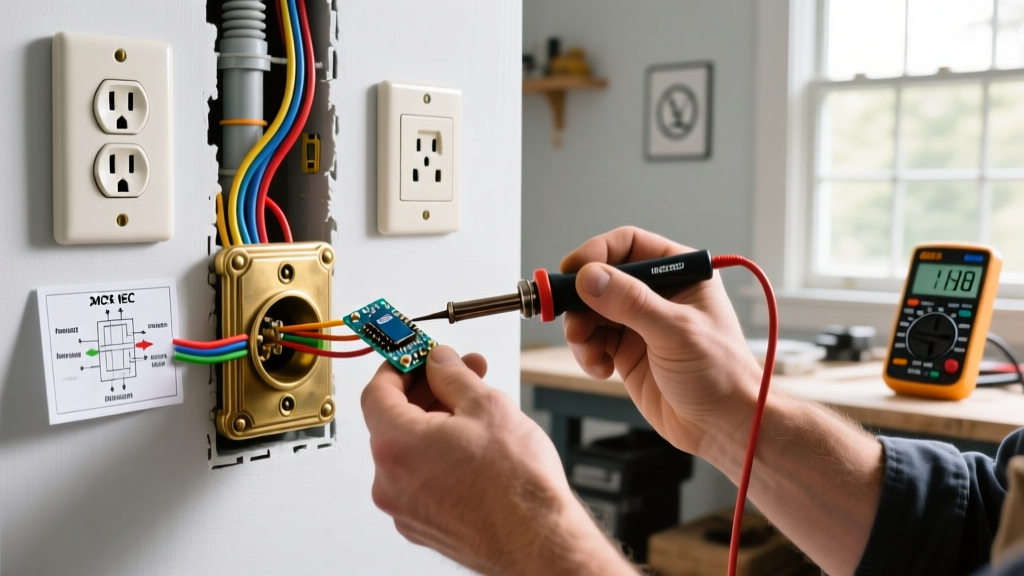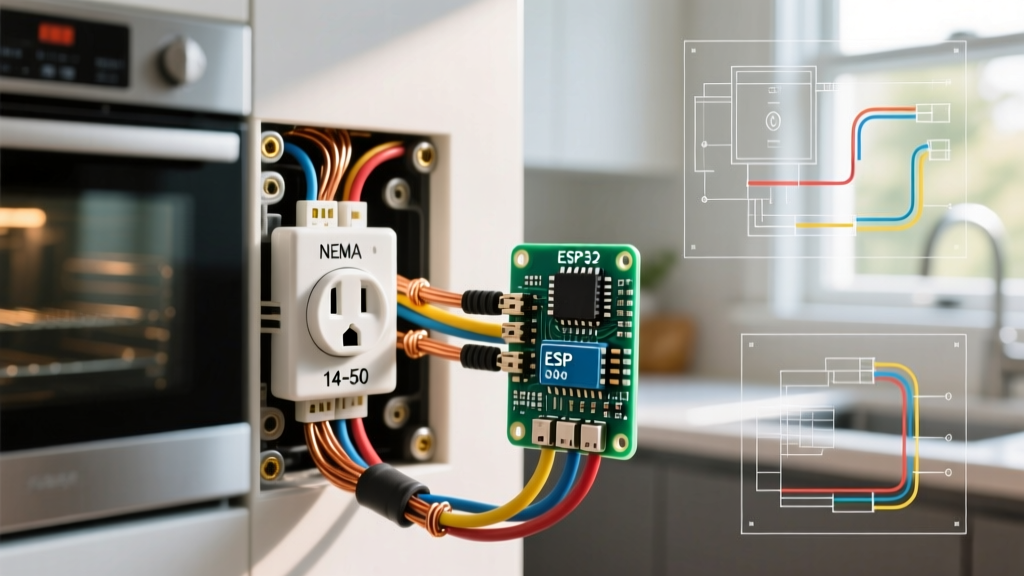

The Hidden Dangers of a Failing 240V Range Receptacle
A modern electric range draws immense power—often up to 12,000 watts during self-cleaning cycles or multi-burner preheats. When your electrical outlet for oven fails, it rarely happens without warning. Discoloration, a faint ozone smell, or nuisance breaker trips are all symptoms of a degraded circuit. Because these circuits operate at 240 volts and up to 50 amps, a failing connection doesn't just mean your dinner is ruined; it presents a severe arc-flash and fire hazard.
This diagnostic guide walks you through the systematic troubleshooting of 240V range receptacles, focusing on the industry-standard NEMA 14-50R, while addressing modern NEC code complexities like GFCI nuisance tripping that plague installers in 2026.
⚠️ LETHAL VOLTAGE WARNING: A 50-amp, 240-volt circuit can deliver a fatal shock and sustain a lethal arc flash. Never probe a live receptacle without a CAT III (minimum 600V) or CAT IV rated digital multimeter, insulated gloves, and arc-flash safety glasses. If you are not comfortable working inside a live electrical panel, hire a licensed electrician.
Step 1: Identify Your Receptacle Configuration
Before pulling out a multimeter, you must identify the exact NEMA configuration of your outlet. The National Electrical Manufacturers Association (NEMA) defines these pinouts, and mixing them up via illegal adapters is a leading cause of range fires.
| NEMA Type | Amps / Volts | Wires | Grounding | Current Status (2026 NEC) |
|---|---|---|---|---|
| 14-50R | 50A / 250V | 4-Wire | Dedicated Ground + Neutral | Standard for modern freestanding ranges. |
| 10-50R | 50A / 250V | 3-Wire | Neutral bonded to frame (No dedicated ground) | Obsolete. Grandfathered in pre-1996 homes only. Illegal for new installs. |
| 14-30R | 30A / 250V | 4-Wire | Dedicated Ground + Neutral | Common for dryers, occasionally used for compact 30A wall ovens. |
Step 2: Visual and Thermal Inspection
Turn off the double-pole breaker at the main panel. Lock out and tag out (LOTO) the breaker if possible. Once dead, unplug the range and inspect the receptacle.
Common Physical Failure Modes
- Thermal Creep: If your home was wired with aluminum conductors (e.g., 4-2-2-4 AL SER cable) and the electrician did not use a calibrated torque screwdriver, the aluminum expands and contracts under heavy loads. Over a few years, this 'creeps' the wire out from under the terminal screw, causing high resistance, extreme heat, and melted Bakelite.
- Blade Discoloration: Check the male plug on the range cord. If the X or Y prong is blackened or pitted, the internal tension springs inside the female receptacle have lost their grip. Both the plug and receptacle must be replaced.
- Cheater Adapters: Never use a 4-prong to 3-prong adapter to fit a new range into an old 10-50R outlet. This leaves the oven chassis ungrounded or improperly bonded, creating a shock hazard if a heating element shorts to the frame.
Step 3: Multimeter Voltage Pinout Testing
Restore power to the breaker. Set your multimeter to AC Voltage (V~). You will need to test the slots on a NEMA 14-50R receptacle. The slots are arranged with two hot slots (X and Y) at the top, an L-shaped ground (G) at the bottom, and a straight neutral (W) in the center.
| Probe 1 | Probe 2 | Expected Reading | Diagnosis if Reading is Incorrect |
|---|---|---|---|
| Hot (X) | Hot (Y) | 240V (±5%) | 0V or 120V: One breaker pole is tripped, or a hot leg is severed. |
| Hot (X) | Neutral (W) | 120V (±5%) | 0V: Open neutral or neutral disconnected at panel. |
| Hot (Y) | Neutral (W) | 120V (±5%) | 0V: Open neutral or neutral disconnected at panel. |
| Hot (X) | Ground (G) | 120V (±5%) | 0V: Open ground path back to the main bonding jumper. |
| Neutral (W) | Ground (G) | 0V to 2V | >5V: Floating neutral, shared neutral overload, or ground/neutral bonded at subpanel. |
Step 4: The 2026 GFCI Nuisance Tripping Phenomenon
If your oven turns on, but the breaker trips exactly when the oven reaches 350°F or when the convection fan engages, you are likely experiencing a modern code conflict. Recent updates to the National Electrical Code (NFPA 70) mandate GFCI protection for 240V kitchen receptacles (NEC Article 210.8(D)).
The Problem: Many modern ranges utilize EMI (Electromagnetic Interference) filters on their control boards. These filters intentionally leak a tiny amount of current (usually 3mA to 8mA) to the ground wire to prevent radio frequency noise. A standard 50A GFCI breaker trips at a 5mA leakage threshold. When the oven's relays click closed during a preheat cycle, the momentary inrush current combined with the EMI filter leakage exceeds 5mA, instantly tripping the GFCI breaker.
How to Diagnose and Fix GFCI Tripping
- Verify the Breaker Type: Open the panel and check if the 50A breaker has a 'Test' button or pigtail wire. If it's a GFCI or Dual-Function (CAFCI/GFCI) breaker, note the brand (e.g., Square D HOM250GFI).
- Hardwire the Appliance: The NEC generally exempts hardwired appliances from the receptacle GFCI rule in many jurisdictions (though local amendments vary). Removing the 14-50R receptacle and hardwiring the range directly into a junction box using a proper cable clamp often legally bypasses the GFCI requirement, solving the nuisance tripping instantly.
- Check for Actual Ground Faults: If hardwiring isn't an option, use a megohmmeter (Megger) to test the insulation resistance of the oven's heating elements. A degraded bake element sheath will leak current to the chassis when it expands from heat, causing a legitimate ground fault.
Step 5: Panel and Breaker Diagnostics
If the outlet tests dead or shows severe voltage drop (e.g., reading 210V instead of 240V under load), the issue is likely upstream at the breaker panel.
- Loose Bus Bar Stab: In older Zinsco or Federal Pacific panels (which should be replaced immediately due to known fire hazards documented by the CPSC), the breaker may not be making firm contact with the bus bar. This causes arcing and voltage drop.
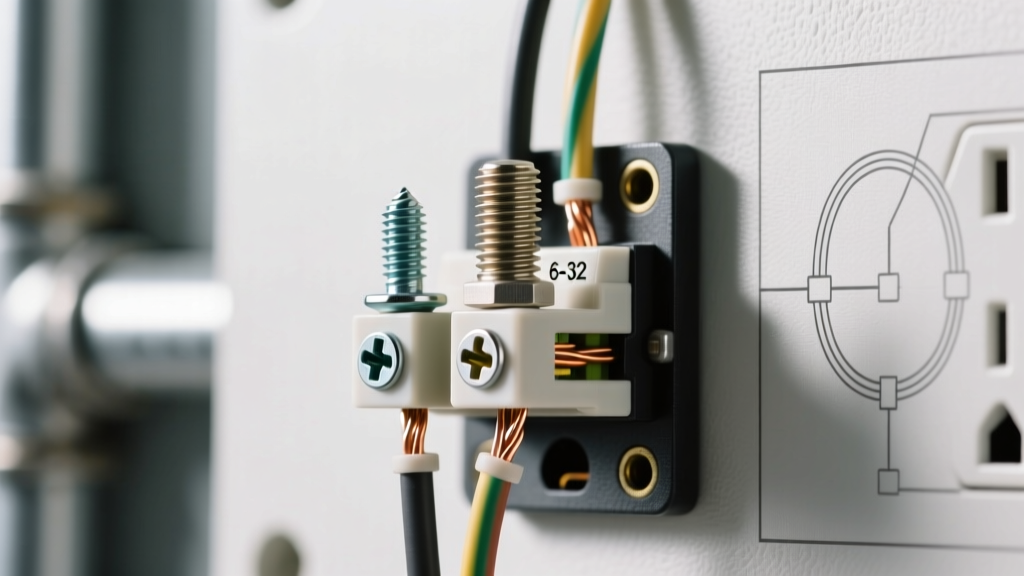
- Improper Torque: NEC 110.14(D) requires the use of a calibrated torque tool. For a standard 50A breaker, the terminal screws typically require 40 to 50 in-lbs of torque. Hand-tightening with a standard screwdriver often leaves 6 AWG copper wire loose enough to arc under a 40-amp continuous draw.
- Double-Tapping: Ensure the 6 AWG wires are not double-tapped under a single breaker lug unless the breaker is explicitly rated for two conductors (very rare for 50A breakers).
Component Replacement: What to Buy in 2026
If your diagnosis points to a melted or degraded receptacle, do not buy the cheapest builder-grade option at the big box store. Residential-grade 14-50R receptacles (like the Leviton 279-S00, approx. $18) use thinner internal brass contacts that are prone to thermal creep.
Expert Recommendation: Upgrade to an industrial-grade receptacle like the Hubbell HBL9450FR or Bryant 9450FR (approx. $65 - $85). These feature massive, high-copper-alloy contacts and glass-reinforced thermoset housings that resist melting and maintain terminal tension for decades, even under the extreme thermal cycling of a daily-use oven.
Summary Checklist for Oven Outlet Diagnosis
- [ ] Verify breaker is fully reset (turn OFF, then firmly ON).
- [ ] Inspect plug prongs for pitting, arcing, or heat discoloration.
- [ ] Test X-to-Y for 240V; Test X-to-W and Y-to-W for 120V.
- [ ] Test Neutral-to-Ground for <2V to rule out floating neutrals.
- [ ] Evaluate if GFCI nuisance tripping is caused by EMI filter leakage.
- [ ] Inspect panel terminations with a torque screwdriver (50 in-lbs).
By methodically isolating the circuit from the breaker panel to the terminal blades, you can confidently identify whether your oven's failure is a simple receptacle swap, a panel repair, or an internal appliance fault.