
The Hidden Hazard of Recessed Outlets on Tile
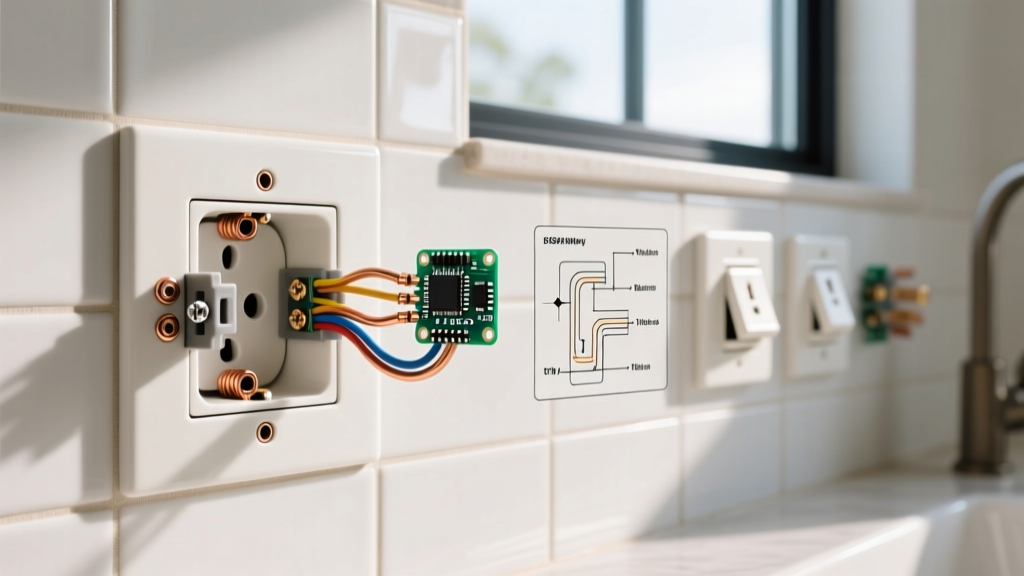
When a tile setter installs a ceramic, porcelain, or glass backsplash over an existing kitchen or bathroom wall, the original electrical boxes inevitably become recessed. While the National Electrical Code (NEC) 314.20 allows boxes in non-combustible surfaces like tile to be recessed up to 1/4 inch, the device yoke must still be securely supported. Failing to properly bridge the gap between the recessed box and the finished tile surface creates a severe mechanical and electrical hazard. According to the U.S. Consumer Product Safety Commission (CPSC), loose or poorly supported receptacles are a leading contributor to residential electrical fires caused by arcing and overheating.
Troubleshooting electrical outlet spacers for tile requires more than just grabbing longer screws. It demands a precise understanding of shear stress, NEC compliance, and the specific geometry of modern receptacles. This guide provides a master-level diagnostic framework for identifying spacer failure modes and executing permanent, code-compliant repairs in 2026.
Diagnostic Matrix: Identifying Spacer Failure Modes
Before tearing out the device, match the physical symptom to the underlying mechanical failure. Use this diagnostic table to pinpoint exactly why your current spacer setup is failing.
| Symptom | Root Cause Diagnosis | Corrective Action |
|---|---|---|
| Receptacle face cracks when plugging in a cord | Yoke is unsupported; air gap between yoke and tile exceeds 1/8 inch. | Install stacked metal shims (e.g., Caddy TSQ1418) to eliminate the void. |
| 6-32 mounting screws strip, bend, or snap | Over-torquing extra-long screws spanning an unsupported air gap. | Replace long screws with an Arlington BE-1 box extender for flush support. |
| Device sits crooked or rocks on the wall | Uneven mosaic tile or thick grout lines preventing flush yoke seating. | Use compressible neoprene spacers or custom-bend metal shims to match the contour. |
| GFCI test/reset buttons bind against the tile | Plastic extender ring is misaligned or too thick for the device face. | Trim the extender ring with a utility knife or switch to flush-mount yoke shims. |
| Visible gap between outlet cover and tile | Tile thickness exceeds the depth of the standard plaster ring or extender. | Use oversized jumbo wall plates combined with deep-set yoke spacers. |
Why "Just Using Longer Screws" is a Critical Error
The most common DIY mistake when dealing with recessed boxes is simply swapping the standard 1/2-inch 6-32 combo screws for 1.5-inch or 2-inch variants. From a structural engineering perspective, this is a catastrophic error.
A standard 6-32 UNC steel screw has a minor diameter of roughly 0.104 inches. When you leave a 3/4-inch air gap between the outlet yoke and the electrical box ears, the screw acts as an unsupported cantilever beam. Plugging a stiff 12AWG appliance cord into a 15A receptacle requires roughly 3 to 5 pounds of insertion force. Over time, this repetitive shear stress bends the long screws, pulling the hot and neutral contacts out of alignment with the plug blades. This misalignment increases electrical resistance, generates excess heat, and accelerates the degradation of the brass contact wipers inside the receptacle.
Code Reality Check: The National Fire Protection Association (NFPA) mandates that devices must be securely fastened. While NEC 314.20 permits the box to be recessed 1/4 inch in tile, it does not permit the device to float. The yoke must bear directly against the finished surface or a listed spacer assembly.
Product Breakdown: Choosing the Right Electrical Outlet Spacers for Tile
Not all spacers are created equal. The market in 2026 offers three primary categories of spacers, each suited for specific tile thicknesses and box conditions.
1. Stamped Metal Shims (e.g., Caddy T-Squared TSQ1418)
- Best For: Gaps between 1/16" and 1/4". Standard ceramic subway tile installations.
- Cost: ~$0.85 per shim.
- Pros: Non-combustible, will not compress over time, easily stacked, and can be snapped to size without removing the device wires.
-
Cons: Can short out if they contact exposed side-terminal screws on older receptacles. Fix: Always wrap the sides of the receptacle with 3300-grade electrical tape or use terminal shields.
2. Plastic Box Extenders (e.g., Arlington Industries BE-1)
- Best For: Deep recesses from 1/4" up to 1-1/2". Thick natural stone or multi-layer backer board + tile setups.
- Cost: ~$3.45 per unit.
- Pros: Fully insulates the gap, provides a continuous non-combustible barrier, and includes integrated screw guides. The BE-1 features a breakaway design to fit around existing wires.
-
Cons: Requires trimming to fit perfectly around the tile opening. If the tile setter left a messy, oversized cutout, the plastic flange may not sit flush.
3. Compressible Neoprene/Foam Spacers
- Best For: Highly uneven surfaces, such as hand-laid mosaic tiles, pebble stone, or heavily textured 3D wall tiles.
- Cost: ~$2.50 for a 10-pack.
- Pros: Conforms to irregular grout lines, preventing the yoke from cracking under uneven pressure.
- Cons: Foam can degrade over decades if exposed to high heat from dimmer switches. Not recommended for high-wattage smart dimmers.
Step-by-Step Troubleshooting & Repair Protocol
Follow this exact sequence to diagnose and repair a floating outlet on a tiled backsplash.
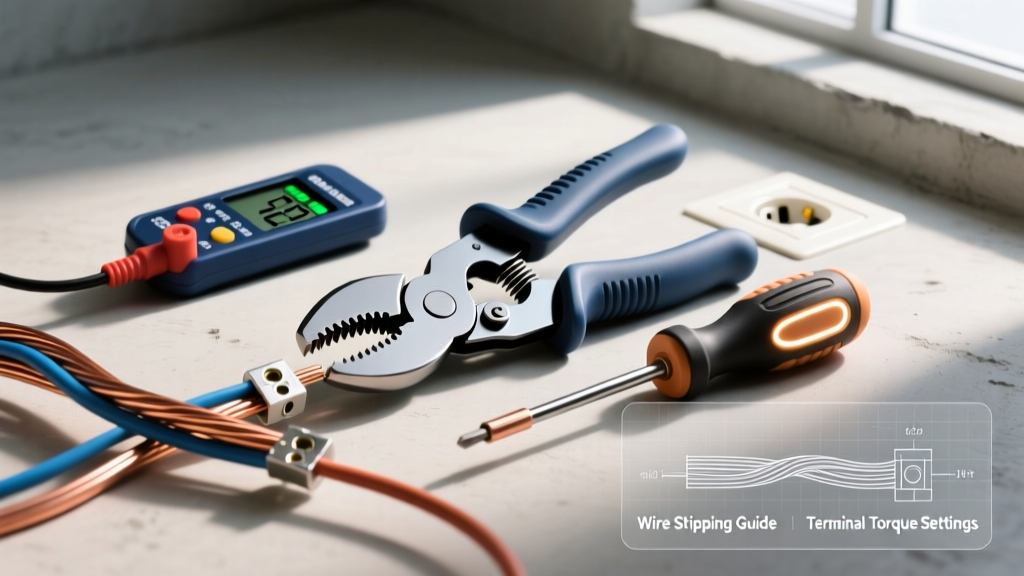
- Kill the Power and Verify: Turn off the breaker and verify 0V at the receptacle using a non-contact voltage tester and a solenoid tester (Wiggy) across the hot and neutral slots.
- Measure the Recess Depth: Use a digital caliper to measure the distance from the tile surface to the front edge of the electrical box ears. Record this measurement to the nearest 1/16 inch.
- Extract the Device: Remove the existing long screws. Gently pull the receptacle out. Do not pull by the wires. Inspect the side wiring. If the wires are back-stabbed (push-in connections), take this opportunity to move them to the side terminal screws for a more reliable connection.
- Select and Prep the Spacer:
- If depth is < 1/4": Stack Caddy metal shims. Slide them over the mounting screws between the yoke and the tile.
- If depth is > 1/4": Install the Arlington BE-1. Snap the extender ring off, slide it over the wires, and press it into the box. Score the outer flange with a utility knife so it lays flat against the tile.
- Seat the Yoke: Push the receptacle back. The yoke should make firm, physical contact with the tile or the extender ring before the mounting screws are fully tightened.
- Torque and Level: Tighten the 6-32 screws alternately (top, then bottom) to keep the yoke level. Use a small torpedo level to ensure the outlet is perfectly plumb relative to the tile grout lines.
Expert Edge Cases in Tile Spacer Troubleshooting
Edge Case 1: GFCI and AFCI Depth Conflicts
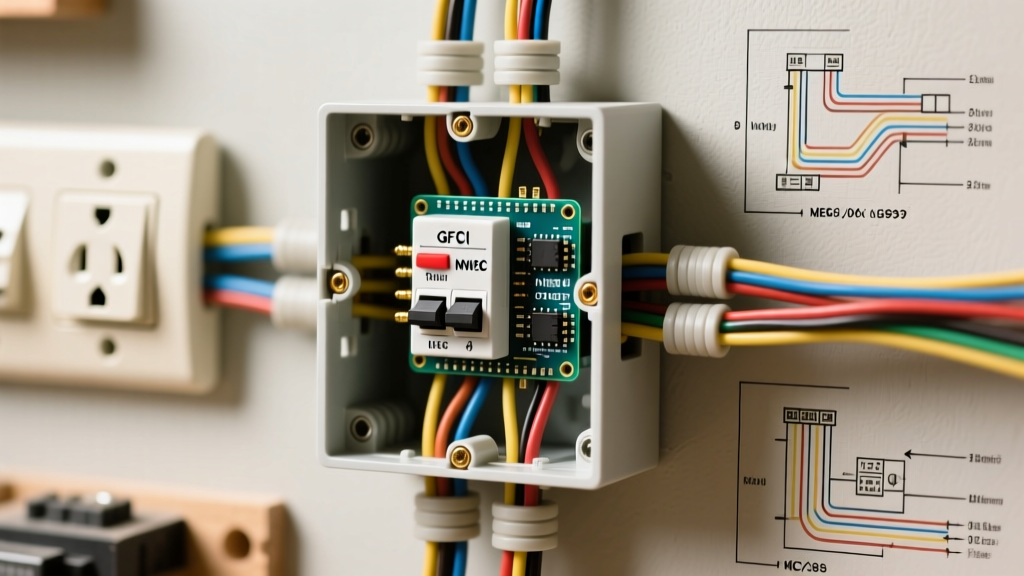
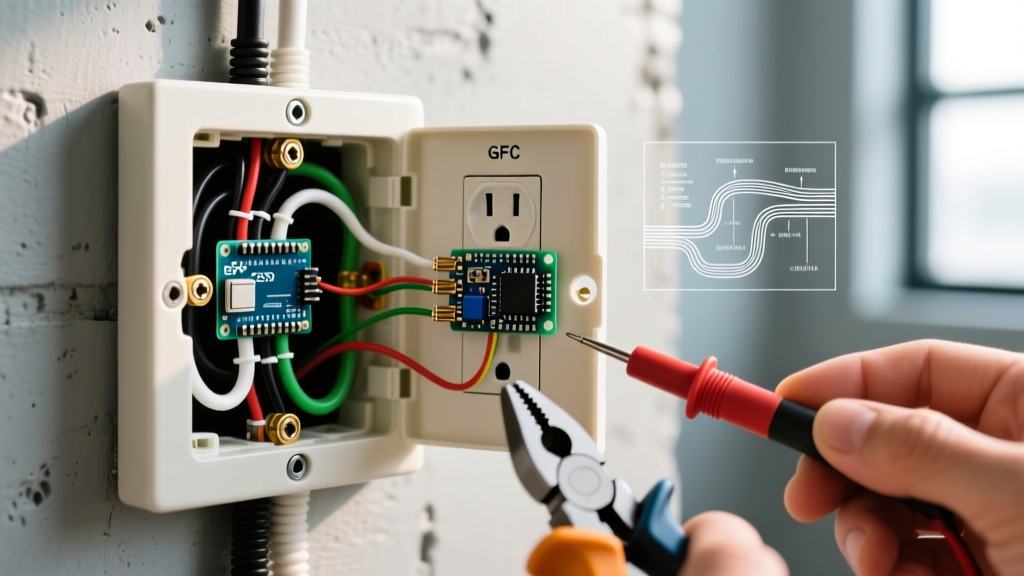
GFCI and AFCI receptacles have significantly deeper bodies (often 1.125" to 1.25" deep) compared to standard 15A duplex receptacles (0.9" deep). When troubleshooting electrical outlet spacers for tile on these protected circuits, the physical depth of the box becomes a secondary issue. If the tile installer used a shallow 1.5-inch pancake box or a standard old-work box, adding a 3/8-inch tile layer pushes the GFCI body against the back of the box or the Romex cable clamps. This causes the yoke to bow outward before it even reaches the tile surface. The Fix: You must replace the shallow box with a 2.25-inch deep "deep old work" box (like the Carlon B618R) to accommodate the GFCI body, allowing the yoke to sit flush against the tile spacers without mechanical binding.
Edge Case 2: The "Oversized Tile Cutout" Nightmare
Tile setters frequently use an angle grinder to cut outlet holes, resulting in jagged, oversized openings where the tile does not fully cover the drywall or the electrical box ears. If you use standard metal shims here, the yoke will slip into the void behind the tile. The Fix: Use a plastic Arlington BE-1 extender, but apply a bead of 100% silicone caulk behind the extender's outer flange before pressing it against the tile. The silicone acts as a gap-filling adhesive, bridging the jagged cutout and providing a solid, unified surface for the receptacle yoke to clamp against once cured.
Final Safety Verification
After installing the correct electrical outlet spacers for tile and reassembling the cover plate, perform a mechanical stress test. Plug and unplug a stiff, heavy-duty appliance cord (like a shop vac or microwave cord) five times. The receptacle face should not flex, crack, or pull away from the tile surface by even a fraction of a millimeter. Finally, test the circuit with a GFCI/AFCI tester to ensure the internal contacts were not damaged during the troubleshooting process. By respecting the physics of shear stress and adhering strictly to NEC 314.20, you ensure your tiled backsplash remains both beautiful and electrically safe for decades.