
The Code Reality: Why You Cannot Just Hide the TV Cord
Homeowners frequently attempt to achieve a clean, minimalist aesthetic by running a television's factory power cord directly inside the wall cavity. This is a severe fire hazard and a direct violation of the National Electrical Code (NEC). According to the National Fire Protection Association (NFPA), NEC Article 400.12 explicitly forbids the use of flexible cords as a substitute for the fixed wiring of a structure. TV power cords are not rated for the heat dissipation constraints or physical protection required inside a sealed wall cavity.
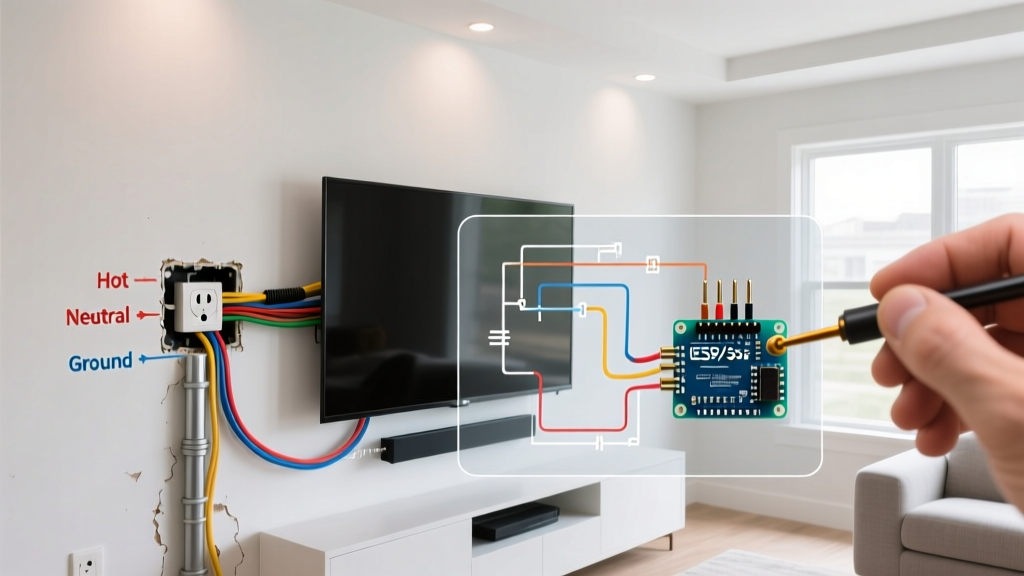
To safely and legally power a wall-mounted display, you must relocate electrical outlet to the exact height of the TV's recessed input panel (typically 42 to 48 inches from the finished floor). This requires extending or re-running in-wall rated NM-B (Romex) or MC (Metal Clad) cable to a new receptacle box. Below, we detail the professional methodology for executing this common wiring scenario, including 2026 material realities and critical code compliance checkpoints.
Materials & 2026 Cost Breakdown
As of early 2026, copper prices have stabilized compared to the peaks of the early 2020s, but you still need to budget accurately for in-wall rated materials. Below is the bill of materials for a standard 15-amp residential circuit extension.
| Item | Specific Model / Type | Estimated 2026 Cost |
|---|---|---|
| Old Work Receptacle Box | Carlon B120R-UPC (20 cu. in.) | $4.85 |
| In-Wall Rated Cable | Southwire 14/2 NM-B W/G (50 ft coil) | $24.50 |
| Tamper-Resistant Receptacle | Leviton T5262-W (15A, Duplex, TR) | $3.40 |
| Blank Cover Plate | Arlington Industries BE101 | $1.65 |
| Voltage Tester | Klein Tools NCVT-4 (Non-Contact) | $28.00 |
| Fish Rods | Klein Tools 56415 (Glow Rod Set) | $36.00 |
Note: Always verify your existing circuit breaker amperage. If the circuit is protected by a 20-amp breaker, you must upgrade the cable to 12/2 NM-B and use a 20-amp rated receptacle (e.g., Leviton T5362-W).
The Junction Box Dilemma: Accessible vs. Abandoned
When you decide to relocate electrical outlet higher up the wall, you are faced with a critical NEC junction box rule. NEC Article 314.29 mandates that all junction boxes must remain accessible without removing any part of the building. You cannot simply splice wires inside the old wall cavity and drywall over them.
Scenario A: The Accessible Junction Method (Easiest)
In this scenario, you cut the existing cable inside the original outlet box, splice a new length of 14/2 NM-B to it using Wago 221 lever-nuts, and fish the new cable up to the TV location. The original box remains in place at the baseboard level, but you install a blank faceplate (Arlington BE101) over it. While legally compliant, this leaves a blank plate near the floor, which some homeowners find aesthetically displeasing.
Scenario B: The Abandon & Re-Run Method (Cleanest Finish)
If you want to completely eliminate the old outlet and patch the drywall seamlessly, you must abandon the old cable entirely. This requires accessing the attic, basement, or an adjacent accessible junction box (like a nearby closet outlet) to disconnect the old wire and pull a brand-new, continuous 14/2 NM-B line directly from the upstream source to your new TV-height box. This is more labor-intensive but yields a flawless, single-outlet wall.
Step-by-Step Execution: Scenario A (Accessible Junction)
Step 1: Power Verification & Drywall Excision
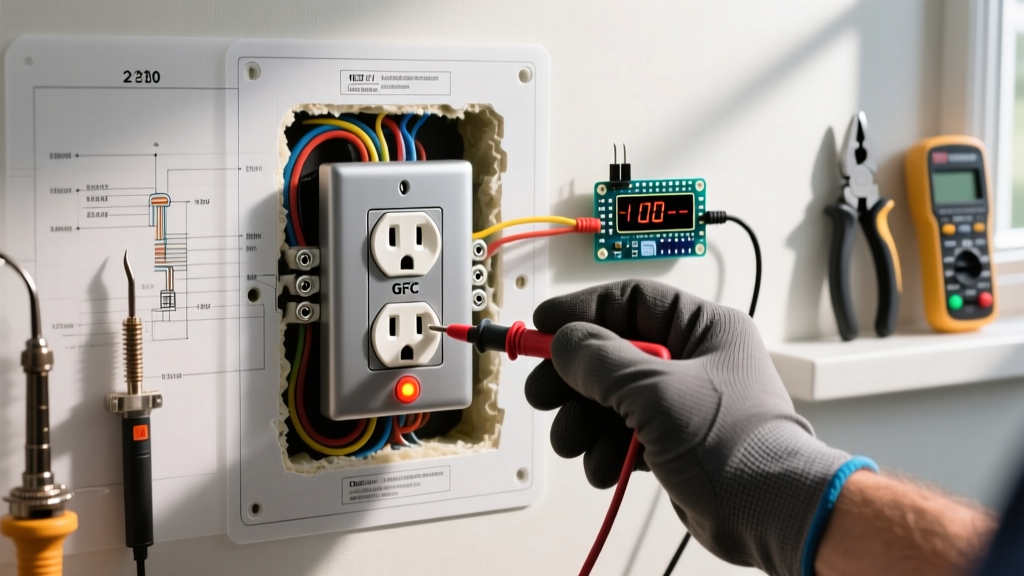
Turn off the breaker and verify the absence of voltage using a Klein Tools NCVT-4 tester. The Electrical Safety Foundation International (ESFI) strongly recommends testing both the top and bottom receptacles, as split-wired circuits (often found in kitchens or older living rooms) may have power on only one half.
Remove the old receptacle. Use a magnetic stud finder to locate the exact center of the wall studs flanking your new desired outlet height. Mark a 2.25" x 3.75" rectangle for the new old-work box, ensuring you are at least 1.5 inches away from the stud edge to avoid hitting drywall screws. Cut the opening with a jab saw.
Step 2: Fishing the NM-B Cable
Feed a fiberglass glow rod down from the new top opening toward the old bottom box. If you encounter resistance, you have likely hit a fireblock (a horizontal 2x4 installed between studs to slow fire spread). See the Edge Cases section below for bypassing fireblocks.
Once the rod reaches the bottom box, tape the stripped end of your 14/2 NM-B cable to the rod using electrical tape, creating a smooth, tapered bullet shape to prevent snagging on drywall edges. Pull the cable up into the new box, leaving at least 8 inches of slack.
Step 3: Terminating the Leviton TR Receptacle
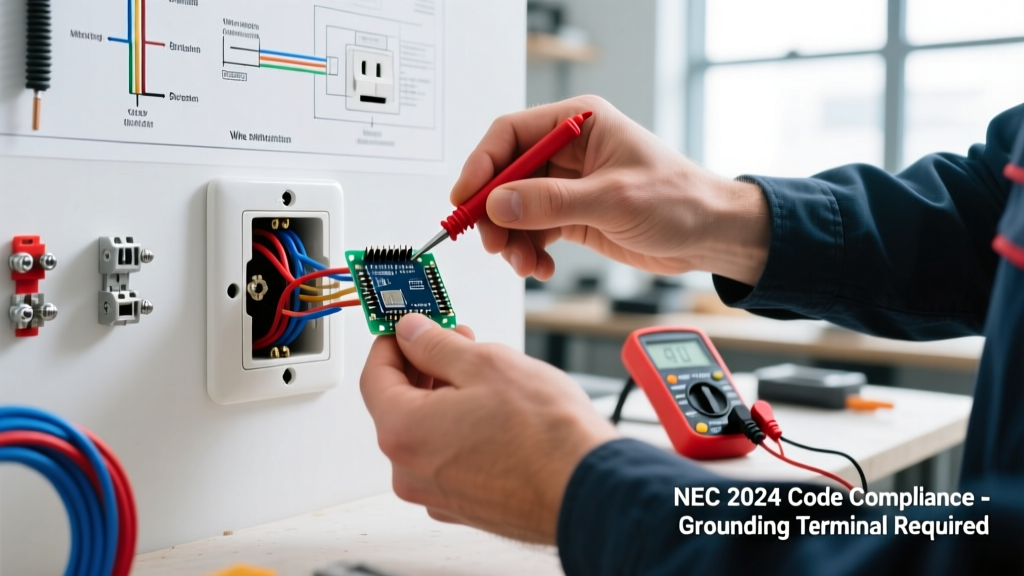
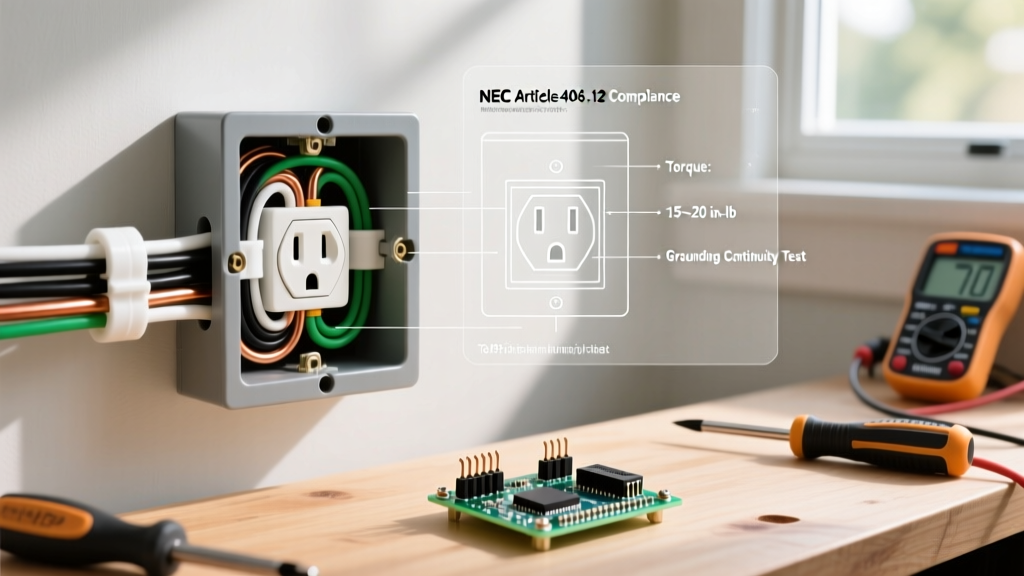
Strip the outer NM-B jacket back 8 inches, and strip exactly 3/4 inch of insulation from the black (hot) and white (neutral) wires. NEC 406.4(D) requires Tamper-Resistant (TR) receptacles in all dwelling unit areas to prevent childhood shock hazards.
- Ground: Loop the bare copper wire clockwise around the green grounding screw.
- Neutral: Loop the white wire clockwise around the silver terminal screw.
- Hot: Loop the black wire clockwise around the brass terminal screw.
For professional reliability, use a torque screwdriver (like the Wiha 645P) set to 14 in-lbs to tighten the terminal screws. The U.S. Consumer Product Safety Commission (CPSC) notes that loose terminal connections are a leading cause of residential electrical fires due to arc faulting and thermal degradation.
Edge Cases & Troubleshooting
1. Bypassing Horizontal Fireblocks
If your wall cavity is blocked by a horizontal 2x4, you cannot fish the wire directly. You must cut a 4x4 inch access hole in the drywall directly over the fireblock. Use a right-angle drill or a flexible shaft drill bit (Greenlee 7120) to bore a 3/4-inch hole through the center of the fireblock. Fish the wire through, then repair the drywall access hole using a California patch or a backing board and joint compound.
2. Metal Stud Construction
If you are relocating an outlet in a modern condo or commercial build with metal studs, NM-B cable is highly susceptible to chafing against the sharp metal knockout edges. You must either use MC (Metal Clad) cable or install plastic NM-B bushings (Arlington NM94) in every metal stud hole the cable passes through to protect the insulation.
3. Insulated and Soundproofed Cavities
Walls filled with Rockwool Safe'n'Sound or dense fiberglass batts make traditional glow-rodding nearly impossible. The insulation tangles around the fish tape. In this scenario, use a flexible drill bit with an extension shaft to drill through the top plate from the attic, and use a shop-vacuum at the bottom wall opening to suck a pull-string down through the insulation cavity before attaching your cable.
Final Inspection & Safety Checklist
Before mounting your TV, perform a final verification checklist:
- Ensure the new receptacle sits flush against the drywall without bowing (use box shims if necessary).
- Verify the blank cover plate is securely fastened over the old junction box.
- Turn the breaker back on and test the new receptacle with a standard 3-prong outlet tester to confirm correct hot/neutral/ground polarity.
- Ensure no NM-B cable is exposed outside the drywall; all in-wall rated cable must remain inside the structural cavity.
By following these precise methodologies, you ensure your home theater setup is not only visually flawless but rigorously compliant with modern electrical safety standards.