
The 'Series' Misconception: Parallel vs. Daisy-Chaining
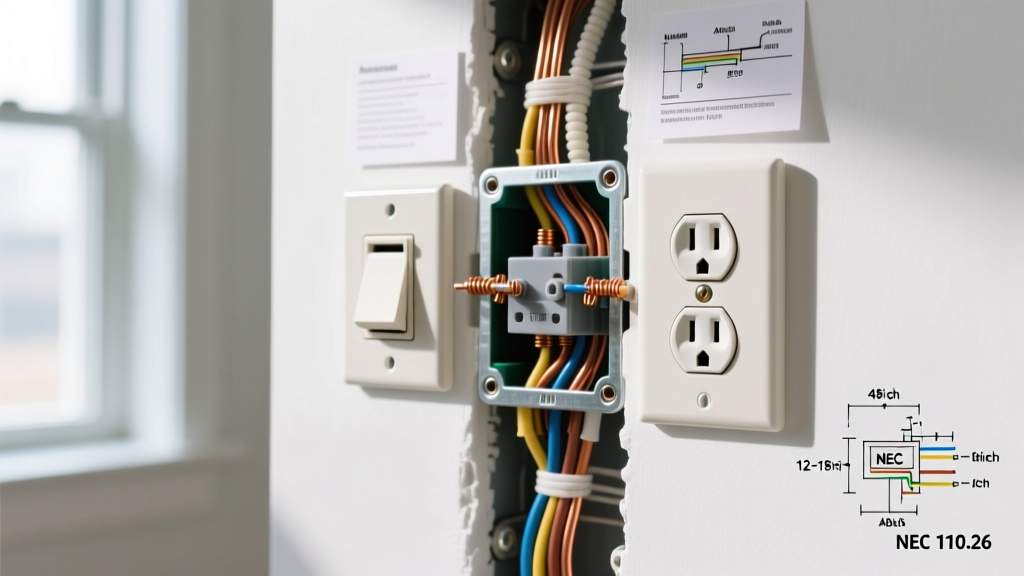
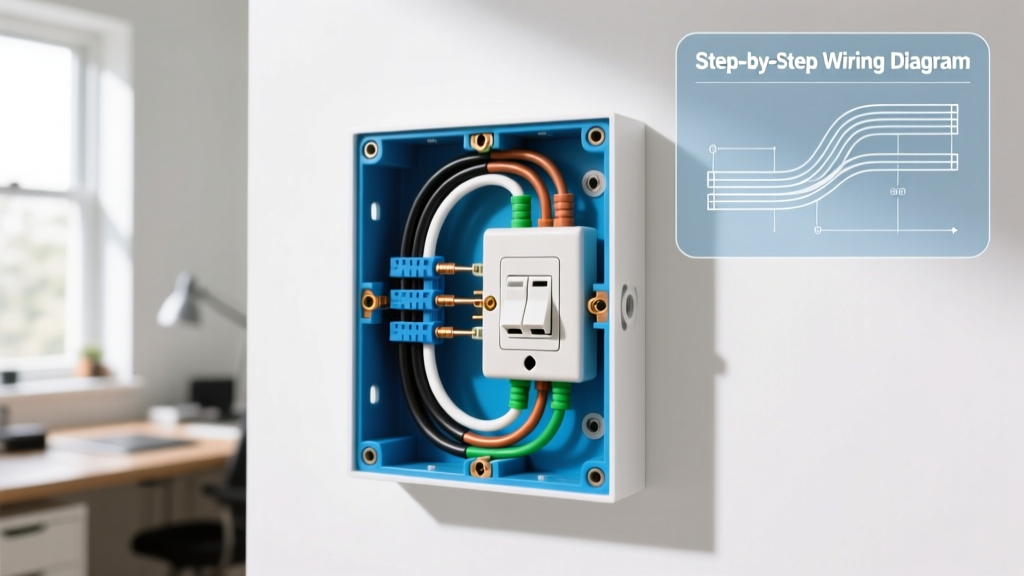
Before unboxing your wire strippers, we must address a critical terminology trap. When homeowners ask how to install electrical outlet in series, they are almost always referring to 'daisy-chaining'—running a cable from the panel to Outlet A, and then another cable from Outlet A to Outlet B. Electrically, standard 120V residential receptacles are wired in parallel, not in series.
If you were to wire 120V outlets in a true electrical series, the voltage would divide across the devices (e.g., 60V each on a two-outlet run). Motors would overheat and burn out, and sensitive electronics would fail to power on. Furthermore, if one device in a true series circuit is unplugged, the entire downstream circuit breaks. Therefore, this guide focuses on the correct physical routing (daisy-chaining) while maintaining the required parallel electrical topology, utilizing the best 2026 tools and materials for a safe, code-compliant installation.
⚠️ SAFETY & CODE ALERT: According to the National Fire Protection Association (NFPA), all residential receptacles must be Tamper-Resistant (TR) and installed in accordance with NEC Article 406. Always shut off the breaker and verify zero voltage before touching any conductors.The 2026 Essential Tool Kit for Outlet Installation
Skip the generic hardware store kits. Proper termination requires precision tools that prevent conductor nicking and ensure secure mechanical connections. Here is the exact loadout used by professionals today.
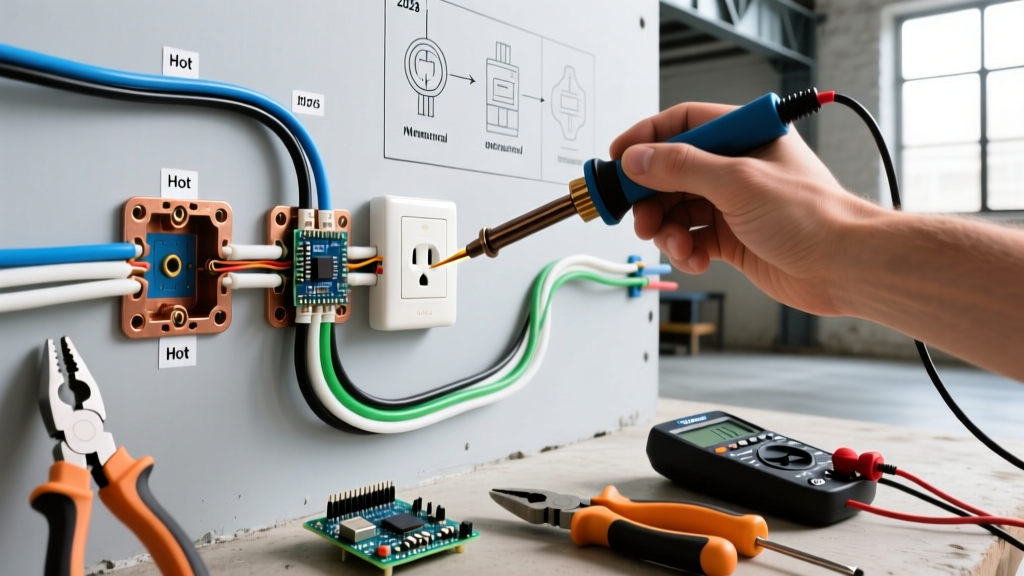
1. Wire Strippers & Cutters
Ditch the utility knife. Slicing the insulation compromises the copper, creating a high-resistance hot spot that can melt the receptacle over time.
- Top Pick: Klein Tools 11055 (10-20 AWG Solid Wire Stripper). Priced around $28 in 2026, the precision-machined holes strip 14 AWG and 12 AWG Romex without scoring the copper.
- Alternative: Milwaukee 48-22-3100 Rapid Release Stripper ($32). Excellent for high-volume runs where one-handed operation is needed.
2. Voltage Testers
Never trust a breaker label. You need a dual-check verification method.
- Non-Contact: Fluke 1AC-II VoltAlert ($35). The gold standard for quick, reliable dead-front testing.
- Contact/Plug-In: Sperry Instruments GFI6302 Receptacle Tester ($15). Use this to verify correct wiring polarity and ground presence after installation.
3. Fastening & Torque Tools
While NEC 110.14(D) mandates calibrated torque tools for breaker terminations, receptacle screws also require specific tightness to prevent arcing.
- Driver: Wiha 32095 Insulated SlimLine Screwdriver Set ($45). The slim blade profile allows deep access into recessed terminal screws without shorting against the ground strap.
Material Breakdown: Wire, Receptacles, and Boxes
Selecting the right materials dictates the longevity and safety of your daisy-chained circuit. Below is the specification matrix for a standard 15-Amp and 20-Amp branch circuit.
| Component | 15-Amp Circuit Spec | 20-Amp Circuit Spec | Est. 2026 Cost |
|---|---|---|---|
| Wire (NM-B) | 14/2 AWG (Southwire) | 12/2 AWG (Southwire) | $0.45 - $0.65 / ft |
| Receptacle | Leviton T5320-W (15A TR) | Leviton T5262-W (20A TR) | $2.50 - $3.80 ea |
| Old-Work Box | Carlon B618R-UPC (18 cu in) | Carlon B618R-UPC (18 cu in) | $1.20 ea |
| Connectors | Wago 221 Lever-Nuts (3-port) | Wago 221 Lever-Nuts (3-port) | $14.00 / 50-pack |
The Connector Debate: Pigtailing vs. Pass-Through
When daisy-chaining outlets, you have two choices for handling the incoming (line) and outgoing (load) wires: passing them through the receptacle screws or 'pigtailing' them.
Why Pigtailing is the Professional Standard
Passing wires through the receptacle means the downstream outlets rely entirely on the metal brass and silver straps of the device itself to carry the electrical load. If a plumber or HVAC tech later replaces that receptacle and forgets to connect the load side, the downstream circuit dies. More dangerously, if the neutral strap breaks internally, you can create an open-neutral condition, leading to severe voltage fluctuations.
NEC 300.13(B) explicitly requires the continuity of the grounded (neutral) conductor. While the code allows passing the hot wire through the device, best practice—and the requirement for neutrals on multi-wire branch circuits or AFCI/GFCI setups—is to pigtail all conductors.
Wago 221 Lever-Nuts vs. Traditional Wire Nuts
In 2026, traditional twist-on wire nuts (like the Ideal Yellow 74B) are being rapidly replaced by Wago 221 Lever-Nuts for residential pigtailing.
- Visual Verification: Wago connectors have a transparent housing, allowing you to visually confirm the wire is fully seated and stripped to the correct length.
- Consistent Clamping: Lever-nuts apply uniform spring pressure, eliminating the risk of a loose connection caused by under-twisting a wire nut.
- Space Efficiency: The Wago 221 3-port connector is remarkably compact, saving crucial cubic inches inside crowded outlet boxes.
Step-by-Step Material Prep & Wiring Flow
Follow this exact sequence to ensure a clean, code-compliant daisy-chain installation.
- Strip the Sheathing: Use a Romex ripper or the Klein 11055 to remove exactly 8 inches of the outer PVC sheathing. Never strip the sheathing inside the electrical box; it must enter the box by at least 1/4 inch per NEC 300.15.
- Strip the Conductors: Strip 5/8 inch of insulation from the black, white, and ground wires. Use the strip gauge molded into the back of the Leviton receptacle to verify length. Exposed copper outside the terminal is a shock hazard; insulation inside the terminal causes a high-resistance connection.
- Create Pigtails: Cut three 6-inch lengths of solid copper wire (matching the circuit gauge: 14 AWG or 12 AWG). Strip 5/8 inch on both ends.
- Make the Connections:
- Connect the incoming black, outgoing black, and black pigtail using a 3-port Wago 221.
- Repeat for the white (neutral) wires.
- Connect all bare copper grounds and the green ground pigtail using a Wago 221 or a crimp ring with a green grounding screw if using a metal box.
- Terminate at the Receptacle: Connect the black pigtail to the brass (hot) screw and the white pigtail to the silver (neutral) screw. Pro-Tip: Form a clockwise 'J-hook' with the wire so that tightening the screw pulls the loop closed rather than pushing it out.
- Torque and Fold: Tighten the terminal screws firmly (approx. 14 in-lbs). Carefully fold the Wago connectors and wires into the back of the box, keeping the ground wires pushed deepest to avoid pinching.
Box Fill Calculations: Avoiding the Overcrowding Trap
The most common failure point in daisy-chained outlets is box overcrowding, which traps heat and damages wire insulation. The Occupational Safety and Health Administration (OSHA) and NEC Article 314.16 strictly regulate box fill.
Quick Box Fill Math (NEC 314.16(B)):
For 14 AWG wire, count 2.0 cubic inches per conductor. For 12 AWG, count 2.25 cubic inches.
Example for a daisy-chained 14 AWG box: 4 current-carrying wires (2 hot, 2 neutral) = 8 cu in. 1 receptacle (counts as 2 wires) = 4 cu in. All grounds combined = 2 cu in. Internal clamps = 2 cu in. Total = 16 cubic inches. A standard 18 cu in old-work box is perfectly legal and safe.
Common Failure Modes & Troubleshooting
Even with the right tools, DIYers frequently encounter these edge cases when installing outlets in a daisy-chain sequence:
1. The 'Backstab' Failure
Many cheap receptacles feature push-in 'backstab' terminals. Never use these. They rely on a tiny internal spring clip that grips the wire. Over time, thermal expansion and contraction cause the wire to work loose, leading to arcing, melted plastic, and electrical fires. Always use the side-screw terminals or the newer screw-clamp plates found on commercial-grade Leviton or Hubbell receptacles.
2. Multi-Wire Branch Circuits (MWBC)
If you open a box and find two hot wires (one black, one red) sharing a single neutral white wire, you have an MWBC. Stop. You must ensure the two breakers are on opposite legs (240V between them) and tied together with a handle tie. Pigtailing the neutral on an MWBC is strictly required by code; breaking the neutral connection while the circuit is live will send 240V through your 120V appliances, instantly destroying them.
3. GFCI/AFCI Daisy-Chaining
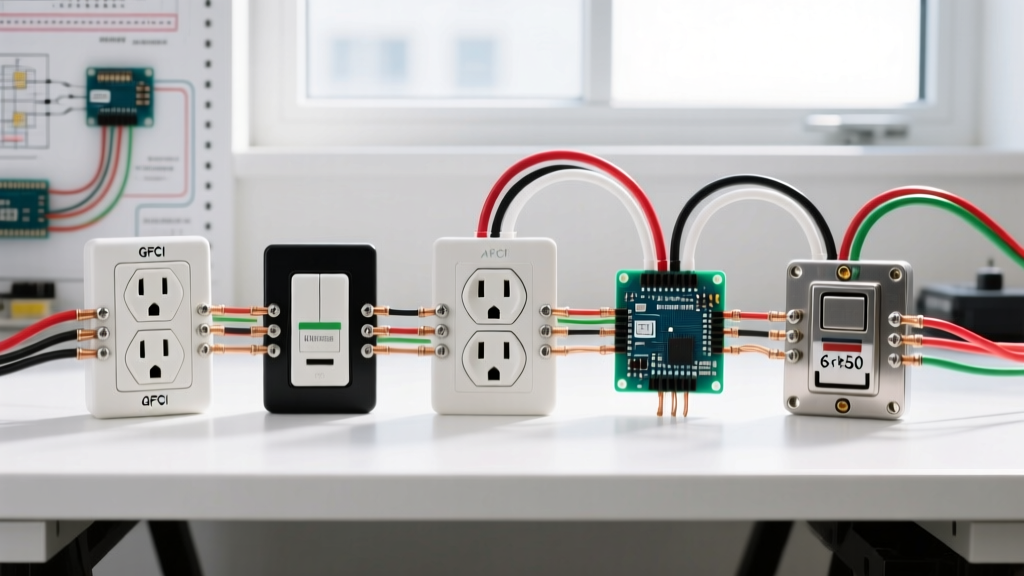
If your circuit requires Ground Fault or Arc Fault protection, you cannot simply daisy-chain standard outlets off the 'LOAD' terminals of a GFCI unless you intend for all downstream outlets to be GFCI protected. If you only need protection at the first location, wire the downstream daisy-chain to the 'LINE' terminals of the GFCI, or install individual GFCI receptacles at each location. For more on general home safety standards, refer to the Consumer Product Safety Commission (CPSC) electrical safety guidelines.
Final Inspection Checklist
Before turning the breaker back on, verify the following:
- No bare copper is visible outside the Wago connectors or receptacle terminals.
- No wire insulation is pinched between the receptacle yoke (strap) and the drywall.
- The receptacle sits flush against the wall without bowing (use shims/cat-ears if the box is recessed more than 1/4 inch).
- The Sperry tester reads 'Correct' (two amber lights) upon energizing the circuit.
By treating the physical daisy-chain as a parallel electrical circuit and utilizing modern pigtailing connectors, you ensure your newly installed outlets will operate safely and reliably for decades.