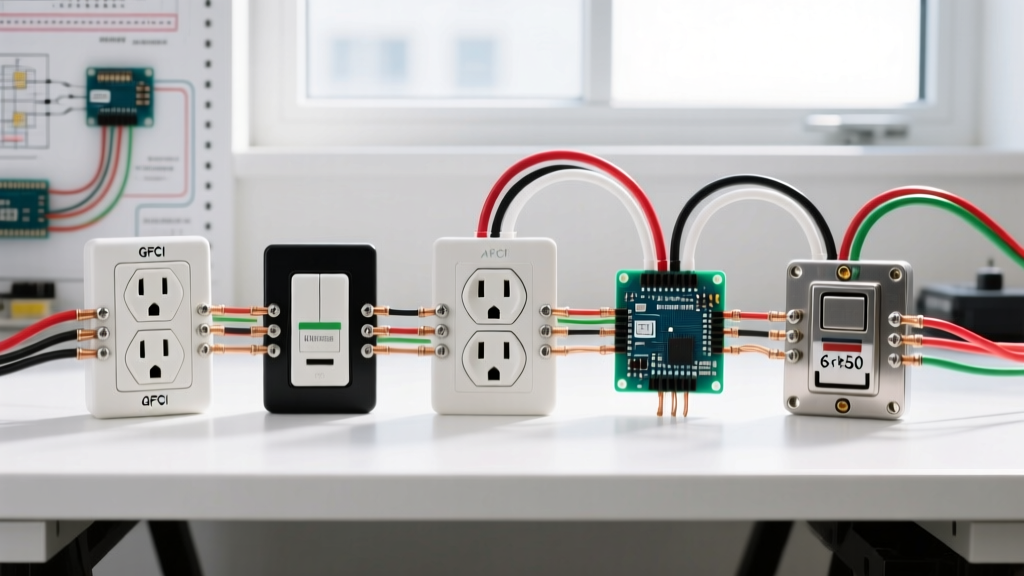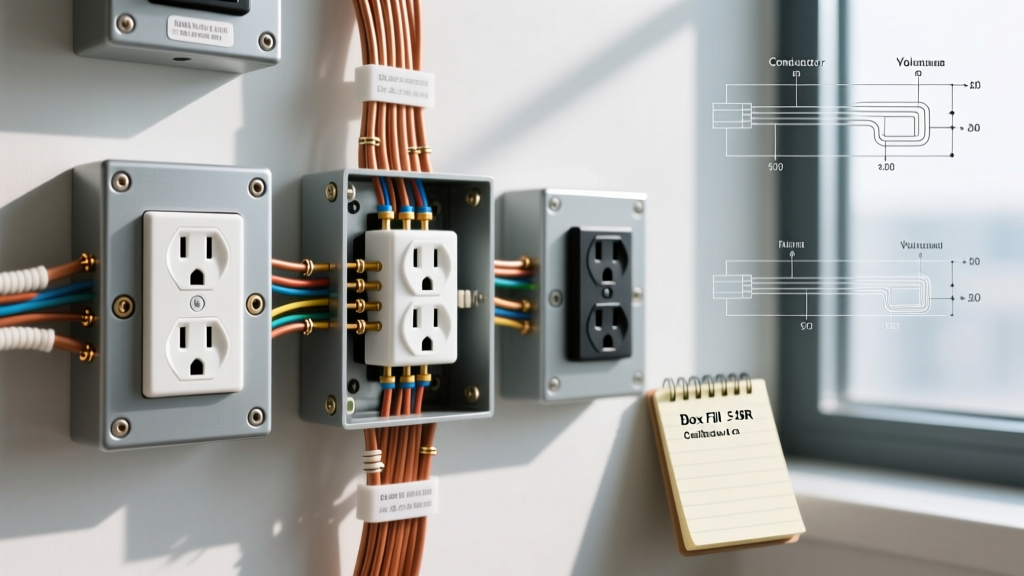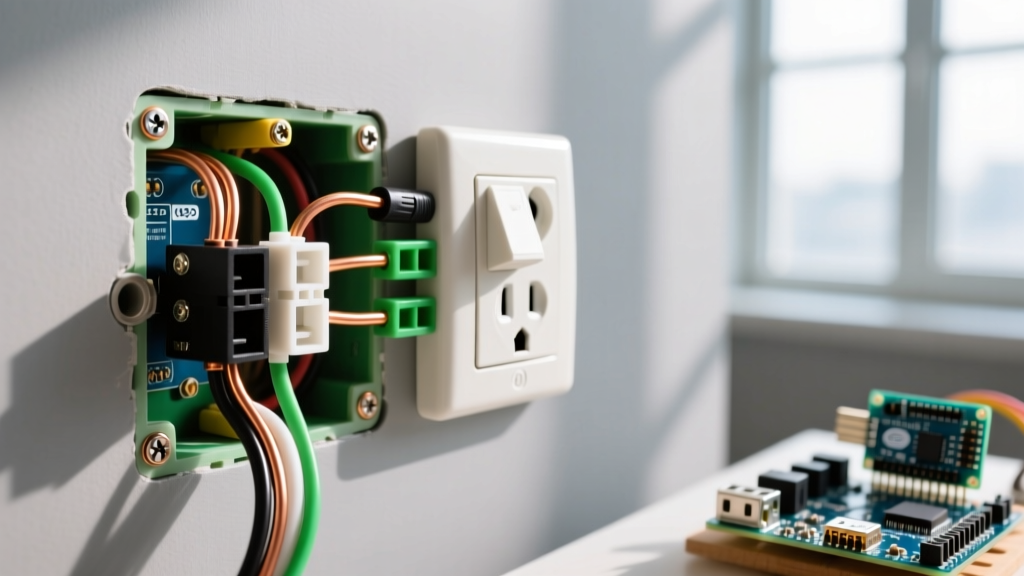

The Hidden Dangers of Botched Receptacle Wiring
Wiring a standard 15-amp or 20-amp duplex receptacle seems straightforward: black to brass, white to silver, and bare copper to the green grounding screw. Yet, when you wire electrical outlet connections incorrectly—or inherit a botched DIY job from a previous homeowner—the symptoms range from a simple dead circuit to a severe arc-fault fire hazard. According to the U.S. Consumer Product Safety Commission (CPSC), electrical receptacles are involved in thousands of home fires annually, frequently due to loose terminations, degraded push-in connectors, and improper grounding.
As of 2026, the widespread adoption of dual-function AFCI/GFCI breakers and receptacles means that even minor wiring anomalies—like a shared neutral or a bootleg ground—will result in immediate nuisance tripping. This guide provides a master-class diagnostic approach to troubleshooting receptacle faults, ensuring your wiring meets the latest National Electrical Code (NEC) standards.
The Diagnostic Toolkit for Receptacle Faults
You cannot reliably troubleshoot modern electrical circuits with a $5 neon voltage tester. To diagnose complex wiring faults, you need precision instruments that measure voltage drop, impedance, and torque.
- True-RMS Multimeter (e.g., Fluke 117): Essential for measuring exact voltage drops across connections. A healthy 120V circuit should read between 114V and 126V at the receptacle under no-load conditions. (Cost: ~$220)
- Advanced Receptacle Tester (e.g., Klein Tools RT250): Unlike basic 3-light testers, the RT250 features an LCD screen that explicitly identifies wiring faults, including open grounds and reversed hot/neutral, while also testing GFCI trip times. (Cost: ~$45)
- Torque Screwdriver: Required by NEC 110.14(D) for terminating 14 AWG through 10 AWG wires. The NFPA NEC 110.14(D) mandates that terminals be tightened to the manufacturer's specified torque to prevent thermal arcing. (Cost: ~$130 for an Ideal Industries 35-110 model).
- Wire Strippers with Gauge Holes: Using the knife-edge of a plier to strip wire nicks the copper, creating a stress fracture that will snap under the terminal screw. Always use the 14 AWG or 12 AWG hole on a tool like the Klein 11055.
Decoding Receptacle Tester Light Patterns
When diagnosing a newly wired or existing outlet, a standard 3-light tester (like the Klein RT110) provides the first layer of fault isolation. Below is the diagnostic matrix for standard 120V 3-prong receptacles.
| Light Pattern (Left-Center-Right) | Diagnosis | Root Cause & Corrective Action |
|---|---|---|
| Yellow - Yellow - OFF | Correct Wiring | No action required. Verify torque on terminal screws. |
| OFF - Yellow - Yellow | Open Hot | Breaker is off, or the black (hot) wire is disconnected upstream or at the terminal. |
| Yellow - OFF - OFF | Open Neutral | White (neutral) wire is loose. Check wire nut pigtails in the back of the box. |
| Yellow - OFF - Yellow | Open Ground | Bare/green wire not connected to the green screw, or upstream ground fault. |
| OFF - Yellow - OFF | Hot/Neutral Reversed | Black wire on silver screw, white wire on brass screw. High shock hazard. |
| Red - OFF - OFF | Hot/Ground Reversed | Black wire connected to the green ground screw. Immediate electrocution hazard. |
Failure Mode 1: The "Backstab" Thermal Creep
The most common cause of intermittent dead outlets and melted receptacle faces in residential wiring is the use of push-in "backstab" connectors. These spring-loaded clips grip the stripped 14 AWG wire, but they offer a significantly smaller surface area for electrical contact compared to side-wire terminal screws.
The Physics of Backstab Failure
When a high-draw appliance (like a space heater pulling 12.5 amps or a hair dryer pulling 15 amps) is plugged in, the backstab connection heats up. The internal brass spring expands. When the appliance is unplugged, the metal cools and contracts. Over hundreds of thermal cycles, this expansion and contraction cause "thermal creep," loosening the spring's grip on the wire. The resulting micro-arcing generates intense heat, often melting the polycarbonate housing of the receptacle.
Expert Directive: Never use backstab connectors, even if the receptacle manufacturer allows them. Always strip the wire to exactly 3/4 inch (using the strip gauge molded into commercial-grade receptacles like the Leviton 5262) and loop the wire clockwise around the terminal screw. Tighten to 14 inch-pounds of torque using a calibrated torque screwdriver.
Failure Mode 2: Pass-Through Daisy Chain Collapse
In older homes, electricians frequently wired outlets in a "daisy chain" configuration, using the receptacle's internal metal yoke to pass the hot and neutral current to the next downstream outlet. If a homeowner later replaces one receptacle in the middle of the chain and fails to reconnect the downstream wires, or if the internal brass fin bridging the two hot screws breaks off, all subsequent outlets in the room will go dead.
The Pigtailing Solution
To eliminate pass-through failures, modern best practices dictate pigtailing. Instead of connecting two hot wires and one receptacle pigtail under a single wire nut, use modern lever connectors.
- Wago 221-413 (3-Port Lever Nut): Accepts 12-24 AWG solid and stranded wire. Simply strip 11mm (7/16"), lift the orange lever, insert the wire, and snap shut. Cost is roughly $0.60 per connection, but it provides a gas-tight, vibration-proof connection that fits easily into standard 18-cubic-inch deep boxes.
- Ideal 34 Yellow In-Sure Push-In: Rated for up to 3 ports, excellent for tight junction boxes where lever nuts might be too bulky.
Failure Mode 3: Bootleg Grounds and False Safety
A "bootleg ground" is an illegal and highly dangerous wiring trick used to make a 2-prong ungrounded circuit appear as a grounded 3-prong outlet. The perpetrator installs a jumper wire between the silver (neutral) terminal and the green (ground) screw on the receptacle.
Because the neutral and ground are bonded together at the main service panel, a basic 3-light receptacle tester will read "Correct Wiring" (Yellow-Yellow-Off). However, if a fault occurs in an appliance plugged into this outlet, or if the neutral wire upstream becomes disconnected, the metal chassis of the appliance—and the ground pin of the cord—will become energized at 120V.
How to Diagnose a Bootleg Ground
- Visual Inspection: Pull the receptacle out of the box. Look for a bare copper or green jumper wire connecting the silver terminal block to the green grounding screw.
- Multimeter Impedance Test: Turn off the breaker. Measure the resistance between the neutral slot (the longer slot) and the ground U-slot. If it reads near 0.0 ohms, but there is no bare ground wire entering the electrical box from the cable, you have a bootleg ground.
- The GFCI Fix: If you cannot run a new ground wire back to the panel, the NEC allows you to replace the ungrounded receptacle with a GFCI receptacle. You must label it with the included sticker: "GFCI Protected" and "No Equipment Ground." The GFCI will protect against lethal shock by detecting a 5mA current imbalance, even without a physical ground wire.
Step-by-Step Isolation Protocol for Dead Outlets
When an outlet refuses to power devices and the breaker has not tripped, follow this sequential diagnostic flow to isolate the fault without guessing.
- Verify Breaker Status: Check the main panel. Look for a breaker handle sitting in the middle (tripped) position. Reset by pushing firmly to OFF, then to ON.
- Test for Voltage at the Receptacle: Insert a non-contact voltage tester (NCVT) into the hot slot. If it beeps, voltage is present. If devices still don't work, you likely have an Open Neutral.
- Measure Hot-to-Neutral: Use your True-RMS multimeter. Place the black probe in the hot slot and red in the neutral. A reading of 0V with an NCVT beep indicates a broken neutral wire upstream.
- Inspect Upstream Junctions: Turn off the breaker. Open the nearest upstream receptacle or junction box. Check for melted wire nuts, loose backstabbed wires, or severed pigtails.
- Verify Torque: Once the loose connection is found and re-terminated, apply 14 in-lbs of torque to the terminal screws before pushing the receptacle back into the box.
When to Call a Licensed Electrician
While diagnosing and fixing a single faulty receptacle is a standard DIY task, you should immediately halt work and call a licensed master electrician if you encounter aluminum wiring (identifiable by its dull grey color and "AL" stamping on the wire jacket), signs of active charring or melted insulation inside the wall box, or if the circuit lacks an equipment ground and you are unsure how to properly install and label a GFCI retrofit. Safety and code compliance must always supersede DIY cost savings.