
Why Exterior Electrical Outlet Installation Fails in the Field
Completing an exterior electrical outlet installation only to have it fail during the first heavy rain or when plugging in a high-draw appliance is a frustrating hallmark of outdoor electrical work. Unlike indoor receptacles, outdoor outlets battle UV degradation, extreme thermal cycling, condensation, and direct water ingress. In 2026, with the proliferation of smart outdoor appliances, EV chargers, and high-draw landscaping lighting, the electrical demands on exterior circuits are higher than ever.
Troubleshooting these failures requires moving beyond simple visual inspections. You must diagnose ground impedance, cumulative leakage current, and micro-ingress points that compromise weatherproof integrity. This guide provides a master-class diagnostic framework for identifying and resolving the most persistent faults associated with outdoor receptacle setups.
The 2026 Diagnostic Toolkit for Outdoor Receptacles
Before tearing into the weatherproof cover, ensure you have the right diagnostic equipment. Standard plug-in testers are insufficient for modern exterior troubleshooting.
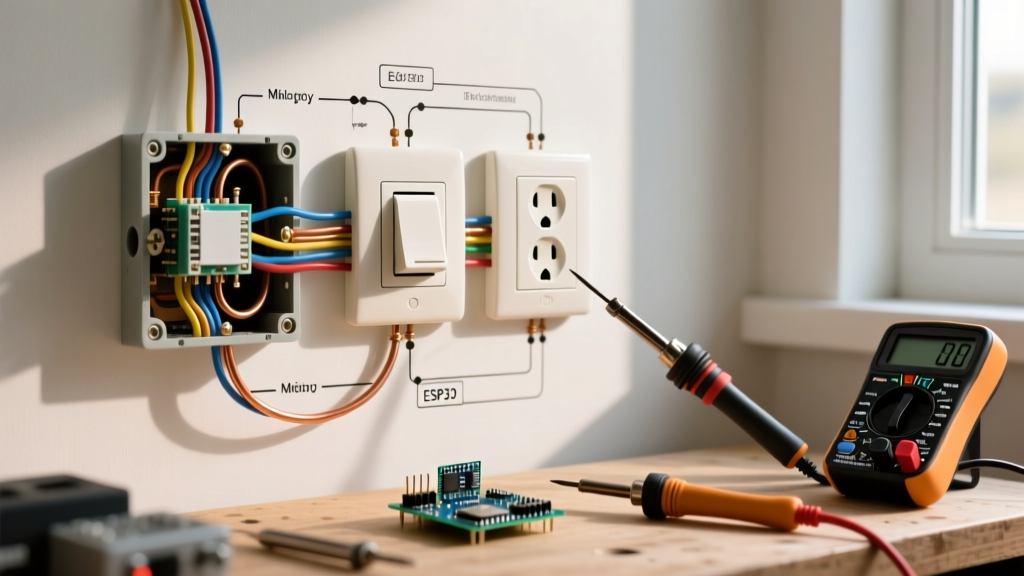
- Fluke 117 True RMS Multimeter (Approx. $210): Essential for accurate voltage drop measurements and detecting phantom voltages caused by induced currents in long outdoor runs.
- Klein Tools RT210 GFCI Receptacle Tester (Approx. $35): Crucial for verifying GFCI trip times and checking for line/load reversals without removing the cover.
- Megger Earth Ground Tester or a reliable clamp-on ground tester: Needed to verify the grounding electrode system's impedance, which must ideally remain below 5 ohms to prevent nuisance tripping.
- Fluke TiS20+ Thermal Imager (Approx. $450): Used to detect high-resistance connections inside the weatherproof box that manifest as heat signatures before they melt the enclosure.
Troubleshooting Matrix: Symptoms and Root Causes
Use this diagnostic matrix to quickly narrow down the failure mode of your exterior electrical outlet installation.
| Symptom | Probable Root Cause | Diagnostic Action |
|---|---|---|
| GFCI trips immediately upon plugging in any device | Neutral-to-Ground fault downstream or moisture in the load-side wiring | Disconnect load wires; test GFCI alone. If it holds, the fault is downstream. |
| Receptacle works, but voltage drops below 110V under load | Undersized wire gauge for the run length or high-resistance backstab connections | Measure voltage at the panel and at the receptacle under a 10A dummy load. |
| GFCI trips randomly during rain, even with no load | Compromised weatherproof gasket or capillary action wicking water into the box | Inspect for condensation vs. direct ingress; check for missing drip loops. |
| Outlet is completely dead, but breaker is not tripped | Upstream GFCI tripped, or a broken conductor due to thermal expansion/contraction | Trace the circuit back to the first point of connection; check wire nuts for corrosion. |
Deep Dive: Diagnosing GFCI Nuisance Tripping Outdoors
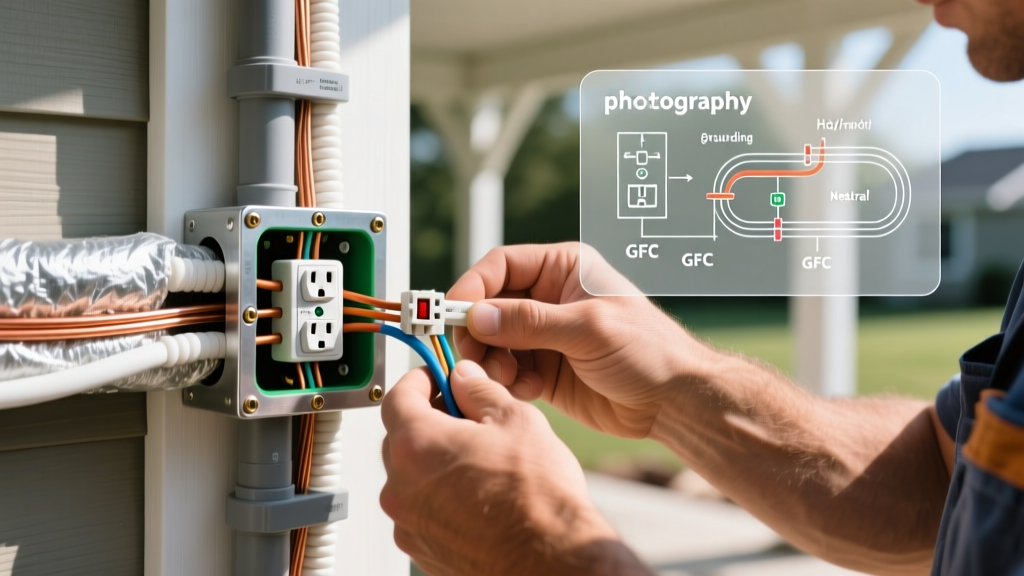
The most common complaint following an exterior electrical outlet installation is nuisance tripping. According to the U.S. Consumer Product Safety Commission, GFCIs are designed to trip when they detect a ground-fault current leakage of approximately 5 milliamps (±1 mA). However, outdoor environments introduce unique variables that cause false positives.
Cumulative Leakage Current
Modern outdoor electronics, including smart transformers and LED drivers, contain EMI (Electromagnetic Interference) filters that intentionally leak tiny amounts of current to ground (often 1-2 mA). If you have daisy-chained multiple outdoor devices on the load side of a single GFCI, their combined leakage can approach the 5mA threshold. When a motor starts or a slight voltage surge occurs, the cumulative leakage spikes, tripping the device.
The Fix: Upgrade to a high-capacity GFCI like the Leviton GFNT2-W SmartLock Pro (approx. $32), which features advanced microprocessors that better distinguish between harmless capacitive leakage and dangerous resistive ground faults. Alternatively, split the loads across multiple dedicated GFCI circuits.
Line/Load Reversal and Miswiring
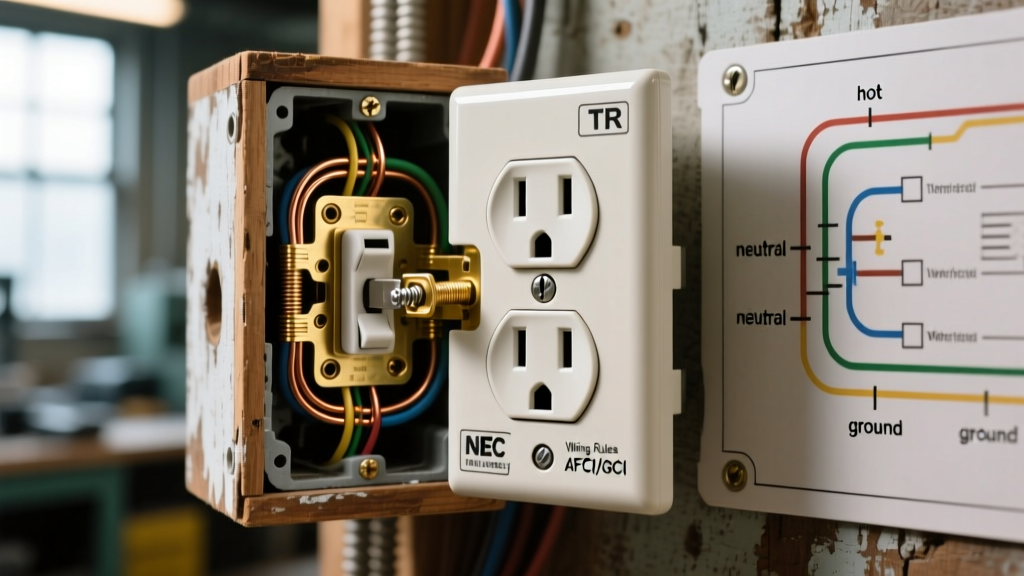
If the GFCI resets but offers no shock protection, or if it refuses to reset at all, you likely have a line/load reversal. In exterior installations, wire lengths are often cut short to fit inside shallow weatherproof boxes, leading to rushed terminations. Use your RT210 tester to verify wiring. If the tester indicates a reverse wire condition, power down, open the TayMac weatherproof cover, and verify that the black and white wires from the panel are strictly on the brass and silver 'LINE' terminals, respectively.
Moisture Ingress: Wet vs. Damp Location Failures
The National Electrical Code (NEC) draws a hard line between damp and wet locations. As outlined in NFPA's NEC guidelines, a wet location is an area subject to direct exposure to weather and water saturation, while a damp location is protected from direct weather but still subject to moderate moisture and condensation.
The In-Use Cover Fallacy
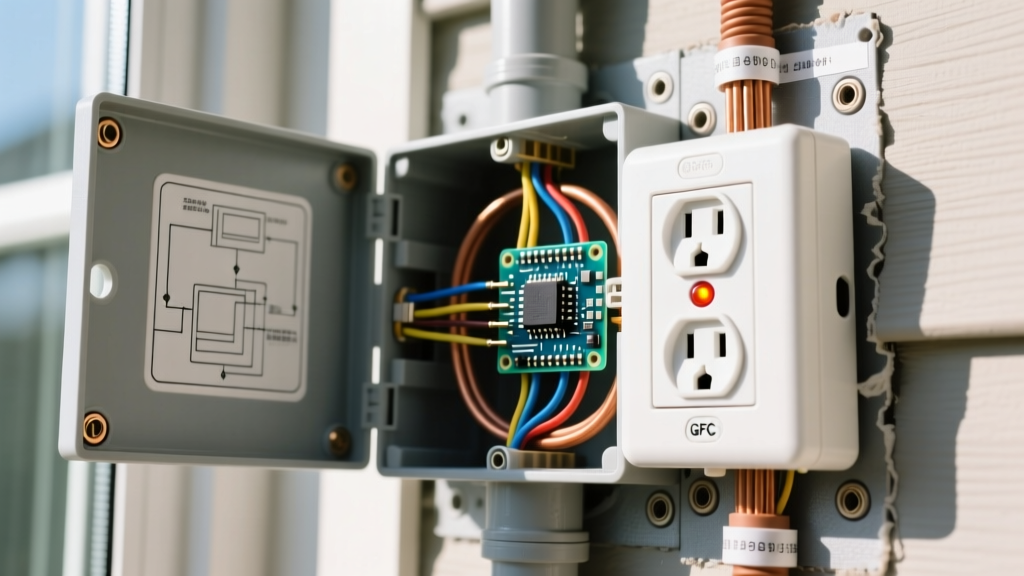
Many DIYers and novice electricians assume that installing an 'in-use' weatherproof cover solves all moisture problems. However, if the mating surface between the electrical box and the siding is not properly sealed, water will bypass the cover entirely, running down the house wrap and entering the box from the rear mounting flange.
Expert Insight: Never rely solely on the foam gasket provided with standard exterior boxes when mounting to textured surfaces like brick, stucco, or cedar shake. The foam cannot compress into the deep grooves, creating micro-channels for capillary water ingress. Instead, apply a continuous 1/4-inch bead of GE Silicone II (Window & Door) around the rear perimeter of the box before mounting.
Condensation vs. Direct Leaks
If you open an exterior box and find water inside, but the seal is intact, you are likely dealing with condensation. When warm, humid air enters the box during the day and the temperature drops at night, the moisture condenses on the cold metal terminals of the GFCI, eventually causing a short or corrosion. The Fix: Install a TayMac MM410W expandable in-use cover (approx. $22) which features integrated weep holes at the bottom. Ensure the conduit entries are sealed with Duct Seal compound to prevent the box from acting as a chimney, drawing humid air up from the soil.
Step-by-Step Voltage Drop and Impedance Testing
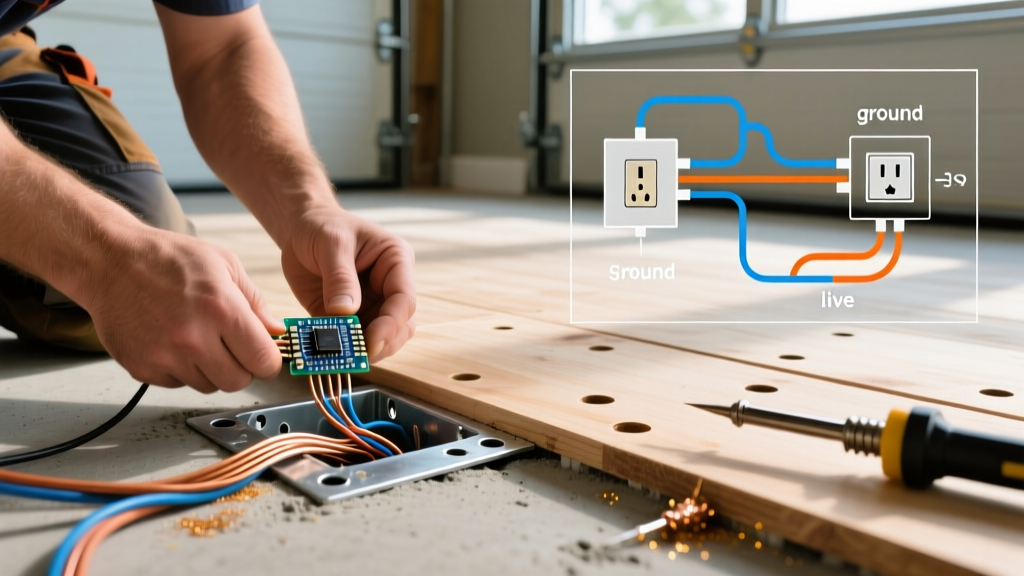
Long trench runs to exterior outlets (such as for a detached workshop, RV pedestal, or landscape lighting hub) are notorious for voltage drop. The NEC recommends a maximum voltage drop of 3% for branch circuits. If your exterior outlet is 150 feet from the panel on 12 AWG copper wire, pulling 15 amps will result in a voltage drop of roughly 5.4 volts (approx. 4.5%), which can damage sensitive electronics or cause motors to overheat.
- Establish Baseline Voltage: Measure the voltage at the main panel's breaker terminals under no load. It should read between 120V and 125V.
- Apply a Dummy Load: Plug a high-draw resistive load (like a 1500W space heater or a dedicated load bank) into the exterior outlet.
- Measure Loaded Voltage: Using your True RMS multimeter, measure the voltage at the receptacle while the load is running.
- Calculate the Drop: Subtract the loaded voltage from the baseline. If the drop exceeds 3.6V (3% of 120V), the wire gauge is insufficient for the run length.
- Check Ground Impedance: A poor ground rod connection at a detached structure can cause GFCIs to fail to trip during a real fault, or trip during harmless surges. Measure the ground impedance; if it exceeds 25 ohms (the NEC maximum for a single electrode), you must drive a second ground rod at least 6 feet away and bond them together with a continuous 6 AWG bare copper conductor.
Corrosion and Terminal Degradation
Even in sealed boxes, galvanic corrosion and oxidation can destroy an exterior electrical outlet installation within a few years, especially in coastal or high-humidity regions. Standard brass and steel terminal screws will oxidize, increasing the resistance of the connection. This high resistance generates heat, which thermal imaging will easily spot.
Actionable Advice: Always use receptacles rated for outdoor and corrosive environments, featuring nickel-plated brass contacts and stainless steel mounting straps. The Pass & Seymour 2095TRWR (approx. $28) features advanced tamper-resistant shutters and weather-resistant (WR) thermoplastic construction that resists UV fading and chemical corrosion far better than standard indoor GFCIs retrofitted for outdoor use.
Compliance with Modern Safety Standards
When diagnosing and repairing exterior outlets, you must adhere to the latest safety codes. The OSHA standards for ground-fault protection and the NEC mandate that all 125-volt, single-phase, 15- and 20-ampere receptacles installed outdoors must have GFCI protection. Furthermore, NEC Article 406.9(B) strictly requires that all outdoor receptacles in wet locations be installed in a weatherproof enclosure that maintains its weatherproof rating whether the receptacle is in use (with a cord plugged in) or not.
Frequently Asked Questions (FAQ)
Can I use a standard indoor GFCI in an exterior weatherproof box?
While physically possible, it violates best practices and potentially the NEC. Standard GFCIs are not manufactured with UV-resistant plastics or corrosion-resistant internal components. Always use a GFCI specifically marked 'WR' (Weather Resistant) for any exterior electrical outlet installation.
Why does my outdoor GFCI trip when I plug in my string lights?
Outdoor LED string lights often have cheap, unsealed power adapters that leak current to ground when exposed to ambient humidity. Test the string lights on an indoor circuit. If they trip the indoor GFCI, the lights are defective and pose a shock hazard.
How often should I test my exterior GFCI outlets?
You should press the 'TEST' button on your exterior GFCIs at least once a month, and immediately after any severe weather event. The internal mechanical contacts can seize over time due to oxidation, rendering the shock protection useless even if the outlet still provides power.
Final Thoughts on Exterior Diagnostics
Successful troubleshooting of an exterior electrical outlet installation requires a holistic view of the circuit, the environment, and the mechanical seals. By utilizing True RMS multimeters, understanding cumulative leakage currents, and strictly adhering to wet-location sealing protocols, you can transform a problematic outdoor circuit into a reliable, code-compliant power source that withstands the elements for decades.