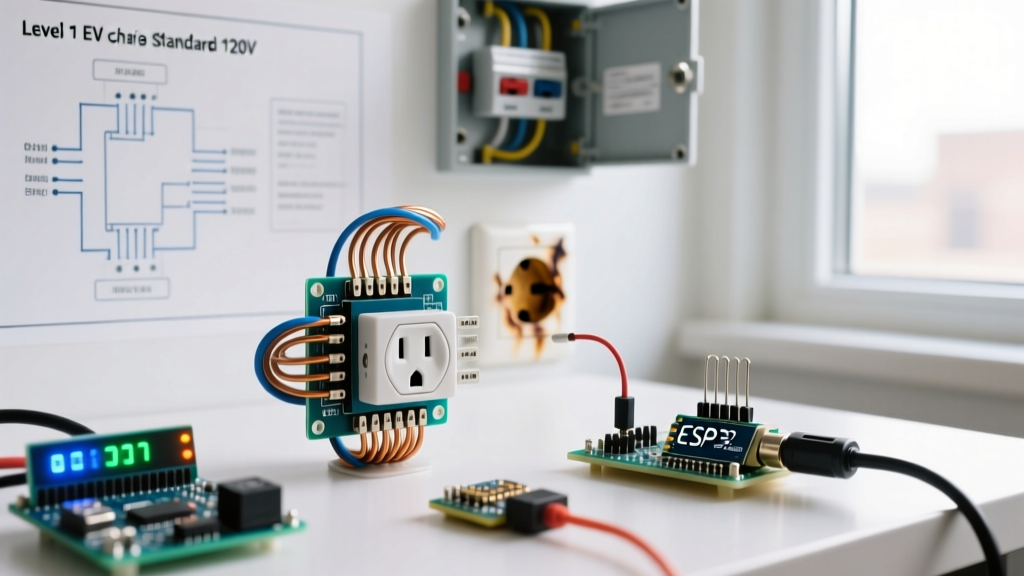

The Reality of Level 1 EV Charging on Standard 120V Circuits
When new EV owners ask, can you charge an electric car with a regular outlet? the short answer is yes. This method, known as Level 1 charging, utilizes a standard 120-volt NEMA 5-15R receptacle and the portable Electric Vehicle Supply Equipment (EVSE) cord that typically ships with the vehicle. According to the U.S. Department of Energy's Alternative Fuels Data Center, Level 1 charging adds roughly 3 to 5 miles of range per hour of charging.
However, from an electrical diagnostic perspective, standard residential outlets are not engineered for the extreme thermal stress of a continuous 12-amp draw lasting 12 to 24 hours. While Level 1 charging is a convenient stopgap, it is a frequent source of nuisance breaker trips, melted receptacle faces, and EVSE fault codes. This guide dives deep into the troubleshooting and diagnosis of 120V EV charging failures, helping you identify root causes and implement safe, code-compliant fixes.
The Continuous Load Problem: Why Standard Outlets Fail
To diagnose Level 1 charging issues, you must first understand the National Electrical Code (NEC) Article 210.20(A) regarding continuous loads. A continuous load is defined as any electrical draw that persists for three hours or more. EV charging easily exceeds this threshold.
- The 80% Rule: A standard 15-amp breaker can only safely handle 12 amps of continuous current (15A x 0.80 = 12A).
- EVSE Calibration: Most Level 1 EVSE control bricks (like the Tesla Mobile Connector or Emporia Level 1) are hard-coded to draw exactly 12 amps to comply with this rule.
- The Margin of Error: If your 15-amp circuit has any phantom loads (a garage door opener, a sump pump, or exterior lighting), or if the breaker's thermal-magnetic strip is aged, the cumulative heat will eventually trigger a trip.
Diagnosing Common Level 1 Charging Failures
When a Level 1 charge fails, the symptoms generally fall into three distinct categories. Here is how to diagnose each specific failure mode.
Symptom 1: The EVSE Brick Shows a Red or Blinking Fault Light
If you plug your EVSE into a regular outlet and the control brick immediately flashes a red ground-fault or wiring-fault indicator, the issue is almost always with the receptacle's wiring topology, not the car.
- Test for Open Ground or Reversed Polarity: Use a basic receptacle tester (such as the Klein Tools RT210). EVSEs contain internal ground-fault protection (CCID) that requires a verified equipment grounding conductor. If the outlet is ungrounded or wired with reversed hot/neutral, the EVSE will refuse to close the internal contactors.
- Measure Voltage Drop Under Load: A standard digital multimeter might read 122V at the receptacle with no load. However, when the EVSE engages and pulls 12A, long wire runs (e.g., 14 AWG wire on a 75-foot run) can cause the voltage to drop below 110V. Most EVSEs have an under-voltage protection (UVP) threshold and will abort the charge to protect the vehicle's onboard charger.
Symptom 2: Breaker Trips After 20 to 45 Minutes
If the charger works initially but trips the panel breaker after a short period, you are witnessing a thermal-magnetic trip, not a short-circuit fault.
- Shared Circuit Overload: Use a clamp meter at the breaker panel to measure the total amperage on the circuit while the car is charging. If the EVSE is pulling 12A and a refrigerator compressor kicks on (adding 4-6A), the 15A breaker will trip.
- Aged Breaker Bimetallic Strips: Circuit breakers degrade over time. A 15A breaker manufactured in 1998 may trip at 13A of continuous load today due to metal fatigue in the thermal trip mechanism. If the wiring is confirmed to be 14 AWG copper and the load is strictly 12A, replacing the breaker is the diagnostic next step.
Symptom 3: Melted, Discolored, or Warm Receptacle Faces
This is the most dangerous failure mode and requires immediate intervention. Builder-grade receptacles (which cost roughly $1.50 at big-box stores) rely on thin internal brass wipers to grip the plug blades. Over years of use, these wipers lose their spring tension.
The Physics of Receptacle Melting:
Using Joule's heating formula (P = I² × R), we can calculate heat generation. If a worn receptacle has a contact resistance of just 0.2 ohms, a 12-amp continuous draw generates 28.8 watts of heat at a single contact point. That is equivalent to a small soldering iron operating continuously inside your wall cavity, eventually melting the PBT plastic faceplate and creating a severe fire hazard.
Step-by-Step Receptacle Diagnostic Protocol
Before plugging in your EV, perform this 4-step diagnostic protocol on any 120V outlet you intend to use for long-term charging.
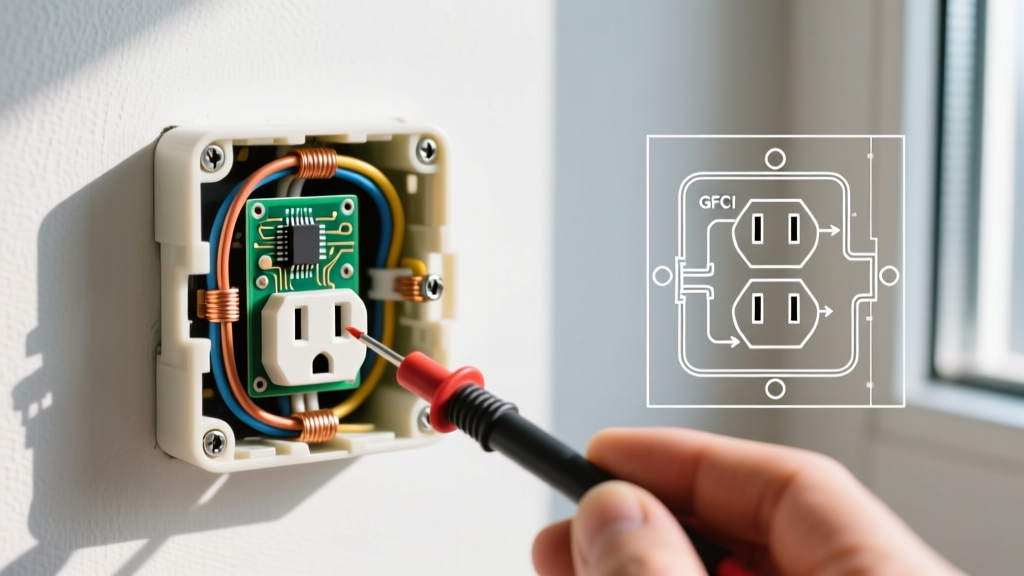
- Visual Inspection: Remove the faceplate. Check for backstabbed push-in wire connections. Backstabbed connections have a tiny spring-metal contact area that fails under continuous EV loads. All wires must be terminated via screw terminals or, preferably, pigtails.
- Plug Retention Test: Insert a standard 3-prong plug into the receptacle. If it slides in without noticeable resistance or drops out when tugged lightly, the internal wipers are compromised. The receptacle must be replaced.
- Load Voltage Test: Measure the voltage at the receptacle while the vehicle is actively charging. A drop of more than 5% (below 114V on a 120V nominal circuit) indicates undersized wiring for the distance.
- Thermal Imaging: After 30 minutes of charging, scan the receptacle with a thermal camera (like the FLIR C5). A temperature delta of more than 15°F above ambient room temperature at the plug face indicates high contact resistance.
Level 1 vs. Level 2 Charging Data Matrix
To understand why troubleshooting Level 1 is so critical, compare its operational parameters against dedicated Level 2 infrastructure. Data sourced from FuelEconomy.gov and industry EVSE standards.
| Feature | Level 1 (Standard 120V Outlet) | Level 2 (Dedicated 240V Circuit) |
|---|---|---|
| Voltage / Amperage | 120V / 12A - 16A | 240V / 16A - 48A |
| Max Power Output | 1.4 kW - 1.9 kW | 3.8 kW - 11.5 kW |
| Range Added per Hour | 3 - 5 Miles | 14 - 45 Miles |
| Circuit Requirement | 15A or 20A (Shared or Dedicated) | 20A to 60A (Strictly Dedicated) |
| Receptacle Type | NEMA 5-15R / 5-20R | NEMA 14-50 / 6-50 or Hardwired |
| Thermal Stress Risk | HIGH (Continuous 12A on standard hardware) | LOW (Heavy-duty contacts, thicker gauge wire) |
Upgrading Your 120V Circuit for Safe EV Charging
If you must rely on a regular outlet for daily Level 1 charging, you must upgrade the physical receptacle to handle the continuous thermal load. As of 2026, the widespread adoption of NEC mandates requiring GFCI protection in all residential garages has also introduced the issue of 'nuisance tripping.' Because the EVSE brick already contains a 5mA CCID (Circuit Interrupting Device), stacking a GFCI breaker on top of it can cause phantom trips due to cumulative capacitive leakage.
The Commercial-Grade Receptacle Swap
Replace any builder-grade NEMA 5-15R receptacle with a Commercial Specification Grade model, such as the Leviton 5362 or Hubbell 5262 (typically priced between $6.00 and $9.00). These units feature massive brass contact wipers, high-impact nylon faces, and are explicitly rated for continuous hospital and industrial loads. Always terminate the wires using the side screw terminals or a 12 AWG pigtail, and ensure the circuit is protected by a GFCI breaker or a GFCI receptacle upstream that meets the latest NEC Article 625.54 requirements for EV charging stations.
Ultimately, while you can charge an electric car with a regular outlet, treating that outlet as heavy-duty industrial equipment is the only way to diagnose, prevent, and resolve the inevitable thermal and electrical faults that arise from Level 1 charging.