
The Physics of Dimmer Switch Failures
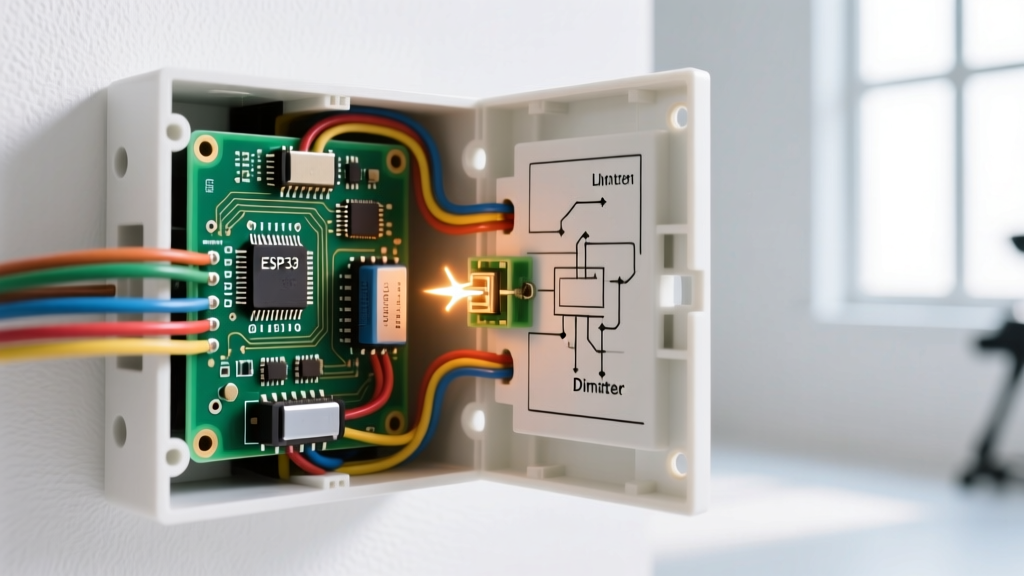
When homeowners upgrade to modern LED fixtures, they frequently encounter a frustrating phenomenon: the lights flicker, emit a high-pitched buzz, or fail to turn off completely. Troubleshooting an electrical wiring dimmer switch requires moving beyond basic continuity testing and understanding the solid-state physics of phase-cutting technology. As of 2026, the market is dominated by LED drivers utilizing Pulse Width Modulation (PWM) and high-frequency switching, which interact poorly with legacy dimming protocols.
Traditional incandescent dimmers use a TRIAC (Triode for Alternating Current) to chop the leading edge of the AC sine wave. This forward-phase cutting works flawlessly with resistive tungsten filaments. However, LED bulbs are capacitive and inductive loads. When a leading-edge dimmer chops the waveform, the sudden voltage spike causes the LED driver's internal capacitors to ring, resulting in acoustic noise (buzzing) and erratic current regulation (flickering). According to the U.S. Department of Energy, mismatched dimmers and LED drivers are the leading cause of premature solid-state lighting failure.
Diagnostic Matrix: Symptom to Solution
Before opening the junction box, use this diagnostic matrix to isolate the failure mode. This structured approach prevents unnecessary hardware replacement and targets the root cause of the electrical wiring dimmer switch malfunction.
| Symptom | Probable Root Cause | Diagnostic Action | Hardware Solution |
|---|---|---|---|
| High-pitched buzzing at mid-dim levels | Leading-edge TRIAC chopping causing magnetostriction in the LED driver coil. | Listen closely; if buzz peaks at 50% brightness, it is a phase-cut mismatch. | Replace with a Trailing-Edge (ELV) dimmer like the Leviton Decora DDL06. |
| Flickering at low-end dimming | Load dropping below the dimmer's minimum wattage threshold. | Calculate total LED wattage. Compare against dimmer spec sheet minimums. | Add a dummy load resistor or upgrade to a micro-load compatible dimmer. |
| Lights glow faintly when switched OFF | Leakage current passing through a smart dimmer lacking a neutral wire. | Verify if the switch box contains a bundled neutral (white) wire. | Install a neutral-required smart dimmer or wire a Lutron LUT-MLC capacitor. |
| Switch faceplate is hot to the touch | Exceeding the LED derating maximum or poor heat dissipation in a multi-gang box. | Measure total connected wattage; check for adjacent heat-generating devices. | Derate the load by 20% or install a dedicated high-wattage ELV dimmer. |
Deep Dive 1: LED Flickering and Ghosting
Flickering is almost always a minimum-load issue. Legacy dimmers were designed for 600W incandescent loads. Modern LED bulbs draw between 4W and 9W each. If you wire three 5W LEDs to a standard dimmer, your total load is 15W. Many older electrical wiring dimmer switch models require a 25W to 40W minimum load to keep the internal TRIAC latched in the "on" state. When the load drops below this threshold during the AC zero-crossing, the TRIAC misfires, causing the lights to strobe.
The Fix: Upgrade to a dimmer specifically engineered for low-wattage LED loads. The Lutron Diva DVCL-153P (typically retailing around $28) is an industry standard that utilizes advanced zero-cross detection to maintain stable current down to a 2W minimum load. If replacing the switch is not immediately possible, wiring a Lutron LUT-MLC Minimum Load Capacitor in parallel with the fixture at the junction box will artificially increase the reactive load, stabilizing the circuit.
Deep Dive 2: Acoustic Buzzing and Humming
Buzzing is an acoustic byproduct of electrical vibration. Inside every dimmable LED bulb is a driver circuit containing inductors and transformers. When a standard forward-phase dimmer abruptly cuts the voltage wave, the sudden inrush of current causes the magnetic fields inside the driver's coils to expand and contract violently—a phenomenon known as magnetostriction. This physical vibration translates into the audible hum you hear in the room.
The Fix: You must change the dimming topology. Trailing-edge dimmers (often labeled as ELV or Electronic Low Voltage) use MOSFETs or IGBTs to chop the falling edge of the AC waveform. This creates a much softer, gradual voltage transition that eliminates the harsh inrush current, effectively silencing the LED driver. The Eaton HALO RL750 or Leviton SureSlide IPM06 are excellent trailing-edge options that resolve 95% of acoustic noise complaints in residential retrofits.
Deep Dive 3: Overheating and Thermal Shutdown
A common and dangerous mistake in electrical wiring dimmer switch installation is ignoring LED derating charts. A dimmer rated for 600W of incandescent lighting is not rated for 600W of LED lighting. The massive inrush current (often 50 to 100 times the steady-state current) generated by LED driver capacitors upon startup can weld the internal contacts of a standard dimmer or cause the heat sink to fail.
Most manufacturers enforce a strict 25% derating rule for LEDs. Therefore, a 600W incandescent dimmer should never handle more than 150W of total LED load. Furthermore, if the dimmer is installed in a multi-gang box alongside other switches or receptacles, the National Electrical Manufacturers Association (NEMA) requires an additional 20% derating due to restricted ambient airflow. If your switch feels hot, immediately reduce the load or upgrade to a heavy-duty commercial-grade dimmer with an oversized extruded aluminum heat sink.
Smart Dimmers and the Neutral Wire Dilemma
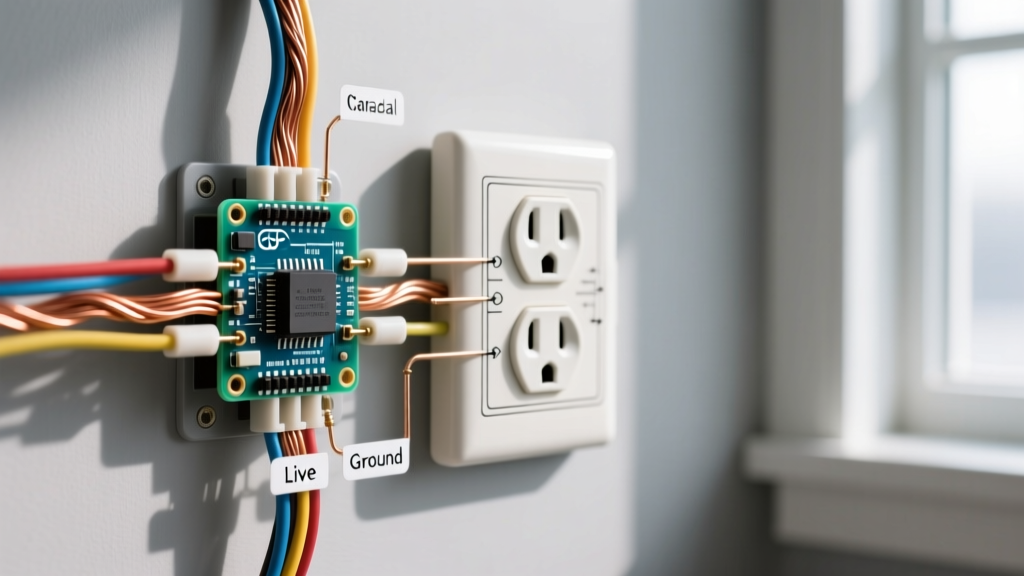
The proliferation of smart home ecosystems has introduced a new layer of complexity to switch wiring. Smart dimmers, such as the Lutron Caseta PD-6WCL (approx. $65), require continuous standby power to maintain their Wi-Fi, Zigbee, or Clear Connect radio connections. In older homes built before the 1980s, switch boxes often lack a neutral wire.
To function without a neutral, these "no-neutral" smart dimmers pass a tiny trickle of leakage current (usually 1-3 milliamps) through the LED bulb itself to complete the circuit. While incandescent bulbs ignore this micro-current, highly efficient LED bulbs (especially those under 5W) will interpret this leakage as a power signal, resulting in "ghosting" (a faint glow when switched off) or periodic flashing.
- If you have a neutral wire: Always purchase the neutral-required version of the smart switch (e.g., Lutron Caseta PD-5NE). This provides a dedicated return path for the radio's standby current, completely bypassing the LED fixture and eliminating ghosting.
- If you lack a neutral wire: You must install a bypass capacitor (like the aforementioned LUT-MLC) at the first fixture in the circuit. This capacitor acts as a sponge for the leakage current, preventing it from charging the LED driver's internal capacitors.
3-Way Dimmer Wiring Edge Cases
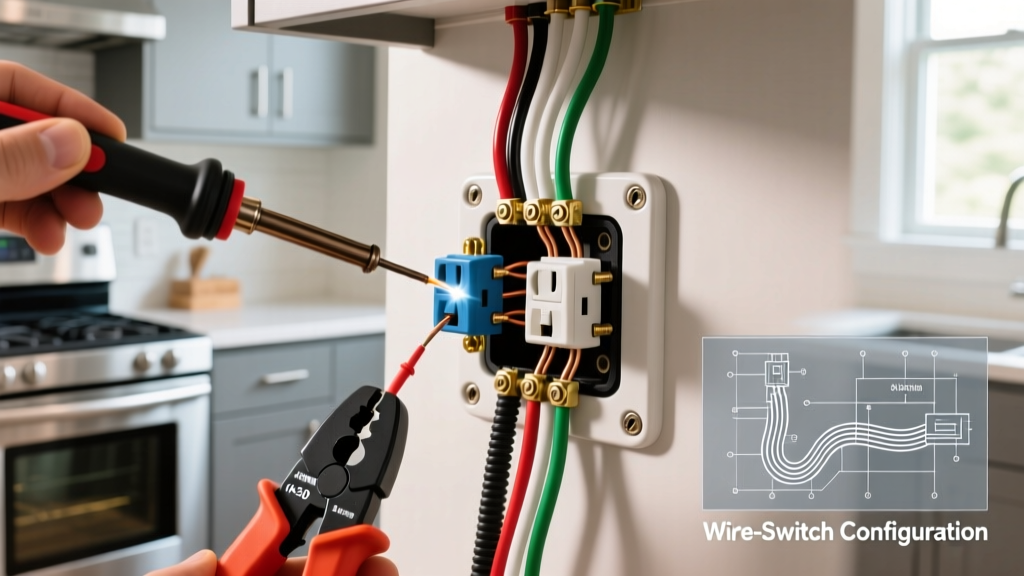
Troubleshooting a 3-way electrical wiring dimmer switch introduces traveler wire variables that frequently trip up DIYers. In a standard 3-way mechanical setup, two switches control one load via two brass traveler wires. When introducing a dimmer to this circuit, you cannot simply use two standard dimmers; they will fight for phase-control dominance, resulting in catastrophic flickering or blown internal triacs.
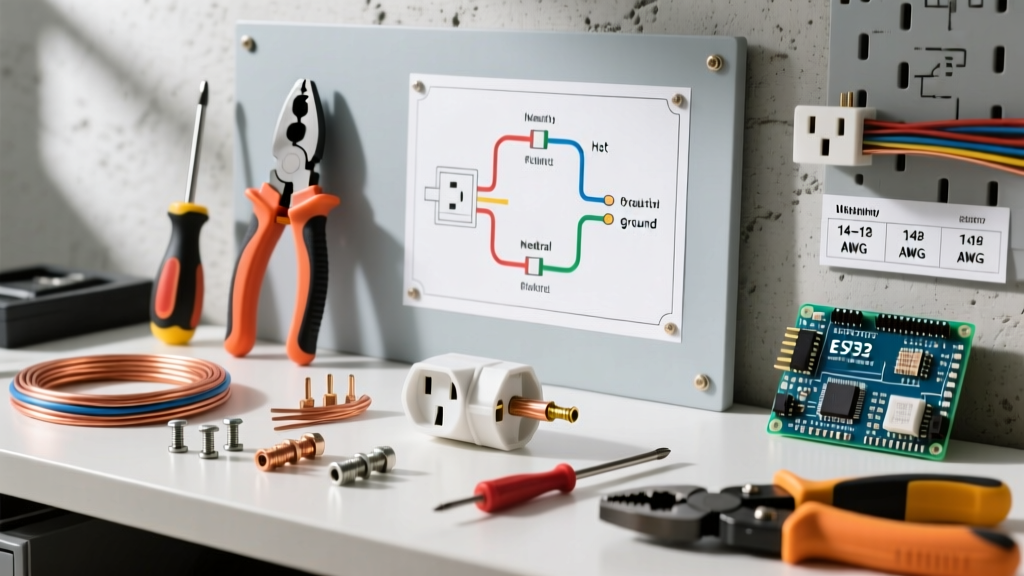
The Electronic Companion Solution: Modern systems require a master dimmer and a slave (companion) switch. For example, the Lutron Maestro MA-L3T251 system uses the master unit to handle the heavy phase-cutting, while the companion unit sends low-voltage digital signals via the traveler wires to instruct the master on brightness levels. If your 3-way circuit is failing, use a non-contact voltage tester and a digital multimeter to verify that the line (hot) and load wires are correctly identified at the master switch. Reversing line and load on electronic 3-way dimmers will allow the switch to function locally but will completely disable the remote companion switch.
NEC Code Warning: According to the National Electrical Code (NEC) Article 404.2(B), a neutral conductor is now strictly required at nearly all new switch box locations. This mandate was implemented specifically to accommodate advanced electronic controls, smart dimmers, and occupancy sensors without relying on unsafe equipment grounding conductors as a makeshift neutral return path. Always verify local code compliance before modifying switch loops.
Final Verification and Testing Protocol
Once you have diagnosed the issue and installed the correct trailing-edge, neutral-connected, or companion-based dimmer, perform a full sweep test. Dim the lights slowly from 100% down to 1%. Note the exact percentage where the LEDs drop out or begin to strobe. High-quality 2026 dimmer models feature a hidden "low-end trim" adjustment dial or digital calibration menu. By adjusting the low-end trim to sit just above the LED driver's drop-out threshold, you ensure a seamless, flicker-free fade to black, finalizing a professional-grade troubleshooting resolution.
For further compatibility data, always consult the Lutron LED Compatibility Tool before purchasing hardware, as specific bulb driver revisions can drastically alter dimming performance even within the exact same bulb model number.