
The Anatomy of a 240V Electric Oven Outlet
When your kitchen range suddenly loses power, the culprit is often the electric oven outlet itself. Modern electric ovens and ranges require a dedicated 240-volt circuit to power high-wattage heating elements, alongside a 120-volt leg for control boards, clocks, and interior lighting. In North America, this is typically delivered via a NEMA 14-50R (50-amp) or NEMA 14-30R (30-amp) receptacle. Troubleshooting a dead electric oven outlet requires a systematic approach to isolate the failure point, whether it lies in the breaker panel, the branch circuit wiring, or the receptacle terminals.
⚠️ LETHAL VOLTAGE WARNING: A 240V circuit carries enough current to cause fatal electrocution and severe arc flashes. Never remove the outlet cover plate or test bare terminals without wearing ANSI-rated safety glasses and using a properly rated CAT III or CAT IV digital multimeter. For a comprehensive understanding of multimeter safety categories, refer to the Fluke Measurement Category Guide. If you are unsure about your testing equipment, hire a licensed electrician.Phase 1: Breaker Panel Verification
Before touching the outlet, verify the power source. Electric ovens are protected by double-pole breakers, typically rated at 40A or 50A (using 8 AWG or 6 AWG copper wire, respectively). A common misconception is that a tripped 240V breaker will always visibly flip to the 'OFF' position. In reality, many thermal-magnetic breakers (like the Square D HOM250 or Eaton BR250) will trip to a neutral 'center' position that looks nearly identical to the 'ON' state.
How to Reset and Verify the Breaker
- Visual Inspection: Look closely at the 50A double-pole breaker. Ensure both toggles are firmly in the ON position.
- Hard Reset: Turn the breaker completely OFF until you hear a distinct click, then push it firmly to ON. This resets the internal thermal latch.
- Voltage Check at Panel: Set your multimeter to AC Voltage (V~). Place one probe on the breaker's output lug and the other on the neutral/ground bus bar. You should read ~120V. Repeat for the second pole. If either pole reads 0V, the breaker is internally defective and must be replaced.
Phase 2: Receptacle Voltage Testing Matrix
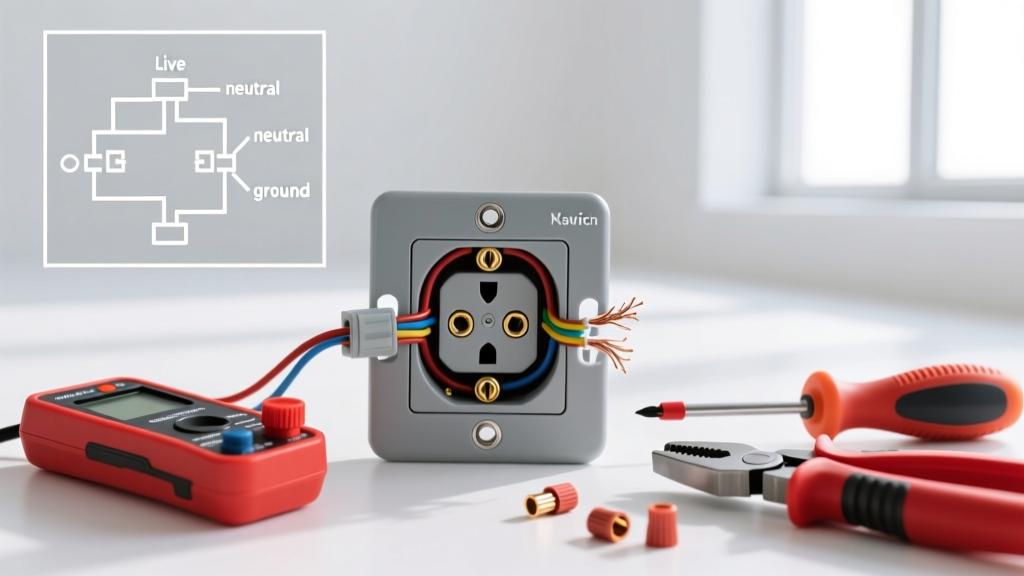
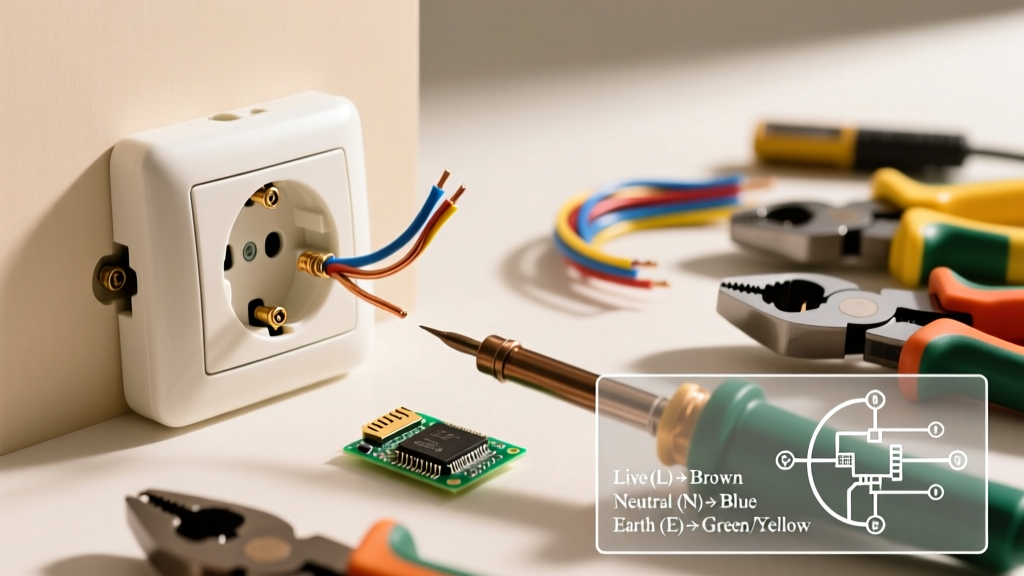
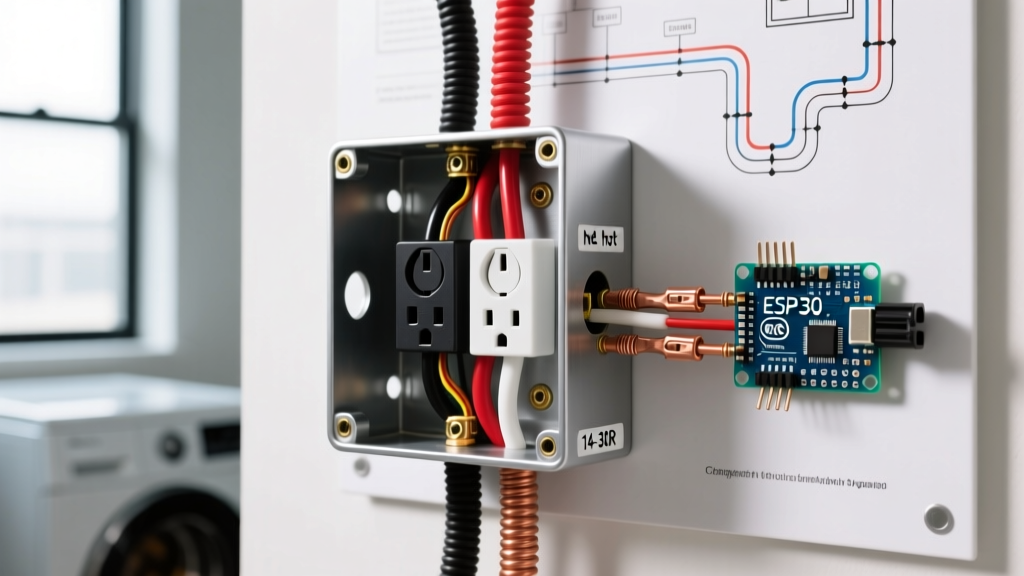
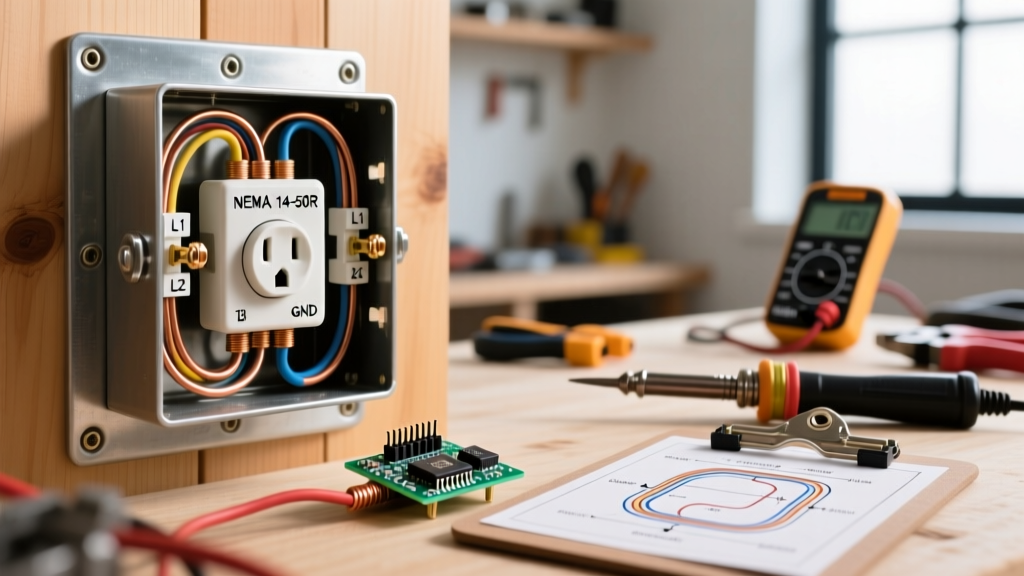
If the breaker is confirmed functional, the next step is testing the electric oven outlet. Pull the oven away from the wall and unplug it. Remove the receptacle cover plate. A standard NEMA 14-50R has four slots: two hot lines (X and Y), one neutral (W), and one ground (G).
Insert your multimeter probes into the slots according to the diagnostic matrix below to pinpoint the exact failure mode.
| Probe 1 (Red) | Probe 2 (Black) | Expected Reading | Diagnostic Meaning if Reading is 0V or Low |
|---|---|---|---|
| Line 1 (Right Slot) | Line 2 (Left Slot) | 240V | One or both hot legs are dead. Check breaker, wire splices, or burnt bus bar. |
| Line 1 (Right Slot) | Neutral (Bottom 'L' Slot) | 120V | Line 1 is dead, or the neutral wire has disconnected from the bus bar. |
| Line 2 (Left Slot) | Neutral (Bottom 'L' Slot) | 120V | Line 2 is dead, or the neutral wire has disconnected from the bus bar. |
| Neutral (Bottom 'L' Slot) | Ground (Top Round Pin) | 0V - 2V | Readings above 2V indicate a 'floating neutral' or improper neutral-ground bonding at the panel. |
Interpreting the 'Floating Neutral' Edge Case
If your oven's digital clock is flickering, the interior light is dim, but the burners won't heat, you likely have a floating neutral. The oven's 120V control circuit relies on the neutral wire to complete the circuit. If the neutral connection at the NEMA 14-50R receptacle has backed out of the terminal screw, the 120V components will attempt to draw current through the 240V heating elements in series, resulting in erratic behavior and potential control board destruction.
Phase 3: Physical Inspection & Thermal Damage
Voltage testing only tells half the story. High-amperage appliance circuits generate significant heat. Over time, thermal cycling (heating up during use, cooling down afterward) causes copper and aluminum wires to expand and contract. This mechanical stress gradually loosens the terminal screws on the outlet.
Identifying Arcing and Melted Terminals
Shine a flashlight into the receptacle slots. Look for brown scorch marks, melted thermoplastic, or a distinct ozone/fishy smell. A loose connection creates high electrical resistance. According to Joule's Law, resistance generates heat. A connection that is just slightly loose can easily exceed 200°F (93°C) under a 40-amp continuous load, eventually melting the Leviton or Pass & Seymour receptacle housing.
If you observe any thermal damage, the outlet must be replaced immediately. Do not attempt to clean or reuse a scorched NEMA 14-50R. Furthermore, you must inspect the wire insulation. If the 6 AWG wire insulation is brittle, cracked, or melted back more than a quarter-inch, the damaged section must be cut away and re-stripped, or the cable must be replaced entirely.
The Torque Requirement (NEC 110.14(D))
As of the 2020 and 2023 National Electrical Code (NEC), which is widely enforced in 2026, all terminal connections must be tightened to the manufacturer's specified torque using a calibrated torque screwdriver. Hand-tightening a 50-amp outlet is no longer code-compliant and is the leading cause of premature outlet failure. A standard Leviton 279-S00 NEMA 14-50R typically requires 14 in-lbs of torque on its terminal screws.
Phase 4: The 3-Prong vs. 4-Prong Dilemma
Many older homes still feature NEMA 10-50R (3-prong) outlets. Prior to the 1996 NEC revision, ranges and dryers were allowed to use the equipment grounding conductor as a neutral. This is inherently dangerous; if the neutral wire breaks, the entire metal chassis of the oven becomes energized at 120V. The National Fire Protection Association (NFPA) strictly mandates 4-wire configurations (NEMA 14-50R) for all new installations.
Troubleshooting Tip: If you are moving into an older home and the oven plug doesn't fit the wall, do not use a cheap, ungrounded adapter. You must either:
- Replace the oven's power cord with a 3-prong cord and ensure the oven's internal neutral-to-ground bonding strap is intact (only permissible for existing, grandfathered 10-50R circuits).
- Hire an electrician to upgrade the circuit to a 4-wire setup with a dedicated ground, allowing the use of a modern 14-50P cord with the bonding strap removed.
Common Failure Modes & Repair Costs (2026 Estimates)
Understanding the financial scope of your repair helps in deciding whether to DIY or call a professional. Below is a breakdown of typical failure modes and their associated costs.
| Component / Failure Mode | DIY Material Cost | Pro Electrician Cost (Labor + Parts) |
|---|---|---|
| Receptacle Replacement (Leviton 279-S00) | $18 - $25 | $150 - $225 |
| Double-Pole Breaker (Square D HOM250) | $20 - $30 | $180 - $250 |
| Power Cord Replacement (4-Prong, 4ft) | $25 - $40 | $120 - $180 |
| Full Circuit Rewire (6 AWG, up to 50ft) | $150 - $250 (Materials only) | $600 - $1,200 |
Frequently Asked Questions (FAQ)
Why does my electric oven trip the breaker only when I turn on the oven and a burner simultaneously?
This indicates a marginal circuit capacity or a weak breaker. An oven can draw 20 amps on the bake element, while a large burner can draw 15 amps. If multiple elements engage during a pre-heat cycle, the instantaneous draw can exceed 50 amps. If your breaker is old, its thermal bimetallic strip may have fatigued, causing 'nuisance tripping' below its rated threshold. Replacing the breaker usually resolves this.
Can I use a NEMA 14-30R (30-amp) outlet for my new electric range?
It depends on the appliance's nameplate rating. The Consumer Product Safety Commission (CPSC) advises always checking the manufacturer's minimum circuit ampacity (MCA). While some compact or induction-specific ranges can operate on a 30-amp circuit, most full-size freestanding electric ranges require a 40-amp or 50-amp circuit. Using a 30-amp outlet on a 50-amp appliance will result in immediate breaker trips and constitutes a severe fire hazard.
My multimeter reads 240V at the outlet, but the oven still won't turn on. What's next?
If the outlet tests perfectly under a no-load condition, the issue may be voltage drop under load, or a failure internal to the oven. Plug the oven back in and test the voltage at the outlet while the oven is turned on. If the voltage drops below 210V, you have high resistance in the branch circuit (likely a corroded breaker bus bar connection or damaged wire). If the voltage holds steady at 240V, the fault lies within the oven's internal thermal fuse, infinite switch, or main control board.