
The Foundation of Reliable Trailer Electrical Plug Wiring
When it comes to trailer electrical plug wiring, the difference between a reliable connection and a roadside failure almost always comes down to the tools and materials used. A poorly executed wiring job will quickly succumb to vibration, moisture intrusion, and galvanic corrosion. Whether you are upgrading a utility trailer to a 7-way RV blade or repairing a damaged 4-way flat connector on a boat trailer, utilizing commercial-grade materials and precision hand tools is non-negotiable. In this comprehensive 2026 guide, we break down the exact wire gauges, weatherproof connectors, and ratcheting crimpers required to build a trailer lighting and brake circuit that meets or exceeds SAE International's J560 standard for heavy-duty vehicle connectors.
Phase 1: Selecting the Correct Wire and Connectors
The harsh environment underneath a trailer demands wire and connectors that can withstand extreme temperature fluctuations, road salt, and constant flexing. Standard household THHN wire or cheap automotive primary wire with thin PVC jackets will crack and fail within a single season.
Wire Gauge and Jacket Specifications
For professional-grade trailer electrical plug wiring, you must select the correct American Wire Gauge (AWG) based on the circuit's amperage draw and the length of the run. Voltage drop is a critical factor; a 15-foot run to the rear marker lights requires thicker wire than a 5-foot run to the front clearance lights.
- 16 AWG: Use for low-draw LED running lights, clearance lights, and side markers. Ensure the jacket is Cross-Linked Polyethylene (XLPE) for superior heat and chemical resistance.
- 12 AWG: The minimum standard for the main ground wire and standard electric brake circuits on single-axle trailers.
- 10 AWG: Mandatory for the 12V auxiliary power circuit (for charging breakaway batteries or interior lights) and the primary ground on heavy-duty tandem-axle or gooseneck trailers.
Pro-Tip: Always use stranded copper wire, specifically SGT (Standard Gauge Thermoplastic) or GXL (Cross-Linked) automotive wire. Solid core wire will snap under the constant vibration of towing.
Weatherproof Connectors and Terminals
Abandon vinyl-insulated butt connectors immediately. The vinyl sleeve does not create a watertight seal, allowing capillary action to wick moisture directly into the copper strands. Instead, invest in dual-wall heat shrink butt connectors. These feature an inner layer of polyamide hot-melt adhesive that melts and flows around the wire strands when heated, creating a 100% waterproof, strain-relieved seal. For ring terminals at the plug housing, use nylon-insulated, heat-shrink ring terminals (e.g., 3M Highland or Molex) sized precisely to your stud diameter (typically #10 or 1/4 inch).
Phase 2: The Essential Hand Tool Arsenal
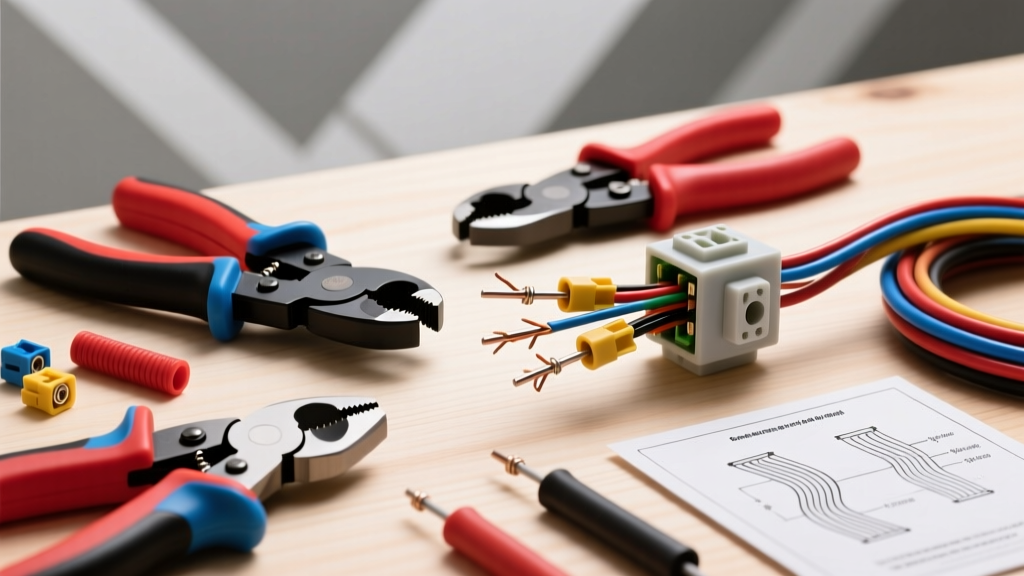
Executing flawless trailer electrical plug wiring requires tools that deliver consistent mechanical pressure without damaging the copper strands. Here are the specific models that professional mobile RV and trailer technicians rely on in 2026.
Precision Wire Strippers
Dull or improperly sized strippers will nick the copper strands, creating a weak point that will eventually snap under vibration. The Klein Tools 11055 (10-20 AWG Solid / 12-22 AWG Stranded) wire stripper is the industry benchmark. Priced around $35, its precision-machined stripping holes cleanly remove XLPE and PVC jackets without scoring the copper. For heavier 10 AWG battery cables, the Klein Tools 11063 is required.
Ratcheting Crimpers
Hand-squeezing pliers do not generate the uniform pressure required for a gas-tight crimp. A gas-tight crimp cold-welds the terminal barrel to the wire strands, preventing oxygen and moisture from entering. The Titan 11477 Ratcheting Crimper (approx. $28) or the premium Knoweasy Ratcheting Crimper Set (approx. $45) feature interchangeable die sets for insulated, non-insulated, and heat-shrink terminals. The ratcheting mechanism ensures the tool will not release until the exact required compression force is achieved, eliminating user error.
Heat Application Tools
To properly activate the adhesive lining in dual-wall heat shrink connectors, you need controlled, even heat. While a butane micro-torch works in a pinch, it risks scorching the wire jacket. The Milwaukee M18 Cordless Heat Gun (approx. $129) or the more budget-friendly Seekone 1800W Heavy Duty Hot Air Gun (approx. $25) with a reflector nozzle attachment provides the consistent 300°F to 400°F heat required to shrink the tubing evenly until a small bead of adhesive squeezes out the ends.
Phase 3: Diagnostic and Testing Equipment
Before sealing the plug housing, you must verify circuit integrity. Relying solely on a basic 12V test light is insufficient for modern trailer electrical plug wiring, as test lights cannot identify voltage drop or high-resistance ground faults.
- Digital Multimeter (DMM): A true-RMS multimeter like the Fluke 115 or the budget-friendly Klein Tools MM400 ($45) is essential for measuring exact voltage at the plug pins to ensure you are not losing more than 0.5V across the wire run.
- Trailer Wiring Tester: A dedicated plug-in tester, such as the Curt 58270 7-Way RV Blade Tester ($18), allows you to instantly verify that the tow vehicle's output matches the pinout standard (e.g., pin 2 for electric brakes, pin 4 for auxiliary 12V) before connecting the trailer.
Material Requirements Matrix: 4-Way vs. 7-Way Plugs
Different trailer classes require different plug configurations. Refer to this matrix to ensure you procure the correct materials for your specific trailer electrical plug wiring project.
| Component | 4-Way Flat (Light Duty / Boat) | 7-Way RV Blade (Heavy Duty / Travel Trailer) |
|---|---|---|
| Plug Housing | Hopkins 48035 (4-Pole Flat) | Curt 58150 or Tekonsha 7-Way Molded |
| Wire Gauges Needed | 16 AWG (Lights), 14 AWG (Ground) | 16 AWG (Lights), 12 AWG (Brakes), 10 AWG (12V/Ground) |
| Connector Type | 16-14 AWG Heat Shrink Butt Splices | 12-10 AWG & 16-14 AWG Heat Shrink Butt Splices |
| Terminal Ends | 16-14 AWG Fork/Ring Terminals | 12-10 AWG Ring Terminals (for heavy ground stud) |
| Wire Loom | 1/4 inch Split Loom | 3/8 inch or 1/2 inch Braided Sleeving / Conduit |
| Estimated Material Cost | $25 - $40 | $65 - $110 |
Common Failure Modes and How Proper Tools Prevent Them
Understanding why trailer wiring fails helps justify the investment in premium materials. According to data compiled in etrailer's comprehensive wiring FAQ, the vast majority of trailer lighting issues are not caused by blown bulbs, but by ground faults and corroded splices.
1. Galvanic Corrosion at the Ground Point
When bare copper ring terminals are bolted directly to a painted or galvanized steel trailer frame, moisture creates a galvanic cell, rapidly corroding the connection. The Fix: Use a wire brush attachment on a drill to strip the frame down to bare, shiny metal. Apply the 10 AWG ground ring terminal, torque it securely, and immediately coat the entire terminal and surrounding metal with a dielectric grease or a dedicated marine battery terminal protector spray to block oxygen.
2. Capillary Wicking in Non-Sealed Splices
Standard vinyl crimp connectors allow water to enter the wire jacket. Over time, water wicks down the copper strands via capillary action, eventually reaching the bulb socket and causing a short. The Fix: Dual-wall adhesive heat shrink connectors, properly heated until the inner adhesive purges, physically block the wire jacket, making wicking impossible.
3. Voltage Drop Causing Dim Lights or Brake Failure
Using 16 AWG wire for a 20-foot run to electric brakes will result in severe voltage drop, causing the brakes to engage weakly or not at all. The Fix: Adhere strictly to the AWG guidelines listed in Phase 1, and always upgrade the main ground wire to match or exceed the thickest positive wire in the harness.
Expert Weatherproofing Techniques for the Plug Housing
The plug housing itself is a primary entry point for water. When wiring the plug, route the wires through the housing's rear strain relief boot before crimping the terminals. Once all terminals are pinned into the plug body, inject a high-quality marine-grade silicone sealant (such as 3M Marine Adhesive Sealant 5200 or GE Silicone II) into the rear cavity before sliding the rubber boot forward. This creates a secondary, impenetrable moisture barrier behind the pins. Finally, wrap the first 12 inches of the wire loom exiting the plug with self-fusing silicone rescue tape (e.g., Rescue Tape). Unlike electrical tape, which unspells and traps moisture, silicone tape fuses to itself, creating a permanent, watertight, and UV-resistant seal that conforms perfectly to irregular shapes.
Final Verification and Safety Standards
Before taking the trailer on the road, perform a full functional test with the tow vehicle connected. Verify the running lights, left/right turn signals, brake lights, and electric brake controller output. Ensure all wiring is secured to the trailer frame using UV-resistant zip ties or stainless steel P-clamps every 12 to 18 inches to prevent the harness from dragging or rubbing against sharp frame edges. By adhering to the material specifications and utilizing the precision tools outlined in this guide, your trailer electrical plug wiring will deliver years of safe, maintenance-free operation, fully compliant with National Highway Traffic Safety Administration (NHTSA) visibility and safety requirements.