
Introduction to RV Shore Power Installation
Wiring an RV electrical plug at your home or storage property is one of the most practical upgrades you can make as an RV owner. Whether you need to run the air conditioning during summer storage, power the refrigerator before a trip, or simply maintain the house batteries, a dedicated shore power receptacle eliminates the need for noisy, fuel-guzzling generators. However, RV electrical plug wiring is not the same as standard household outlet wiring. The amperage, voltage configurations, and physical plug shapes are entirely unique to the recreational vehicle industry.
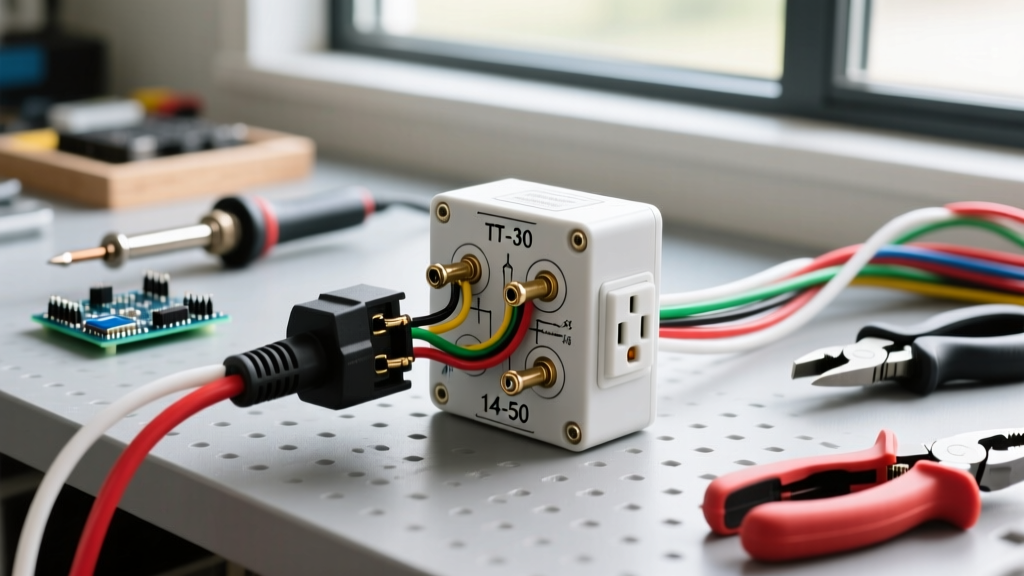
In this comprehensive beginner installation tutorial, we will break down the exact steps, material costs, and safety protocols required to wire the two most common RV receptacles: the 30-amp NEMA TT-30 and the 50-amp NEMA 14-50. By following the National Electrical Code (NEC) guidelines and utilizing proper torque specifications, you can ensure a safe, reliable, and code-compliant installation.
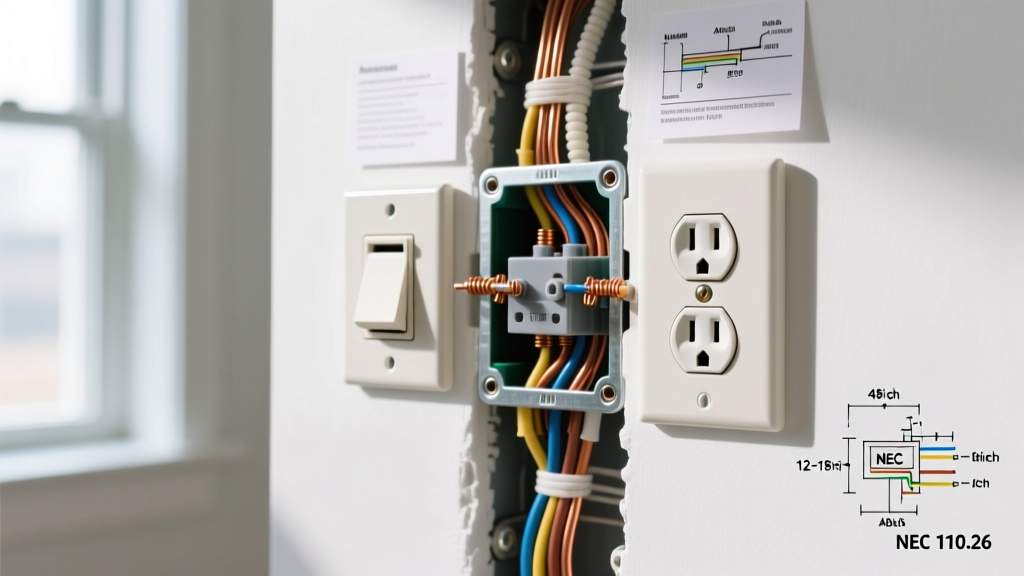
Critical Safety Warning: Working inside an electrical panel exposes you to lethal voltage. Always turn off the main breaker before removing the panel cover. If you are uncomfortable working near live bus bars, hire a licensed electrician to install the breaker while you handle the exterior wiring and receptacle termination.
Understanding RV Plug Standards: TT-30 vs. 14-50
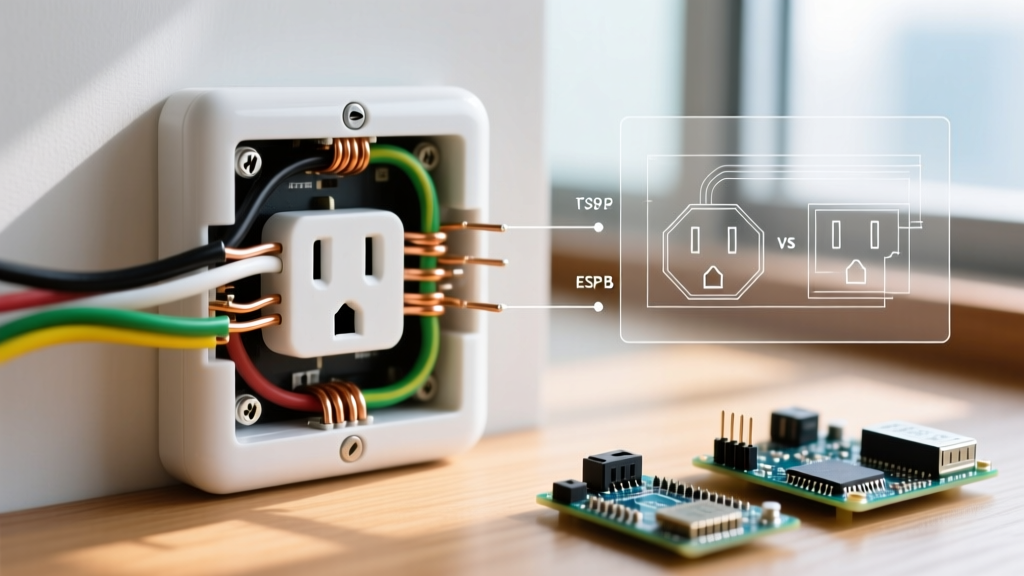
Before purchasing materials, you must identify which plug your RV uses. The two industry standards defined by the RV Industry Association (RVIA) are the 30-amp and 50-amp configurations. A common and dangerous beginner mistake is confusing a 30-amp RV plug (TT-30) with a 30-amp dryer plug (10-30 or L10-30). RV plugs operate on different voltage paradigms.
| Feature | NEMA TT-30 (30-Amp RV) | NEMA 14-50 (50-Amp RV) |
|---|---|---|
| Voltage | 120V (Single Phase) | 120/240V (Split Phase) |
| Max Power | 3,600 Watts | 12,000 Watts (Two 50A 120V legs) |
| Wire Gauge Required | 10 AWG Copper | 6 AWG Copper |
| Breaker Type | 30A Single-Pole | 50A Double-Pole |
| Conductor Count | 2-Wire + Ground (Hot, Neutral, Ground) | 3-Wire + Ground (Hot 1, Hot 2, Neutral, Ground) |
| 2026 Material Cost Est. | $45 - $75 | $110 - $180 |
Essential Tools and Materials
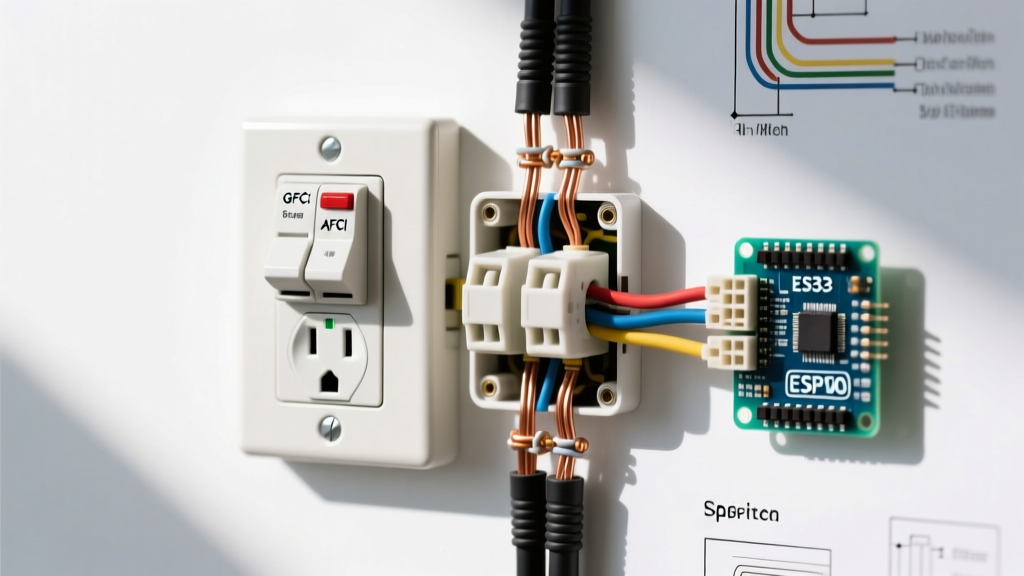
To achieve a professional-grade termination that prevents arcing and melting, you need more than just a screwdriver. According to the Electrical Safety Foundation International (ESFI), loose connections are a leading cause of electrical fires. Invest in the following tools:
- Wire Strippers: Klein Tools 11055 (for 10 AWG) or 11063W (for 6 AWG).
- Torque Screwdriver: Wiha 61081 or CDI 401SM. Crucial for meeting modern NEC torque requirements.
- Multimeter: Fluke 117 or Klein Tools MM400 to verify voltage and polarity.
- Receptacles: Leviton T30-R (for TT-30) or Leviton 278-S00 (for 14-50). Avoid unbranded imports; stick to UL-listed brands like Leviton, Hubbell, or Bryant.
- Cable: Southwire or Cerro 10/2 NM-B (Romex) for 30A; 6/3 NM-B for 50A.
Step-by-Step: Wiring a 30-Amp NEMA TT-30 Receptacle
The 30-amp TT-30 is standard on travel trailers and smaller fifth wheels. It provides 120V at a maximum of 30 amps.
Step 1: Run the Cable and Install the Breaker
Route your 10/2 NM-B cable from the main electrical panel to the exterior receptacle location. Use NM-B staples every 4.5 feet and within 12 inches of the box. At the panel, install a 30-amp single-pole breaker (e.g., Square D HOM130 or Siemens Q130). Connect the black (hot) wire to the breaker terminal, the white (neutral) to the neutral bus bar, and the bare copper to the ground bus bar.
Step 2: Terminate the Receptacle
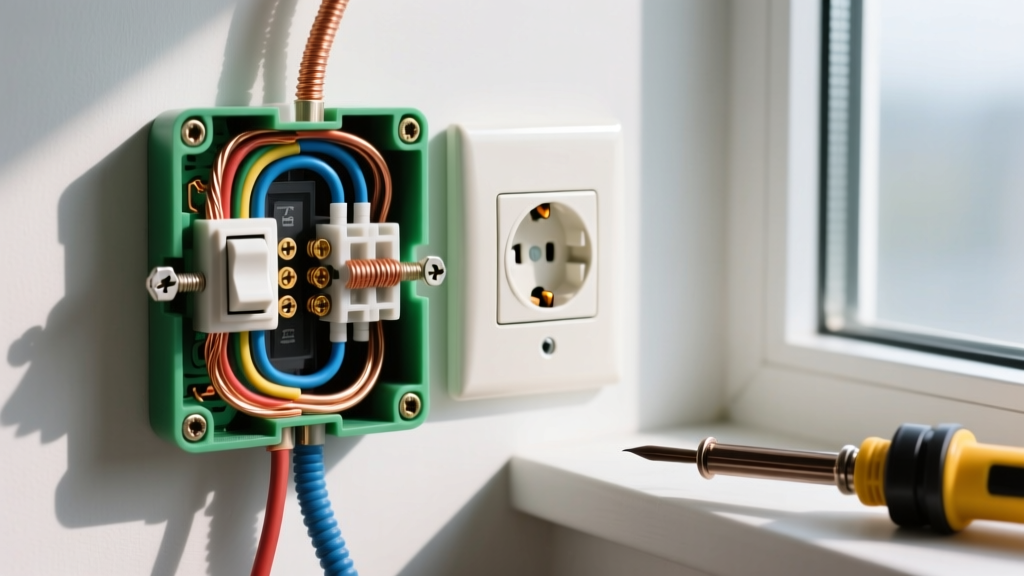
Strip the outer NM-B jacket to expose 6 inches of working wire length. Strip exactly 3/4 inch of insulation from the individual conductors. On the Leviton T30-R receptacle, you will find three terminal screws:
- Brass Screw (Hot): Connect the Black wire.
- Silver Screw (Neutral): Connect the White wire.
- Green Screw (Ground): Connect the Bare copper wire.
Torque Specification: Using your torque screwdriver, tighten the terminal screws to 14 inch-pounds. This specific pressure ensures the wire is clamped tightly without crushing the copper strands, which can cause resistance and heat buildup over time.
Step-by-Step: Wiring a 50-Amp NEMA 14-50 Receptacle
Larger fifth wheels and motorhomes utilize the 50-amp 14-50 plug. Unlike the TT-30, this plug utilizes 240V split-phase power, delivering two separate 120V legs (50 amps each) to the RV's internal distribution panel, yielding a total of 100 amps at 120V.
Step 1: Upgrading Wire Gauge and Breaker
Because of the higher current, you must use 6/3 NM-B cable (or 6 AWG THHN wires pulled through 3/4-inch PVC conduit for long outdoor runs). At the panel, install a 50-amp double-pole breaker (e.g., Square D HOM250). Connect the black wire to one pole, the red wire to the second pole, the white wire to the neutral bar, and the bare wire to the ground bar.
Step 2: Terminate the 14-50 Receptacle
The 14-50 receptacle features four terminals. Strip 1 inch of insulation from the 6 AWG wires (they are much thicker and require deeper insertion).
- Brass Screws (X and Y / Hot 1 & Hot 2): Connect the Black and Red wires. (Polarity between the two hot legs does not matter for RV applications, as the RV's internal transfer switch handles the phase alignment).
- Silver Screw (Neutral): Connect the White wire. Never undersize the neutral on a 14-50; it carries the unbalanced return current and must be a full 6 AWG.
- Green Screw (Ground): Connect the Bare copper wire.
Torque Specification: Tighten the 6 AWG terminals to 35 inch-pounds. Failure to achieve this torque on heavy-gauge wire will result in a high-resistance connection that can melt the receptacle faceplate under heavy AC compressor loads.
Critical Safety Checks and Code Compliance
Before energizing the circuit, perform a visual inspection. Ensure no bare copper is exposed outside the terminal clamps, and verify that the ground wire is not wrapped around the hot terminals.
The GFCI Conundrum: Recent NEC updates (2023 and carrying into 2026) mandate Ground Fault Circuit Interrupter (GFCI) protection for outdoor receptacles rated 50 amps or less. However, NEC Article 551.71 provides specific guidelines for RV supply equipment. While a standard outdoor 14-50 requires a GFCI breaker (which can cost upwards of $150 and is prone to nuisance tripping from RV inverter chargers), installing a dedicated, lockable RV pedestal enclosure often falls under different localized utility exceptions. Always consult your local Authority Having Jurisdiction (AHJ) or municipal electrical inspector to determine if a standard thermal-magnetic breaker is permitted for your specific driveway installation.
Troubleshooting Common RV Wiring Failure Modes
Even with careful installation, issues can arise. Here is how to diagnose the most common RV electrical plug wiring failures:
1. Reversed Polarity (Hot and Neutral Swapped)
Symptom: The RV's internal surge protector (EMS) throws an error code and cuts power immediately upon plugging in.
Fix: Turn off the breaker, open the receptacle, and swap the black and white wires. Reversed polarity can destroy the RV's power converter if an EMS is not installed.
2. Floating Neutral (Loose White Wire)
Symptom: Lights in the RV flicker wildly; some 120V appliances receive 200V+ and burn out, while others receive 40V and stall.
Fix: This occurs on 50-amp 14-50 setups when the neutral connection fails. The two 120V legs begin to act as a series circuit. Immediately shut off power and re-terminate the neutral wire, ensuring it is torqued to 35 in-lbs and free of oxidation.
3. Voltage Drop Under Load
Symptom: Voltage reads 120V at the pedestal with no load, but drops to 105V when the RV air conditioner kicks on, causing the compressor to overheat.
Fix: Your wire run is too long for the gauge used. For 50-amp runs exceeding 75 feet, you must upgrade from 6 AWG to 4 AWG copper to mitigate voltage drop.
Frequently Asked Questions
Can I plug my 30-amp RV into a newly wired 50-amp 14-50 outlet?
Yes, but only if you use a high-quality, UL-listed 50-amp to 30-amp "dogbone" adapter (such as the Camco 55165). The adapter physically steps down the plug configuration. Your RV's internal 30-amp main breaker will still protect the rig from drawing more than 30 amps, even though the pedestal is capable of supplying 50.
Why can't I just use a standard 30-amp dryer outlet for my RV?
A standard 30-amp dryer outlet (NEMA 10-30 or 14-30) supplies 240V. The RV TT-30 plug requires exactly 120V. If you force 240V into a 120V RV system via an improper adapter, you will instantly destroy the RV's power converter, microwave, and television, and potentially start an electrical fire. Always wire the exact NEMA configuration your RV requires.
Do I need a weatherproof cover for the exterior receptacle?
Absolutely. The NEC requires outdoor receptacles to be protected by an "in-use" weatherproof cover (often called a bubble cover). This allows the RV plug to remain connected while keeping rain and snow out of the terminal housing, preventing corrosion and short circuits.