
The Bathroom Circuit Reality: Why Standard Troubleshooting Fails
When a bathroom electrical outlet not working scenario strikes, most homeowners immediately assume a tripped breaker. However, bathroom circuits operate under extreme conditions. According to the National Electrical Code (NEC), bathrooms require dedicated 20-amp circuits to handle high-draw appliances like 1875W hair dryers and heated mirrors. This continuous 15A+ load causes severe thermal expansion and contraction in wire terminations, leading to unique failure modes that standard bedroom or living room outlets rarely experience.
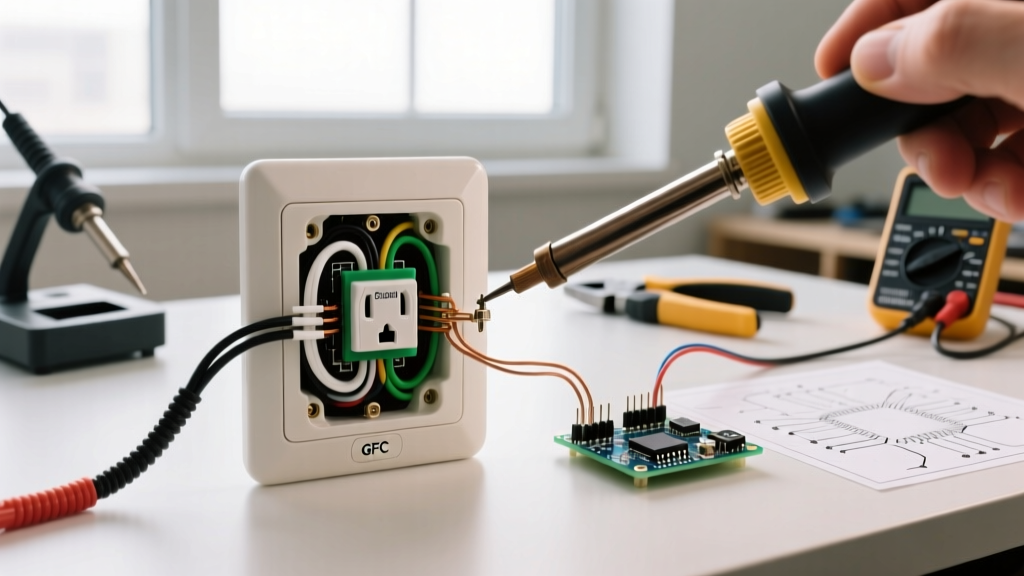
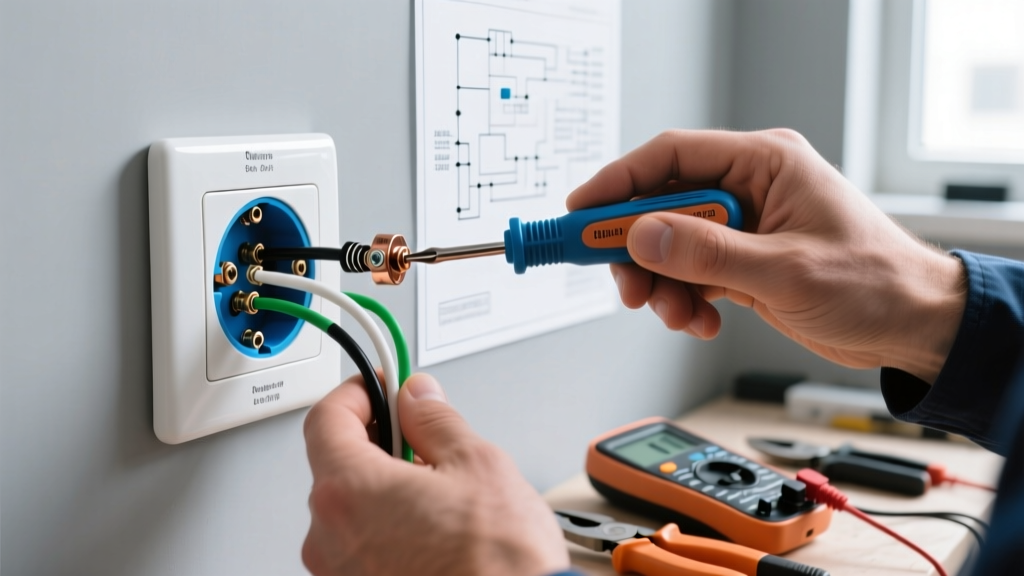
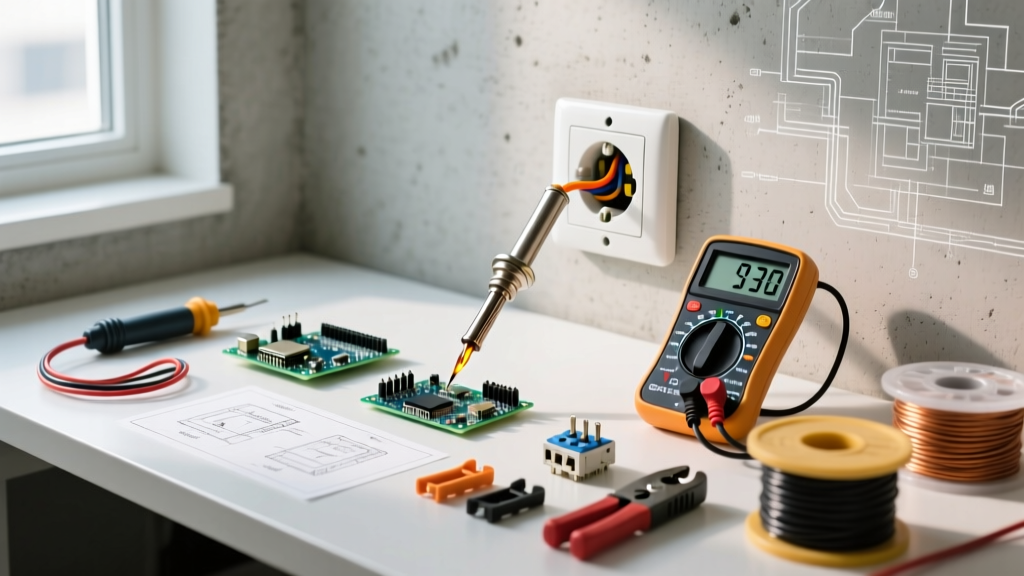
As a tool and material guide, this article bypasses generic advice. Below is the exact professional-grade toolkit and material list required to accurately diagnose, safely extract, and permanently repair a dead bathroom receptacle in 2026.
Phase 1: Non-Contact Diagnostic Tools (The First Line of Defense)
Before unscrewing a single faceplate, you must verify the presence or absence of voltage. Bathrooms are high-moisture environments; assuming a circuit is dead without testing is a severe safety violation.
1. Klein Tools NCVT-2 Dual-Range Non-Contact Voltage Tester
- Cost: ~$28.00
- Why it's essential: Unlike single-range testers that only detect 90-1000V AC, the NCVT-2 detects down to 12V AC. This is critical in modern smart bathrooms where low-voltage LED mirror drivers or ventilation fan timers share the same gang box as the 120V GFCI receptacle. It allows you to map out exactly which wires are hot without exposing bare copper.
2. Fluke T6-1000 Electrical Tester (Professional Upgrade)
- Cost: ~$210.00
- Why it's essential: Features FieldSense technology, allowing you to measure AC voltage and current simultaneously without contacting a live metallic conductor. If your bathroom outlet is fed by a multi-wire branch circuit (MWBC)—a dangerous but existing setup in older homes—the T6-1000 will detect the secondary hot leg that standard NCVTs miss.
Phase 2: Contact Testing & Receptacle Analysis
Once the faceplate is removed and the circuit is verified dead at the breaker, you need to understand why the outlet failed. Was it a ground fault? A loose neutral? An open hot?
Amprobe INSP-3 Receptacle Tester with GFCI Trip Time
Basic $10 receptacle testers only show wiring faults via three LED lights. The Amprobe INSP-3 (~$45) is a diagnostic powerhouse. It not only identifies miswiring but measures the exact millisecond trip time of the GFCI. According to the U.S. Consumer Product Safety Commission (CPSC), a GFCI must trip within 25 milliseconds at a 5mA fault to prevent lethal shock. If your bathroom outlet trips at 40ms or fails to trip, the internal solenoid is degraded by humidity and must be replaced immediately.
Diagnostic Matrix: Receptacle Tester Light Patterns
| Light Pattern (Left/Center/Right) | Condition | Bathroom-Specific Cause & Fix |
|---|---|---|
| Red / Red / OFF | Open Ground | Corroded ground pigtail due to sink moisture ingress. Re-terminate with Wago lever-nut. |
| OFF / Red / Red | Open Neutral | Failed 'backstabbed' push-in connection on the LINE side. Move wires to screw terminals. |
| Red / OFF / Red | Hot/Ground Reversed | Dangerous upstream wiring error. Do not use; requires full circuit tracing. |
| OFF / OFF / Red | Hot/Neutral Reversed | Common in DIY replacements. Swap the brass (hot) and silver (neutral) screws. |
Phase 3: Precision Hand Tools for Safe Extraction
Bathroom gang boxes are notoriously cramped, often stuffed with 12 AWG THHN wire, GFCI pigtails, and smart-switch wiring. Standard tools will damage wire insulation, creating arc-flash hazards.
Klein Tools 11055 Wire Stripper (10-18 AWG)
Cost: ~$32.00. When repairing a failed neutral connection, you must strip back the wire to clean copper. The 11055's precision-machined holes strip 12 AWG and 14 AWG solid wire without nicking the copper conductor. A nicked wire creates a localized hot-spot under a 15A hair dryer load, eventually melting the GFCI casing.
Klein Tools 60108 Torque Screwdriver
Cost: ~$65.00. Critical Code Compliance: The 2023 NEC (widely adopted and enforced in 2026) Section 110.14(D) mandates that terminations be torqued to the manufacturer's specifications. Most 20A GFCIs require 14 in-lbs of torque. Hand-tightening screws in a humid bathroom environment guarantees the connection will loosen within 18 months due to thermal cycling, resulting in a dead outlet.
Phase 4: Replacement Materials (When the Outlet is Dead)
If your multimeter confirms 120V on the LINE side, but the GFCI will not reset or deliver power to the LOAD side, the internal electronics have failed. You need specific, code-compliant replacement materials.
Leviton 8300-HLW 20A Tamper-Resistant Weather-Resistant GFCI
- Cost: ~$24.00
- Why this specific model: Standard indoor GFCIs fail prematurely in bathrooms due to aerosolized moisture from showers. The 'W' in 8300-HLW denotes Weather-Resistant (WR), featuring UV-stabilized thermoplastics and nickel-plated brass contacts that resist the corrosive effects of bathroom humidity and cleaning chemicals.
Wago 221-413 Lever-Nuts vs. Ideal WingNut
Stop using twisted wire nuts for bathroom pigtails. The vibration from nearby exhaust fans and the thermal expansion of high-draw appliances cause standard wire nuts to back off the wire over time. Wago 221 3-conductor lever-nuts (~$0.45 each) use a clamping spring mechanism that maintains constant, code-compliant pressure on the wire regardless of thermal expansion. They also allow for easy voltage probing without unwrapping electrical tape.
Expert Insight: Never wire a bathroom exhaust fan or light fixture to the LOAD terminals of a GFCI receptacle unless explicitly required by local code. When the GFCI trips due to a hair dryer ground fault, you do not want to be plunged into darkness. Wire the fan to the LINE side or a separate switch loop.
Step-by-Step Diagnostic Workflow
- Test Upstream First: Bathroom outlets are often daisy-chained. A 'dead' outlet in the master bath might actually be protected by a GFCI in the guest bath or garage. Use your NCVT to test all other bathrooms first.
- Kill the Power & Verify: Turn off the 20A breaker. Use the Fluke 117 or Klein NCVT to confirm zero voltage at the receptacle slots.
- Extract and Inspect: Remove the 6-32 mounting screws. Pull the GFCI out and look for the 'backstabbed' push-in connections on the rear. If a wire pulls out easily with a gentle tug, you have found your failure point.
- Re-terminate with Torque: Move all wires to the side-screw terminals. Loop the wire clockwise around the screw. Use the torque screwdriver set to 14 in-lbs to secure them.
- Verify GFCI Function: Restore power. Plug in the Amprobe INSP-3 and press the test button to verify the trip time is under 25ms.
Common Edge Cases & Failure Modes
Phantom Tripping: If the GFCI trips immediately upon resetting, even with nothing plugged in, you likely have a neutral-to-ground fault downstream on the LOAD terminals. Remove the LOAD wires. If the GFCI holds, the fault is in the downstream wiring (often a nail through a wire or moisture in an exterior wall junction box).
Shared Neutral MWBC: If your breaker panel has two 20A breakers tied together with a handle tie feeding the bathroom, you have a Multi-Wire Branch Circuit. Turning off only one breaker leaves the shared neutral energized and lethal. Always turn off both breakers and verify zero voltage between the neutral and ground bus before touching any wires.
For comprehensive safety standards regarding electrical repairs in wet locations, always consult the National Fire Protection Association (NFPA) guidelines and adhere to OSHA electrical safety practices when working near live panels. Equipping yourself with the right diagnostic tools and premium materials ensures your bathroom circuit remains safe, code-compliant, and fully operational for decades.