
Understanding Extender Electrical Outlets and Their Risks
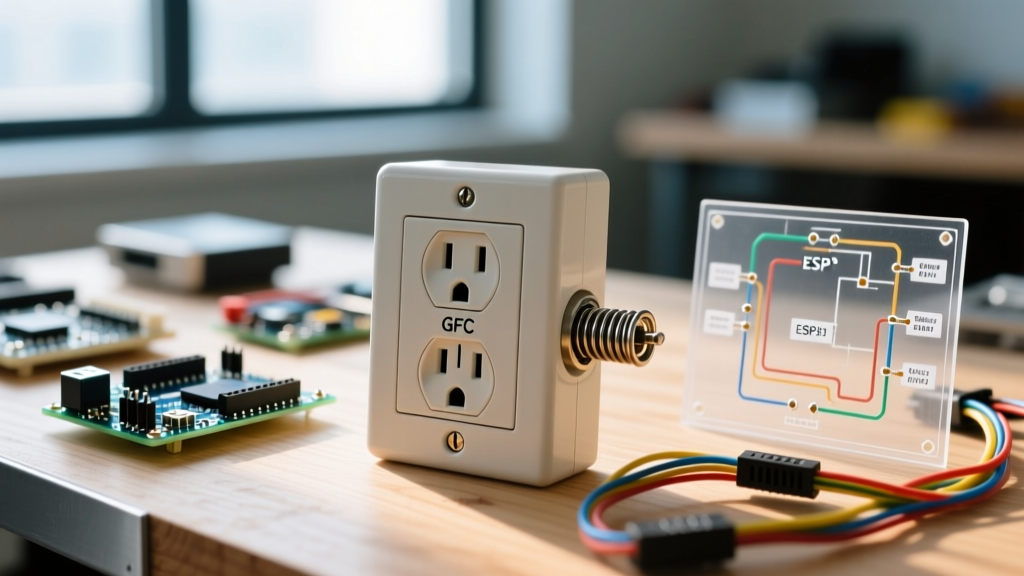
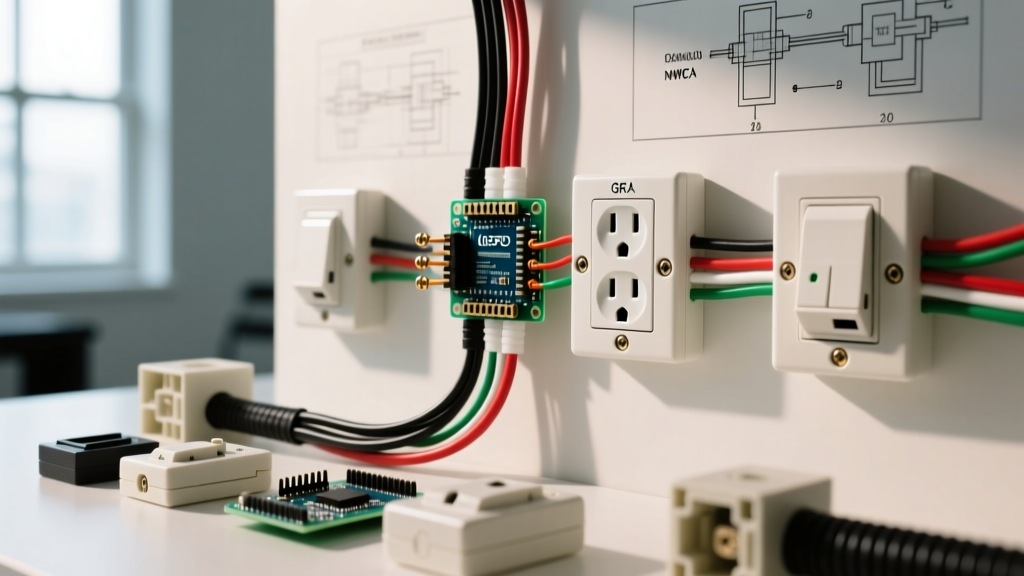
Wall-mounted extender electrical outlets—ranging from simple 3-prong tap adapters and multi-outlet rotating hubs to recessed wall spacer rings—are ubiquitous in older homes and retrofitted spaces lacking sufficient receptacles. While they offer a convenient solution for adding capacity or bridging physical gaps, they introduce unique failure points. Poor internal busbar connections, degraded blade tension, and improper grounding paths can transform these adapters into severe fire hazards.
According to the National Fire Protection Association (NFPA), electrical distribution and lighting equipment are consistently among the top causes of home structure fires. Overloading wall taps and using improper spacers bypass the safety margins built into standard 15A and 20A branch circuits. This inspection and testing guide provides a professional, step-by-step framework for evaluating the safety, code compliance, and operational integrity of any extender electrical outlet.
Extender Types and Risk Profile Matrix
Before testing, identify the specific type of extender you are inspecting. Each category has distinct failure modes and load limitations.
| Extender Type | Example Model | Max Continuous Load | Primary Failure Mode | Avg Cost |
|---|---|---|---|---|
| Basic 3-Prong Tap | GE Model 43883 | 15A (1875W) | Blade tension loss, internal arcing | $8 - $12 |
| Rotating Multi-Plug | Bestten 6-Outlet | 15A (1875W) | Busbar overheating at pivot joints | $15 - $22 |
| Recessed Spacer Ring | Leviton 5814 | N/A (Pass-through) | Grounding path interruption | $2 - $4 |
| Surge-Protected Tap | APC P11VT3 | 15A (1875W) | MOV degradation, thermal fuse trip | $25 - $35 |
Required Diagnostic Tools
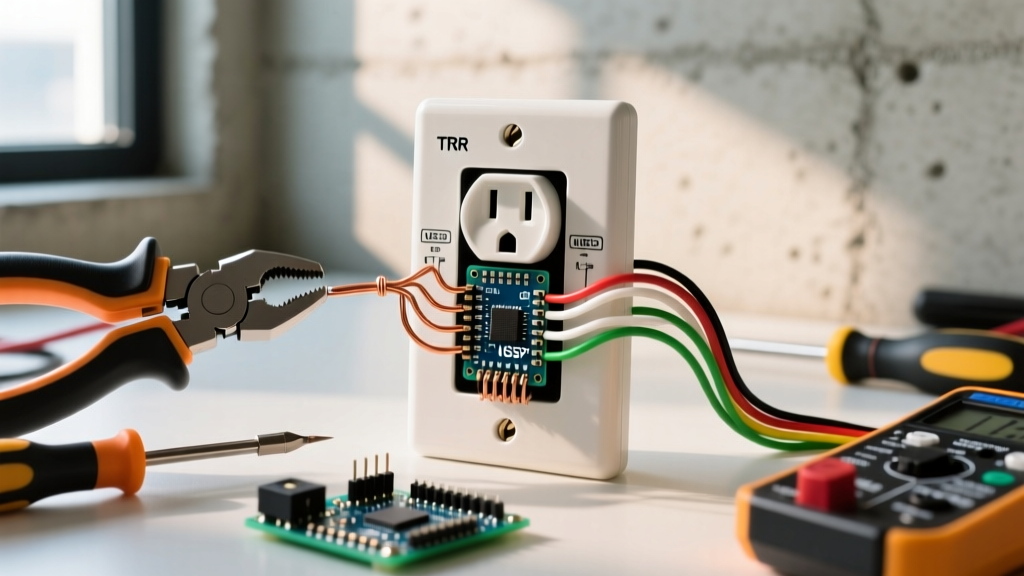
To properly test an extender electrical outlet, you need more than a visual check. Assemble the following tools:
- Receptacle Tester: Klein Tools RT210 (Approx. $35) for checking polarity, ground continuity, and GFCI tripping.
- Non-Contact Voltage Tester: Fluke 1AC-II (Approx. $30) to verify the absence of voltage before removing spacers.
- IR Thermometer: Milwaukee 2267-20 or Fluke 62 MAX (Approx. $110) for thermal load scanning.
- Plug Pull Gauge: To measure receptacle blade retention tension.
Visual and Physical Inspection Protocol
1. Thermoplastic and Heat Damage Check
Inspect the face and rear housing of the extender. Look for 'bluing' (a faint blue/black discoloration on white plastic), brown heat marks, or micro-melting around the slot openings. These are definitive signs of internal arcing or sustained overloading. If the plastic feels brittle or shows any deformation, discard the extender immediately.
2. The NEC 314.20 Gap Rule for Spacers
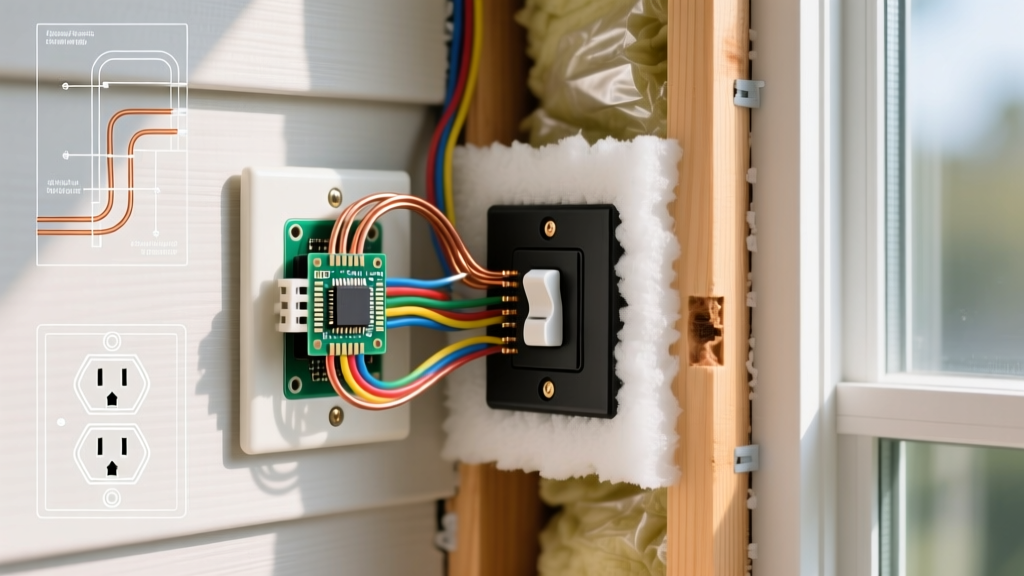
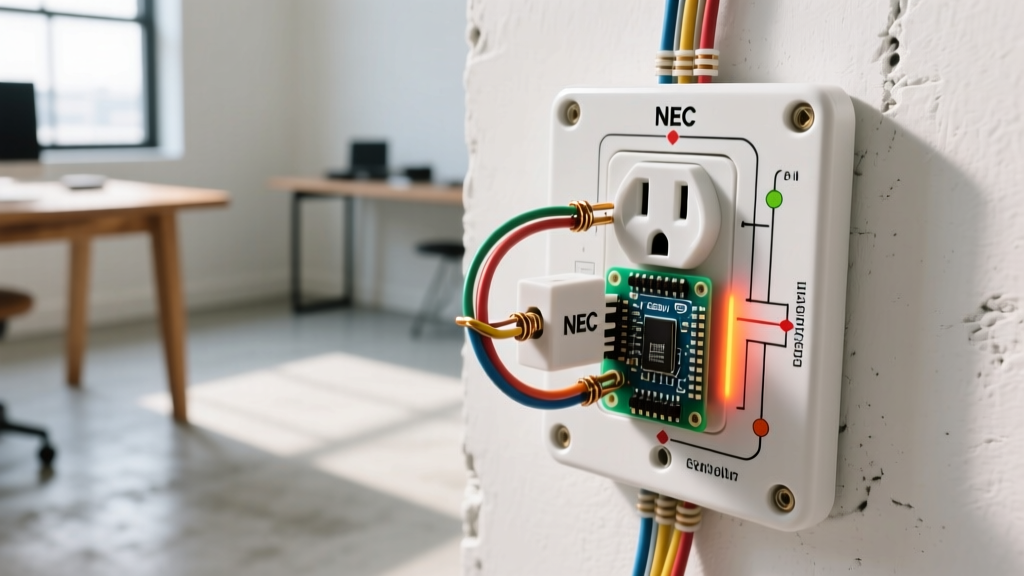
When inspecting recessed outlet spacer rings (used when tile or paneling is installed over drywall), you must verify compliance with National Electrical Code (NEC) Article 314.20. In noncombustible walls (concrete, tile, gypsum), the front edge of the box cannot be set back more than 1/4 inch from the finished surface. In combustible walls (wood paneling), the box must be perfectly flush. Critical Warning: If the gap exceeds 1/4 inch, stacking multiple plastic spacer rings is a code violation and creates an arc-fault hazard inside the wall cavity. You must install a proper metal or UL-listed plastic box extender ring that encapsulates the gap.
3. Mounting Screw and Yoke Contact
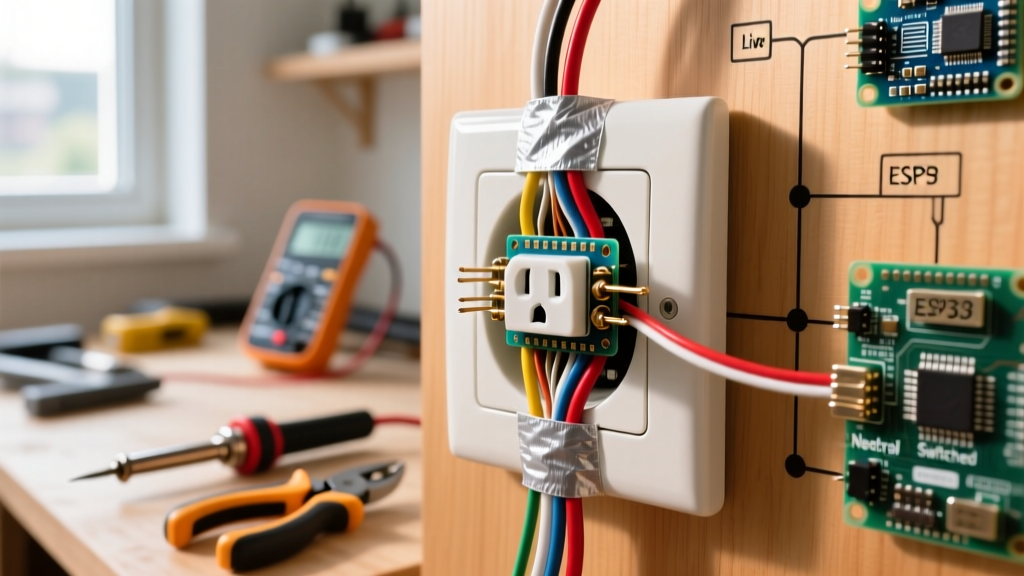
For pass-through extenders and spacers, the center mounting screw is often the sole grounding path back to the metal junction box. Ensure the screw passes cleanly through the extender and bites firmly into the metal box. If the wall is uneven, the extender yoke may bow, breaking the ground connection.
Electrical and Thermal Testing Procedures
Step 1: Receptacle Tension and Ground Testing
Plug the Klein Tools RT210 into the extender. Verify that the lights indicate correct wiring (two yellow, one red off). Next, perform a physical tension test. If the tester or a standard plug slides out of the extender under its own weight, or requires less than 1 pound of force to remove, the internal brass wipers are fatigued. Fatigued wipers cause high-resistance connections, leading to localized melting when a high-draw appliance is used.
Step 2: The 15-Minute Thermal Load Test
The Consumer Product Safety Commission (CPSC) warns against overloading wall taps. To test the extender's internal busbar integrity under load:
- Plug a known high-draw resistive load into the extender (e.g., a 1500W space heater, which draws roughly 12.5A).
- Allow the load to run continuously for 15 minutes.
- Use your IR thermometer to scan the face of the extender, the pivot joints (if rotating), and the wall plate.
- Pass/Fail Threshold: If the surface temperature of the extender exceeds the ambient room temperature by more than 30°C (54°F), the internal rivets or busbars are degrading and presenting a high-resistance fault. Replace the unit.
Troubleshooting Common Extender Failures
Field Scenario: A homeowner reports that a 6-outlet rotating extender occasionally trips the 15A AFCI breaker when a vacuum cleaner is turned on.
Diagnosis: The inrush current of the vacuum motor, combined with a loose internal pivot joint inside the rotating extender, creates a micro-arc. The AFCI breaker detects this arc signature and trips to prevent a fire.
Solution: Replace the rotating extender with a rigid, surge-protected wall tap (like the APC P11VT3) or, ideally, upgrade the wall receptacle to a duplex or quad-box configuration.
Quick Reference Troubleshooting Matrix
- Symptom: Extender feels warm to the touch with no load.
Cause: Failing MOV (Metal Oxide Varistor) in a surge-protected model.
Action: Replace immediately; internal short is imminent. - Symptom: Receptacle tester shows 'Open Ground' on a spacer extender.
Cause: Plastic spacer is insulating the receptacle yoke from the metal box, or the center screw is stripped.
Action: Install a grounding pigtail wire from the receptacle ground screw directly to the metal box. - Symptom: Plugs fall out of the extender easily.
Cause: Metal fatigue in the internal wiper blades.
Action: Discard extender; do not attempt to bend the blades back into shape.
FAQ: Extender Outlet Safety and Best Practices
Is it safe to daisy-chain an extender into a power strip?
No. Daisy-chaining violates OSHA regulations in commercial settings and is a severe fire hazard in residential applications. It increases the total resistance of the circuit and bypasses the localized overcurrent protection of the individual devices.
Can I use a 15A extender on a 20A circuit?
You can physically plug a 15A rated tap into a 20A receptacle (usually via a standard 15A plug configuration on the tap). However, you must ensure the total load on the extender never exceeds 15A (1875W). Because the branch circuit breaker is 20A, it will not trip if you overload the 15A extender to 18A, which will melt the tap before the breaker intervenes.
When should I replace a wall tap extender entirely?
Replace any extender electrical outlet if it is over 5 years old and used for high-draw appliances, if it lacks a UL or ETL listing mark on the rear housing, or if it exhibits any physical looseness when plugged into the wall. For a permanent solution, hire a licensed electrician to install a recessed quad-receptacle or add a new junction box, eliminating the need for adapters altogether.