
Why the 4-Prong Diagram Matters for Modern Dryer Installations
Transitioning from older 3-prong setups to modern 4-prong configurations is not just a matter of swapping a cord; it is a critical safety upgrade mandated by the National Electrical Code (NEC). When you consult a wiring diagram for dryer outlet 4 prong configurations, you are looking at a NEMA 14-30R layout designed to isolate the neutral current from the equipment grounding conductor. This separation prevents the dryer's metal chassis from becoming energized in the event of a neutral fault, a scenario that has historically led to severe shock hazards and electrical fires.
According to the NFPA 70 (National Electrical Code), specifically Article 250.140, new installations must utilize a dedicated 4-wire branch circuit. As a DIYer or professional electrician, executing this diagram flawlessly requires more than just basic pliers. This guide breaks down the exact tools, materials, and torque specifications required to complete a code-compliant, fire-safe 30-amp dryer receptacle installation in 2026.
Deconstructing the Wiring Diagram for Dryer Outlet 4 Prong
Before pulling any wire, you must understand the terminal mapping on a standard NEMA 14-30R receptacle. The diagram relies on four distinct connection points, each serving a specific electrical purpose:
- Terminal X (Hot 1): Connects to the Black wire. Carries 120V relative to neutral.
- Terminal Y (Hot 2): Connects to the Red wire. Carries 120V relative to neutral, but is 180 degrees out of phase with X, providing 240V across both hots for the heating element.
- Terminal W (Neutral): Connects to the White wire. Carries the unbalanced 120V return current for the dryer's motor, timer, and control boards.
- Terminal G (Ground): Connects to the Bare or Green wire. A purely safety-oriented path that carries current only during a fault condition.
Expert Insight: The most common catastrophic failure in dryer wiring occurs when the neutral (W) and ground (G) are bonded at the receptacle. In a 4-prong setup, the bonding strap inside the dryer must be removed, and the receptacle's ground terminal must only connect to the equipment grounding conductor, never the neutral.
Material Sourcing: Receptacles, Wire, and Pigtails
Sourcing the correct materials is the first step in matching your wiring diagram for dryer outlet 4 prong layouts. Do not substitute 3-prong receptacles or undersized wire. Below is a curated materials list with current market estimates and specific model recommendations.
| Material Category | Specification / NEC Requirement | Recommended Brand & Model | Est. Cost (2026) |
|---|---|---|---|
| Branch Circuit Cable | 10/3 NM-B with Ground (Copper, 30A rated) | Southwire 10/3 NM-B SIMpull | $1.85 - $2.20 / ft |
| Receptacle | NEMA 14-30R, 30A, 125/250V, Flush Mount | Leviton 278-S00 or Hubbell 9430FR | $14.00 - $22.00 |
| Dryer Power Cord | 4-Prong, 10 AWG, 30A, SRDT (NEMA 14-30P) | Woods 0104729604 (6 ft) | $25.00 - $35.00 |
| Electrical Box | Single Gang, Deep Metallic or Non-Metallic | Raco 8292 (Metal) or Carlon B618R | $4.00 - $9.00 |
| Wire Connectors | Push-in or Winged, rated for 10 AWG solid/stranded | WAGO 221 Series (Lever-Nuts) | $0.75 / connector |
The Tool Arsenal: Beyond Basic Pliers
While wire strippers and screwdrivers are obvious necessities, modern NEC requirements demand specialized tools to ensure long-term reliability. Loose connections on a 30A circuit generate immense heat, leading to melted receptacles and potential fires. The U.S. Consumer Product Safety Commission (CPSC) frequently cites poor electrical connections as a leading cause of appliance fires.
1. Adjustable Torque Screwdriver
Under NEC Article 110.14(D), you must use a torque tool to tighten terminal lugs if the manufacturer specifies a torque value. Most high-quality NEMA 14-30R receptacles (like the Leviton 278-S00) require between 40 and 50 inch-pounds (in-lbs) of torque for 10 AWG wire. A calibrated torque screwdriver, such as the Klein Tools 70005 or a Wera Torque Screwdriver, ensures you do not under-tighten (causing arcing) or over-tighten (stripping the brass threads).
2. Precision Wire Strippers
Stripping 10 AWG solid copper requires care to avoid nicking the conductor, which creates a weak point that can snap under thermal expansion. Use a dedicated gauge stripper like the Klein 11063W (10-14 AWG) rather than universal pliers. The bare copper extending past the terminal should be no more than 1/16th of an inch to prevent accidental shorting against the ground strap.
3. Non-Contact Voltage Tester & Multimeter
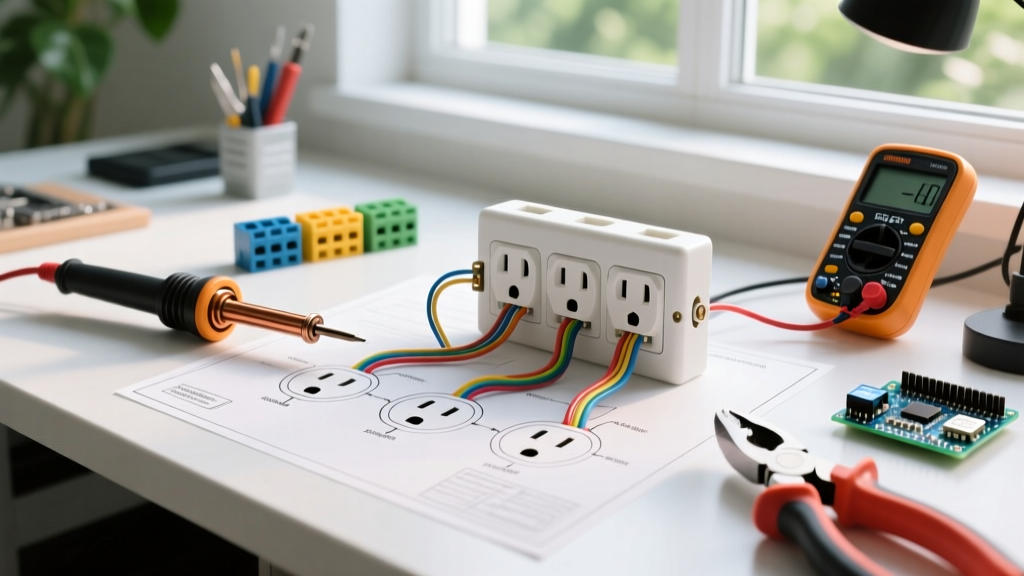
Before touching any wires, verify the circuit is dead. A Fluke 1AC-II VoltAlert or a Klein NCVT-3 is essential. Post-installation, a digital multimeter is required to verify the 240V across X and Y, and 120V across X-W and Y-W.
Step-by-Step Execution: Matching Tools to the Diagram
Follow this sequence to translate the wiring diagram for dryer outlet 4 prong setups into a physical, code-compliant reality.
- Prepare the Cable: Strip back 6 inches of the 10/3 NM-B outer jacket using a cable ripper. Avoid using a utility knife, which frequently scores the inner wire insulation.
- Strip the Conductors: Use your 10 AWG wire strippers to remove exactly 3/4 inch of insulation from the black, red, white, and bare ground wires.
- Establish the Ground First: Connect the bare copper ground wire to the green grounding screw (Terminal G) on the receptacle. If using a metal box, you must also run a 10 AWG grounding pigtail from the box to the receptacle's ground terminal.
- Terminate the Neutral: Insert the white wire into the silver terminal (Terminal W). Tighten using your torque screwdriver set to 45 in-lbs. Give the wire a firm tug to ensure mechanical retention.
- Terminate the Hots: Connect the black wire to the brass X terminal and the red wire to the brass Y terminal. Torque both to 45 in-lbs. The polarity between X and Y does not matter for 240V operation, but maintaining standard color-to-terminal mapping aids future troubleshooting.
- Secure and Test: Fold the wires neatly into the deep electrical box, ensuring no bare ground wire touches the hot brass terminals. Mount the receptacle, restore power at the breaker, and test with a multimeter.
Edge Cases & Troubleshooting Common Failures
Even with a perfect diagram, real-world installations present unique challenges. Here is how to handle the most frequent edge cases encountered in the field.
The 'Existing 3-Prong' Dilemma
If you are replacing an old 3-prong receptacle (NEMA 10-30R) in an older home, the NEC allows you to keep the 3-prong setup under specific grandfather clauses (NEC 250.32 Exception 1). However, the U.S. Department of Energy and modern safety advocates strongly recommend upgrading to a 4-wire circuit whenever possible. If you upgrade the receptacle to a 4-prong NEMA 14-30R, you must pull a new 10/3 NM-B cable from the panel. You cannot simply add a ground wire to an existing 10/2 cable, as this violates the rule requiring all circuit conductors to be contained within the same cable assembly to prevent inductive heating.
Melted or Discolored Terminals
If you are replacing an existing 4-prong receptacle and find the brass terminals discolored or the plastic housing melted, this is a definitive sign of chronic under-torquing. The high resistance at the loose connection generated excessive heat. When installing the new Leviton or Hubbell receptacle, ensure the wire is seated fully under the terminal plate and torqued to spec. Do not wrap the wire around the screw in a 'shepherd's hook' shape if the receptacle uses straight-in pressure plates; use the insertion holes provided.
Dryer Control Board Flickering
If the newly installed dryer powers on but the digital control board flickers or resets during the heating cycle, you likely have a loose neutral connection on Terminal W. The heating elements draw massive current (up to 22 amps), causing voltage drops on the 120V control circuit if the neutral return path has high resistance. Turn off the breaker, remove the receptacle cover, and verify the white wire is torqued to 45 in-lbs and free of oxidation.
Frequently Asked Questions
Can I use 8 AWG wire for a 30A dryer circuit?
Yes, 8 AWG copper wire is perfectly safe and code-compliant for a 30A circuit, as it is rated for up to 40A (or 50A depending on the insulation type). However, it is physically thicker, making it much harder to bend inside a standard single-gang electrical box and more difficult to terminate on standard NEMA 14-30R brass lugs. Unless you are dealing with a voltage drop issue over a run exceeding 100 feet, 10 AWG is the industry standard and the most practical choice.
Does the ground wire need to be insulated?
No. In standard NM-B (Romex) cable, the equipment grounding conductor is bare copper. If you are pulling individual wires through metallic or PVC conduit (THHN/THWN), you must use an insulated green or bare 10 AWG copper wire for the ground. Both methods are fully compliant with the wiring diagram for dryer outlet 4 prong setups.
What happens if I wire the hot wires to the neutral and ground?
This will result in a catastrophic dead short, immediately tripping the 30A breaker at the panel. In worst-case scenarios involving older, degraded panels, the breaker may fail to trip instantaneously, leading to melted wires, arcing faults, and electrical fires. Always verify wire colors and terminal mappings with a multimeter before energizing the circuit.