
The Stakes of Proper Termination
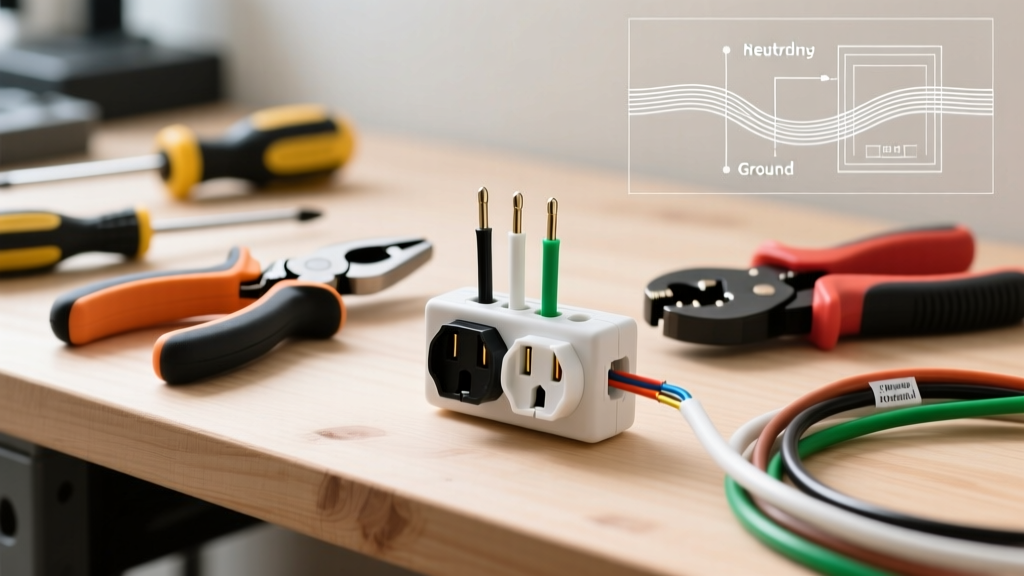
Wiring a standard NEMA 5-15P plug seems like a rudimentary task, but it remains one of the most common sources of residential and workshop electrical fires. A poorly executed termination can lead to high-resistance connections, arcing, and catastrophic thermal failure. According to the National Electrical Code (NEC), all cord-and-plug-connected equipment must be terminated using listed fittings and appropriate strain relief mechanisms. This guide strips away the guesswork, providing a professional-grade tool and material blueprint for flawless three prong electrical plug wiring.
Safety Directive: Never attempt to wire or modify a plug while it is connected to a live receptacle. Always verify the absence of voltage using a CAT III or CAT IV rated multimeter before handling exposed conductors. For comprehensive workplace safety protocols, refer to OSHA's Electrical Safety guidelines.
Material Selection: Cords and Receptacle Blades
The foundation of a durable plug assembly lies in selecting the correct cord jacket and plug body. Using an indoor-rated cord for outdoor equipment or a light-duty plug for a high-draw motor will result in premature failure.
Decoding Cord Jacket Types
When sourcing wire for your three prong electrical plug wiring project, the jacket lettering dictates its environmental resilience. Below is a breakdown of the most common portable cord types used in 2026:
| Cord Type | Jacket Material | Best Use Case | Avg. Cost (per ft) |
|---|---|---|---|
| SJTW | Thermoplastic (PVC) | Outdoor extension cords, temporary construction power. Resists sunlight and moisture. | $0.65 - $0.85 |
| SJOOW | Thermoset Rubber | Industrial machinery, oil/water resistance, extreme flexibility in cold weather. | $1.10 - $1.40 |
| SVT | Thermoplastic (PVC) | Light-duty indoor appliances, vacuum cleaners, office equipment. | $0.40 - $0.55 |
Choosing the Right Plug Body
For standard 15-Amp, 125-Volt applications, the Leviton 5266-S (roughly $6.50) is the benchmark for heavy-duty residential and commercial use. It features a ribbed thermoplastic body and a built-in cord grip that accommodates 18 to 14 AWG cables. For harsh industrial environments where the plug may be dragged across concrete or exposed to chemicals, upgrade to the Hubbell HBL5266C (approx. $14.00), which utilizes a nylon housing and nickel-plated brass blades to resist corrosion and impact.
The 2026 Professional Tool Arsenal
You cannot achieve a reliable termination with dull, multi-purpose tools. The following arsenal represents the current industry standard for electricians and serious DIYers tackling three prong electrical plug wiring.
1. Precision Wire Strippers: Klein Tools 11063W Katapult
Cost: ~$28.50
Why it matters: The Klein 11063W handles 8-22 AWG wire. Its spring-loaded mechanism ensures that the outer jacket and inner insulation are scored and removed cleanly without nicking the copper strands. Nicked copper creates a localized weak point that will snap under the mechanical stress of screw tightening, leading to an open circuit.
2. Electrician's Scissors: Knipex 10 16 170
Cost: ~$45.00
Why it matters: Used for slitting the outer jacket of SJTW or SJOOW cables without damaging the inner conductors. The Knipex 10 16 170 features a micro-serrated edge that grips tough rubber jackets effortlessly, and a built-in crimping die for ferrule work if your specific plug requires it.
3. Insulated Screwdrivers: Wiha 32095 SoftFinish
Cost: ~$22.00 (Set)
Why it matters: Terminal screws on NEMA plugs require precise torque. The Wiha #1 and #2 Phillips/Slotted insulated drivers provide excellent tactile feedback, allowing you to tighten terminal screws to the recommended 12-14 in-lbs without stripping the brass heads or over-compressing the copper wire.
4. Continuity Testing: Fluke 117 True-RMS Multimeter
Cost: ~$210.00
Why it matters: Post-assembly verification is non-negotiable. The Fluke 117's AutoVolt and continuity beeper allow you to instantly verify that the hot blade connects only to the black wire, the neutral blade to the white, and the ground pin to the green, ensuring no internal short circuits exist before the plug is energized.
Precision Wiring Workflow
Follow this exact sequence to ensure your three prong electrical plug wiring meets professional standards.
- Jacket Removal: Measure 1.5 inches from the end of the cable. Use the Knipex scissors to carefully slit the outer jacket longitudinally, then trim it away. Do not cut into the colored inner insulation.
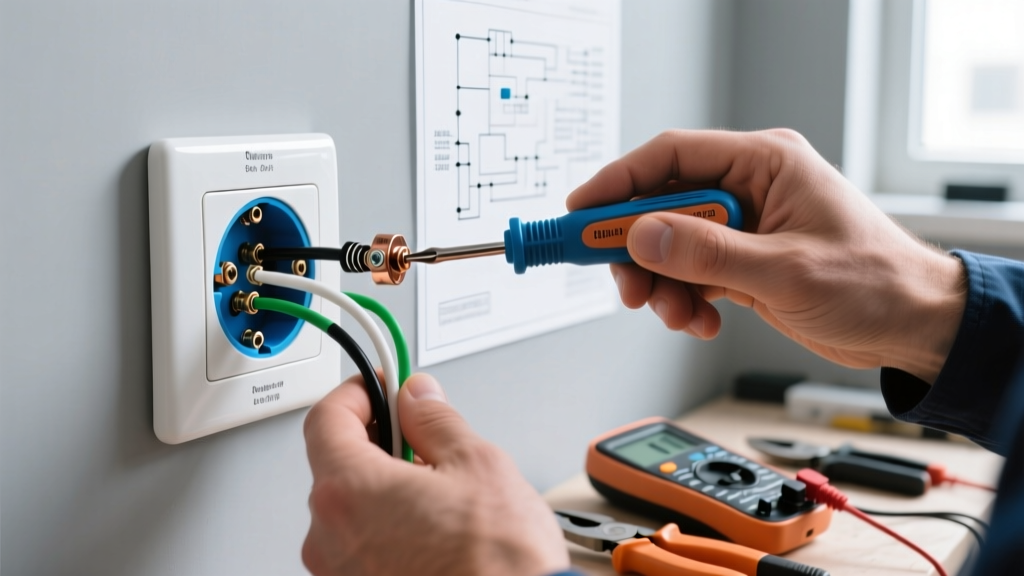
- Conductor Stripping: Using the Klein 11063W, strip exactly 5/8 inch of insulation from the black, white, and green wires. Any more than 5/8 inch leaves exposed copper outside the terminal cup (a shock hazard); any less results in the screw biting into the insulation (a high-resistance fire hazard).
- The Clockwise Loop: Form a tight 'J' hook at the end of each stripped wire using needle-nose pliers. Hook the wire around the terminal screw clockwise. This ensures that as you tighten the screw clockwise, the loop pulls tighter around the shaft rather than splaying outward.
- Terminal Assignment:
- Brass Screw: Black wire (Hot)
- Silver Screw: White wire (Neutral)
- Green Screw: Green or Bare wire (Ground)
- Strain Relief Engagement: Before closing the housing, ensure the cable's outer jacket (not the individual inner wires) is clamped firmly by the plug's internal cord grip. Pull the cable firmly; the jacket should not slip.
- Verification: Use the Fluke 117 to test continuity between the plug blades and the exposed wire ends at the opposite side of the cord before plugging it into a mains outlet.
Forensic Troubleshooting: Common Failure Modes
Even experienced technicians make errors. Recognizing these specific failure modes will save you from returning to a failed job site.
The 'Stray Whisker' Short
When stripping stranded wire, a single copper strand often flares outward. If this 'whisker' bridges the gap between the hot (brass) terminal and the ground (green) terminal inside the plug housing, it will cause a dead short the millisecond the plug is inserted into a receptacle. Always twist the stranded wire tightly into a solid bundle before forming the terminal hook.
Reversed Polarity
Swapping the black and white wires (connecting black to silver, white to brass) will allow the device to operate normally, but it creates a lethal shock hazard. The device's internal switch will break the neutral path instead of the hot path, meaning the internal circuitry remains energized at 120V even when turned off. Always double-check terminal colors.
Thermal Creep and Loose Connections
Copper expands and contracts under electrical load. If terminal screws are under-torqued, this thermal cycling will cause the connection to loosen over time. A loose connection increases electrical resistance, generating localized heat that melts the plug housing. Always tighten terminal screws firmly, and if working with aluminum or copper-clad aluminum wire (rare in portable cords, but possible in fixed wiring), apply an antioxidant compound like Noalox to prevent galvanic corrosion.
Final Thoughts on Plug Integrity
Successful three prong electrical plug wiring is not about rushing to finish a task; it is about executing a precise mechanical and electrical bond. By investing in high-quality cord sets like SJOOW, utilizing heavy-duty NEMA 5-15P plugs from Leviton or Hubbell, and stripping wire with calibrated tools like the Klein Katapult, you ensure a termination that will safely handle its rated load for decades.