
The Hidden Fire Hazard of a Sunken Electrical Outlet
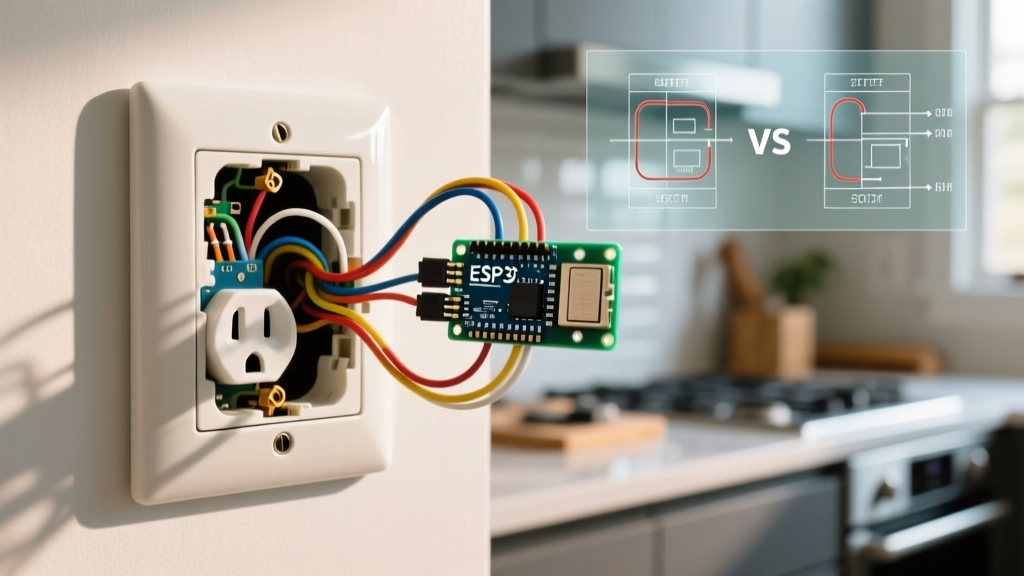
Discovering a sunken electrical outlet is incredibly common in older homes, after a DIY drywall overlay, or following the installation of a thick stone or tile backsplash. While it might look like a mere cosmetic annoyance, an outlet recessed too deeply into the wall cavity presents a severe fire and shock hazard. When you plug in a high-draw appliance, the prongs may not fully seat, causing electrical arcing in the gap between the receptacle face and the wall surface. Worse, if a wire shorts inside that gap, the resulting spark can easily ignite drywall paper, wood studs, or accumulated dust inside the wall cavity.
As a beginner tackling electrical repairs, understanding the boundary between a simple cosmetic fix and a code-mandated safety repair is critical. This guide will walk you through diagnosing the depth of your recessed box, selecting the correct hardware, and executing a safe, code-compliant installation.
Understanding NEC Article 314.20
Before buying any materials, you must understand the rules set by the National Fire Protection Association (NFPA) in the National Electrical Code (NEC). Specifically, NEC Article 314.20 governs how electrical boxes must sit relative to the finished wall surface.
NEC 314.20 Summary: In walls or ceilings constructed of combustible materials (like standard drywall over wood studs), the electrical box must be flush with the surface or project slightly outward. In non-combustible surfaces (like concrete, brick, or tile), the box may be recessed, but by no more than 1/4 inch (6 mm). Any gap exceeding these limits requires a listed box extender.
Diagnostic Matrix: Shims vs. Box Extenders
Many beginners mistakenly buy plastic outlet shims to fix a deeply sunken electrical outlet. Shims are designed to stop a receptacle from wiggling in a properly seated box; they are not designed to bridge a large gap between the box and the drywall. Use the matrix below to determine your required fix.
| Wall Material | Gap Depth (Box to Surface) | NEC 314.20 Status | Required Solution | Estimated Material Cost (2026) |
|---|---|---|---|---|
| Combustible (Drywall/Wood) | Any depth > 0 inches | Violation | UL-Listed Box Extender | $2.50 - $4.00 |
| Non-Combustible (Tile/Stone) | 1/8" to 1/4" (3mm - 6mm) | Compliant | Longer 6-32 Screws + Caulk | $3.00 |
| Non-Combustible (Tile/Stone) | Greater than 1/4" (>6mm) | Violation | UL-Listed Box Extender | $2.50 - $4.00 |
| Any Material | Receptacle loose in flush box | Compliant | Plastic Receptacle Shims | $1.50 (Pack of 10) |
Essential Tools and Materials
To properly extend a sunken electrical outlet, you need specific tools. Do not substitute electrical tape or stacked washers for a proper extender ring.
- Non-Contact Voltage Tester: Klein Tools NCVT-1 (Approx. $24.00). Essential for verifying dead circuits.
- Box Extender: Arlington Industries BE1 (Single-Gang Non-Combustible Extender, Approx. $2.85) or Caddy B1 (Metal Extender, Approx. $4.10). The Arlington BE1 is highly recommended for beginners due to its side-slit design.
- Device Screws: 6-32 x 1-1/2" steel machine screws (Approx. $3.50/pack). Standard 3/4" screws will not reach the original box ears.
- Lever Nuts (If pigtailing is needed): WAGO 221-412 compact splicing connectors (Approx. $0.65 each).
- Wire Strippers: Klein Tools 11063W for 14 and 12 AWG solid wire.
Step-by-Step Beginner Tutorial: Installing a Box Extender
Step 1: Kill the Power and Verify
Navigate to your main electrical panel and turn off the breaker controlling the outlet. Return to the outlet and test both the top and bottom receptacles with your Klein NCVT-1. If the outlet is split-wired (where the top and bottom are on different circuits), you must verify both are dead. For maximum safety, use a multimeter to check line-to-neutral and line-to-ground for 0 volts.
Step 2: Extract the Receptacle
Remove the faceplate and unscrew the top and bottom 6-32 mounting screws. Gently pull the receptacle out of the box. Pro-Tip: Do not yank the device. Fold the wires back and forth gently to ease them out of the cramped space. Take a photo of the wiring configuration (Line, Load, Neutral, Ground) before touching any terminals.
Step 3: Measure the Recess Depth
Place a small ruler or tape measure from the front edge of the existing electrical box to the finished surface of the drywall or tile. Note this measurement. You will need an extender that matches or slightly exceeds this depth. The Arlington BE1 is adjustable and telescopes to fit gaps from 1/4" up to 1-3/4".
Step 4: Prepare and Slide the Extender
This is where the Arlington Industries Box Extenders shine for beginners. The BE1 features a pre-cut slit on one side.
- Slide the extender over the existing wires through the slit. You do not need to disconnect the wires from the receptacle to do this.
- Push the extender into the existing wall box until the inner flange rests flush against the back of the drywall or tile.
- Adjust the telescoping front face so it sits perfectly flush with (or up to 1/16" proud of) the finished wall surface.
Step 5: Secure the Extender and Device
The extender has mounting ears with holes that align with the original box's screw tabs. Insert your 1-1/2" 6-32 screws through the receptacle mounting holes, through the extender ears, and thread them tightly into the original metal or plastic box. Ensure the device is perfectly level before fully tightening.
Step 6: Re-terminate and Test
Push the wires neatly back into the box, ensuring no bare copper is exposed outside the wire terminals. Screw the faceplate back on. Turn the breaker back on and test the outlet with a standard 3-prong receptacle tester to confirm correct wiring and grounding.
Troubleshooting Edge Cases & Failure Modes
Edge Case 1: Wires Are Too Short to Reach
When you pull the receptacle out to accommodate a deep extender, you may find the existing Romex wires are too short to comfortably reach the device terminals. Never stretch the wires or wrap electrical tape around exposed copper.
The Fix: You must pigtail the wires. Cut a 6-inch piece of matching gauge wire (14 AWG for 15A circuits, 12 AWG for 20A circuits). Strip 1/2" of insulation from both ends. Connect the short existing wire, the new pigtail, and a WAGO 221-412 lever nut. Attach the other end of the pigtail to the receptacle. This adds crucial length and maintains a secure, vibration-proof connection.
Edge Case 2: Crumbling Drywall Around the Box
If the drywall around the sunken box is degraded, the extender's mounting ears won't have a solid surface to press against, causing the outlet to push into the wall when you plug something in.
The Fix: Use a Madison Electric MS14000 "Old Work" bracket, or apply a fast-setting setting-type joint compound (like Sheetrock Easy Sand 20) around the perimeter of the extender to create a solid, non-combustible structural bridge before tightening the screws.
Edge Case 3: Tile Backsplash Interference
If a thick stone or tile backsplash was installed after the original boxes were set, the tile might overhang the box opening, preventing the extender from sliding in.
The Fix: Use an oscillating multi-tool with a diamond-grit blade to carefully score and grind away the excess tile or thinset mortar blocking the box opening. Always wear a N95 respirator when cutting masonry materials to avoid inhaling silica dust.
Frequently Asked Questions
Can I just use longer screws and leave the gap empty?
No. If the gap is in a combustible wall (drywall), leaving it empty violates NEC 314.20 and creates a severe fire hazard. Arcing could ignite the drywall paper. If the wall is non-combustible (tile) and the gap is less than 1/4", longer screws are acceptable, but the gap should still be sealed with fire-retardant caulk to prevent dust accumulation.
Are plastic box extenders safe for 20-Amp kitchen circuits?
Yes, provided they are UL-listed for the application. The Arlington BE1 is rated for both 15A and 20A circuits and is made from high-impact, flame-retardant PVC. The amperage rating of the circuit dictates the wire gauge and receptacle type, not the material of the box extender.
What if my sunken outlet is a GFCI?
The repair process is identical. However, GFCI receptacles are physically deeper than standard duplex receptacles. If the original box is already cramped, adding a box extender might make wire management difficult. If the wires are severely stressed, consider upgrading to an extra-deep "old work" electrical box (like the Carlon B618R-UPC) to give the GFCI's bulky internal electronics adequate space for heat dissipation.