
The Hidden Risks of Refrigerator Receptacle Failure
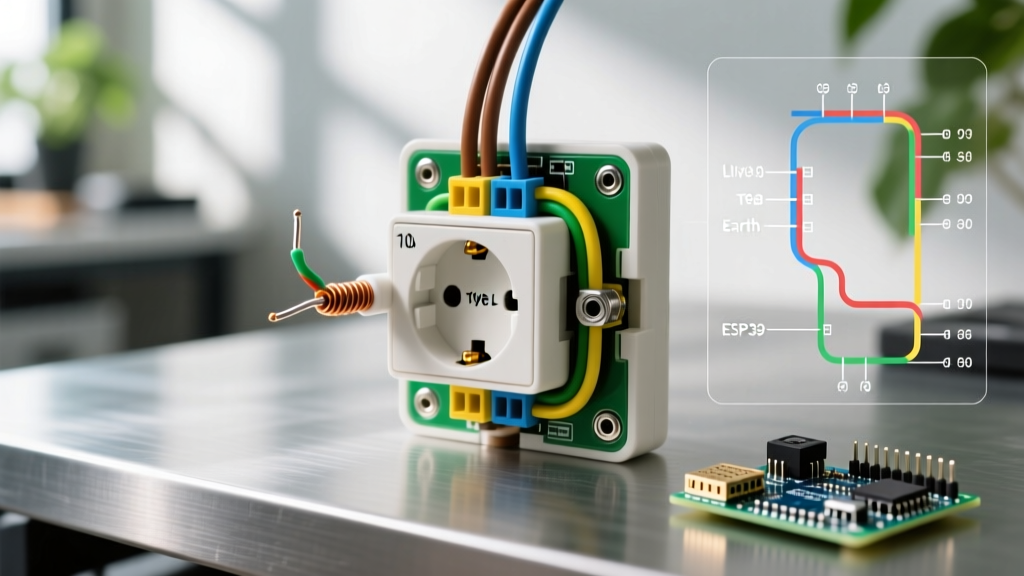
In 2026, modern high-efficiency refrigerators feature variable-speed inverter compressors and advanced smart-home diagnostics. While these units consume less overall energy, their sensitive printed circuit boards (PCBs) and start relays are highly vulnerable to poor power quality. A failing or improperly wired electrical outlet for refrigerator circuits can cause voltage drops, nuisance tripping, or catastrophic compressor failure. Replacing a seized compressor costs between $800 and $1,400, not including the cost of spoiled groceries. This inspection and testing guide provides a systematic, expert-level approach to verifying the integrity, polarity, and load-bearing capacity of your refrigerator receptacle.
NEC Code Context: Dedicated Circuits vs. GFCI Requirements
Under the National Electrical Code (NEC), specifically Section 210.52(B)(1) Exception 2, a refrigerator can be supplied by an individual branch circuit rated 15 or 20 amperes. The National Fire Protection Association (NFPA) outlines that if the receptacle serves only the refrigerator and is not positioned to serve countertop space, it may be exempt from Ground-Fault Circuit Interrupter (GFCI) requirements in some jurisdictions. However, local Authorities Having Jurisdiction (AHJ) increasingly mandate GFCI protection for all kitchen receptacles. If a GFCI is installed, nuisance tripping from compressor startup surges can silently cut power, leading to food spoilage. Testing must account for both dedicated standard receptacles and GFCI-protected configurations.
Phase 1: Visual and Thermal Inspection
Before introducing test equipment, perform a rigorous physical inspection of the receptacle and the surrounding junction box. Thermal degradation is the leading cause of high-resistance connections.
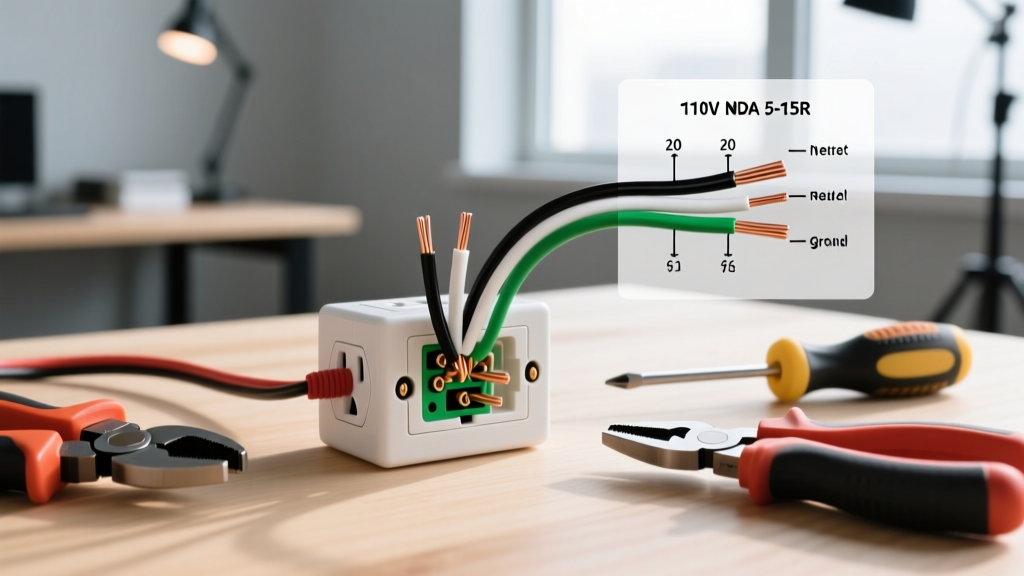
- Receptacle Rating: Verify the face of the outlet. A 20-amp circuit (12 AWG wire) requires a NEMA 5-20R receptacle (e.g., Leviton 5362-W, approx. $4.50) or a 15-amp NEMA 5-15R (e.g., Hubbell 5262, approx. $6.00). Mismatched ratings indicate improper DIY modifications.
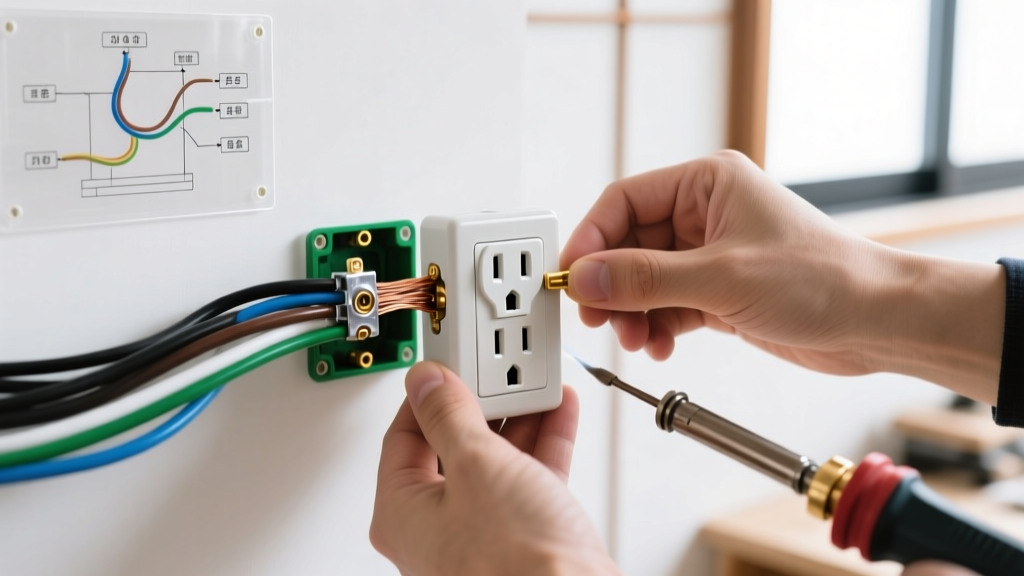
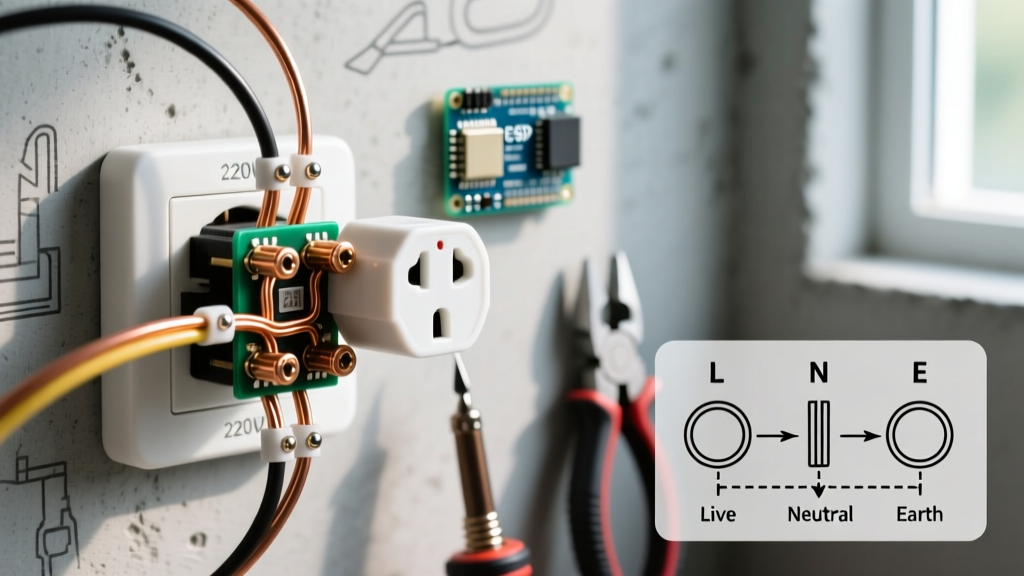
- Terminal Connections: Remove the faceplate and inspect the side terminals. If the wires are pushed into the rear 'backstab' push-in connectors, this is a critical failure point. Backstab connections rely on a small spring clip that loosens under the thermal expansion and contraction cycles of a compressor. All refrigerator circuits must use side-screw terminals or pigtails with wire nuts.
- Thermal Discoloration: Look for brown or black scorch marks around the Hot (brass) terminal. This indicates arcing due to a loose connection, which increases resistance and causes voltage drop under load.
Phase 2: Multimeter Voltage and Polarity Testing
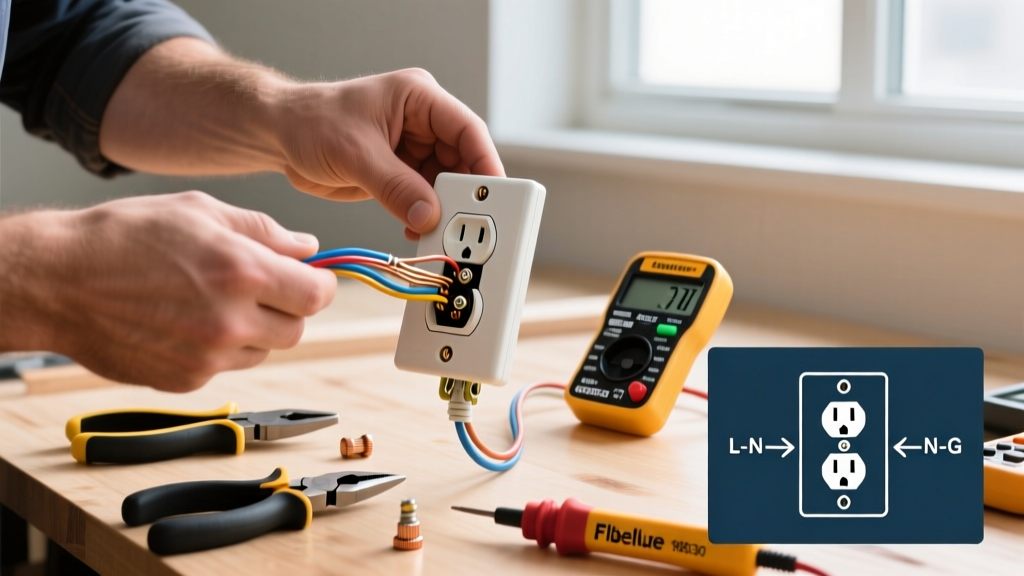
Standard 3-light neon testers (like the $12 Gardner Bender GFI-3500) are insufficient for diagnosing refrigerator circuits. They only confirm basic continuity and cannot detect high-resistance grounds or neutral-to-ground voltage drops. You must use a True-RMS Digital Multimeter, such as the Fluke 117 (approx. $215), to get accurate readings of non-linear loads. According to testing protocols outlined by the Fluke Corporation, True-RMS meters are essential for measuring the distorted waveforms often present in modern kitchen environments.
Expert Insight: The 108V Compressor Threshold
According to ANSI C84.1 standards, nominal 120V circuits should operate between 114V and 126V. However, refrigerator compressors have a high Locked Rotor Amperage (LRA) during startup, often pulling 12 to 15 amps for a fraction of a second. If your baseline voltage is already low (e.g., 112V), the startup surge will cause a momentary voltage drop below 108V. Below this threshold, the start relay fails to engage the start winding, causing the compressor to stall, overheat, and trip its internal thermal overload protector.
Diagnostic Readings Matrix
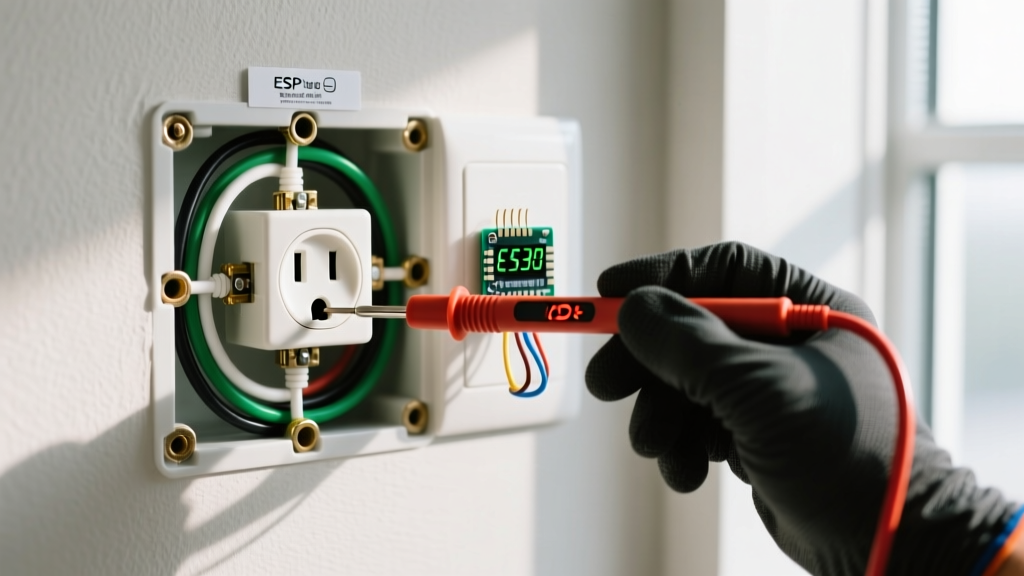
Set your multimeter to AC Voltage (V~) and insert the probes into the receptacle slots. Record your findings against this matrix:
| Test Points | Expected Reading | Acceptable Range | Diagnostic Meaning if Out of Range |
|---|---|---|---|
| Hot to Neutral (H-N) | 120.0 V | 114V - 126V | Below 114V: Overloaded branch circuit or undersized feeder wire from the panel. |
| Hot to Ground (H-G) | 120.0 V | 114V - 126V | Significantly lower than H-N: High resistance in the grounding path (loose ground bus bar). |
| Neutral to Ground (N-G) | 0.0 V | 0V - 1.5V | Above 2V: Shared neutral overload, loose neutral at the panel, or backstabbed receptacle. |
Phase 3: Ground Impedance and Load Testing
A receptacle might show 120V with no load, but fail completely when the refrigerator compressor kicks on. To test the circuit's integrity under real-world conditions, you must perform a load test.
Step-by-Step Load Testing Procedure
- Insert a Load Meter: Plug a P3 Kill-A-Watt (model P4400, approx. $30) or a similar digital power meter into the electrical outlet for refrigerator use.
- Monitor Baseline Voltage: Note the voltage displayed while the refrigerator is idle (compressor off). It should read between 118V and 122V.
- Force a Compressor Cycle: Turn the refrigerator's internal thermostat down to its coldest setting to force the compressor to engage. Alternatively, unplug the unit for 5 minutes to equalize pressures, then plug it back in to trigger a hard start.
- Observe the Voltage Drop: As the compressor engages, watch the voltage on the meter. A drop of 2V to 4V is normal. If the voltage plunges below 110V and stays there, or drops below 108V momentarily, you have a high-impedance connection. This is usually caused by a loose breaker connection in the main panel, a damaged 12 AWG wire, or a daisy-chained receptacle upstream that is failing.
Troubleshooting Matrix: Edge Cases and Compressor Failures
When testing reveals anomalies, use this matrix to isolate the root cause before calling an electrician or appliance repair technician.
| Symptom / Test Result | Probable Root Cause | Corrective Action |
|---|---|---|
| H-N reads 120V, but N-G reads 4.5V | Loose neutral wire at the receptacle or upstream junction box. | Remove receptacle, strip wire back to clean copper, and terminate using side screws or a pigtail. |
| GFCI trips randomly every 3-5 days | Compressor startup surge or defrost heater leakage current tripping the 5mA GFCI threshold. | Consult AHJ. If code permits, move fridge to a dedicated non-GFCI 20A circuit. If GFCI is mandatory, install a hard-start kit (e.g., Supco SPP6) to reduce startup surge. |
| Voltage drops to 105V during compressor start | Undersized wiring (14 AWG on a long run) or loose main panel breaker. | Verify wire gauge. Upgrade to 12 AWG THHN copper on a dedicated 20A breaker. Torque breaker lug to manufacturer specs (usually 35 in-lbs). |
| H-G reads 0V, H-N reads 120V | Open ground. The equipment grounding conductor is disconnected or broken. | Trace the ground wire back to the panel. Do NOT use a GFCI as a substitute for a missing ground on a refrigerator circuit due to safety risks involving metal chassis. |
Summary Checklist for 2026 Compliance
To ensure your kitchen setup meets modern safety and performance standards, verify the following before concluding your inspection:
- Dedicated Circuit: The refrigerator is the only major appliance on this specific breaker.
- Wire Gauge: 12 AWG copper wire is used for 20-amp circuits, ensuring minimal voltage drop over distance.
- Termination Method: All wires are secured under side terminal screws, with no push-in backstab connections.
- Tamper Resistance: The receptacle features a 'TR' stamp, indicating Tamper-Resistant shutters, as required by NEC 406.12.
- Load Stability: Voltage remains above 112V during the highest amperage draw of the compressor startup cycle.
Properly maintaining the electrical infrastructure of your kitchen appliances is not just about code compliance; it is about protecting your investment. High-efficiency models listed by the EPA Energy Star program rely on clean, stable power to achieve their rated lifespan. By utilizing a True-RMS multimeter and conducting rigorous load tests, you can identify and rectify hidden electrical faults before they result in a catastrophic appliance failure.