
The Quick Safety Check Before You Begin
WARNING: Electricity is lethal. Never touch exposed copper wires or terminal screws without first verifying the power is completely off. According to the National Fire Protection Association (NFPA), electrical failures or malfunctions are a leading cause of home fires. If you smell burning plastic, see scorch marks, or hear a buzzing sound from the wall, stop immediately and call a licensed electrician.
Asking yourself, "My electrical outlet is not working, why?" is one of the most common frustrations for homeowners and renters alike. A dead receptacle doesn't always mean a catastrophic wiring failure; in most cases, it is a localized issue that a beginner can diagnose and safely repair with basic hand tools. This tutorial will walk you through the exact failure modes of a standard 120-volt, 15-amp or 20-amp duplex receptacle and provide a step-by-step guide to fixing it.
Diagnostic Matrix: Why Your Outlet Died
Before unscrewing the faceplate, match your specific symptoms to the probable causes below. This diagnostic matrix will save you time and help you identify edge cases like switched half-hot outlets.
| Symptom | Probable Cause | Fix Difficulty |
|---|---|---|
| Both top and bottom sockets are dead. | Tripped breaker, tripped upstream GFCI, or disconnected hot wire. | Beginner |
| Only the top (or bottom) socket is dead. | Broken break-off tab on the receptacle brass terminal, or a failed "backstabbed" push-in connection. | Beginner / Intermediate |
| Outlet works, but plugs fall out easily. | Worn internal brass contact springs (receptacle is at end-of-life). | Beginner (Replacement) |
| Outlet has power, but appliances don't turn on. | Open neutral (white wire disconnected) or reversed polarity. | Intermediate |
The Silent Killer: "Backstabbed" Wire Connections
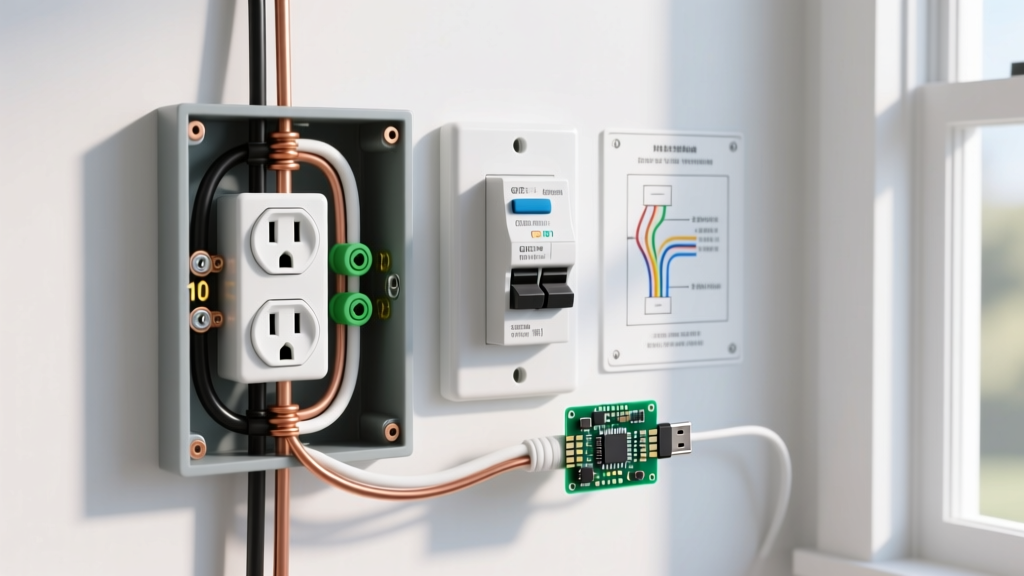
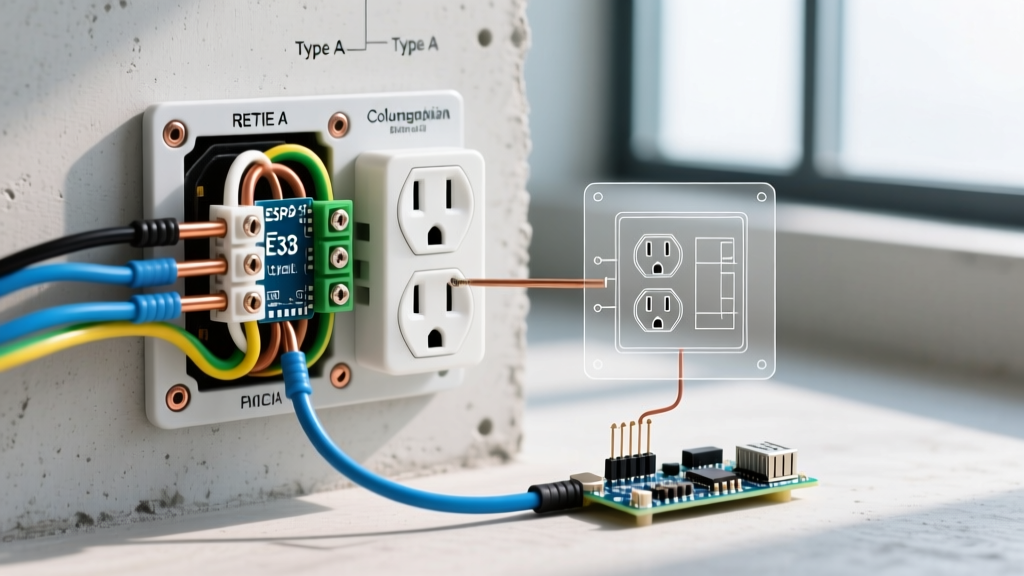
If your outlet randomly stopped working after years of use, the culprit is almost certainly a "backstabbed" connection. Many older installations use the push-in holes on the back of the receptacle rather than wrapping the wire around the side terminal screws. These push-in ports rely on a tiny, spring-loaded metal tang to grip the 14 AWG or 12 AWG copper wire.
Over time, thermal cycling—the expansion and contraction of metal as you plug in high-draw appliances like space heaters or vacuums—causes this tang to lose tension. The wire arcs microscopically, builds up carbon, and eventually loses continuity. The U.S. Consumer Product Safety Commission (CPSC) heavily recommends ensuring all electrical connections are tight and secure to prevent arc faults and resistive heating.
Step-by-Step Beginner Tutorial: Fixing a Dead Outlet
This guide assumes you have identified a dead outlet and need to verify and repair the physical connections at the receptacle.
Tools and Materials You Will Need
- Non-Contact Voltage Tester (NCVT): Fluke 1AC-II VoltAlert (Approx. $35). Do not skip this.
- Wire Strippers: Klein Tools 11054E (Approx. $28). Essential for clean cuts without nicking copper.
- Needle-Nose Pliers: For forming wire hooks.
- Phillips and Flathead Screwdrivers: Insulated handles preferred.
- Replacement Receptacle: Leviton 15-Amp Tamper-Resistant Duplex Receptacle, Model R52-05325-WMP (Approx. $4.50). Always buy Tamper-Resistant (TR) to meet modern NEC codes.
Step 1: Isolate and Verify the Circuit
- Go to your main electrical panel and turn off the breaker controlling the dead outlet. If your panel is not labeled, turn off the main breaker to be safe.
- Plug a lamp into the dead outlet to confirm it is off.
- Insert your Fluke NCVT into the slots of the dead outlet, and then test a known live outlet to ensure the tester's battery is working. The NCVT should beep and flash red on live circuits, and remain completely silent on the dead one.
Step 2: Extract and Inspect the Receptacle
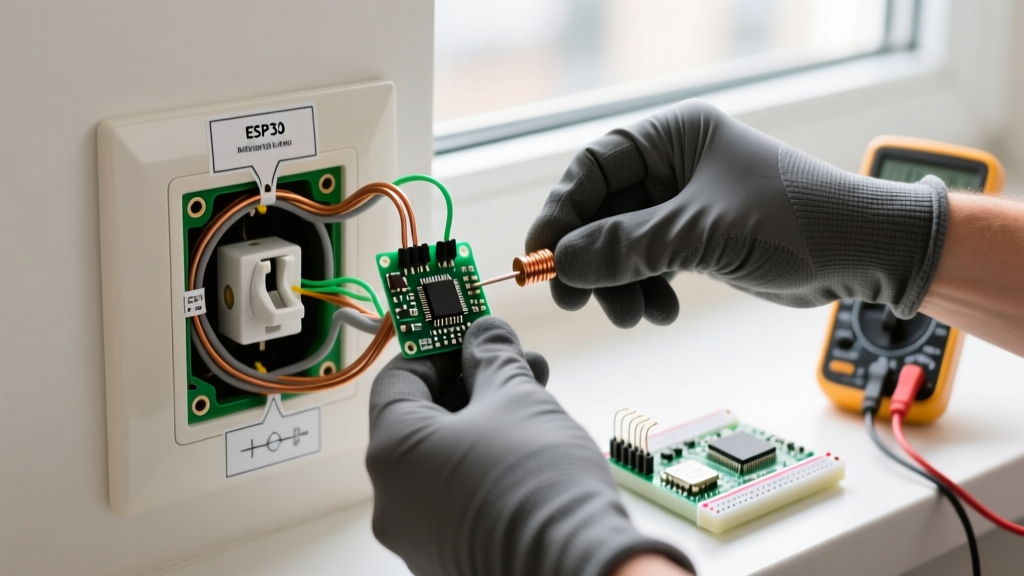
- Remove the single center screw on the faceplate and pull the plate off.
- Remove the top and bottom mounting screws holding the receptacle to the junction box.
- Gently pull the receptacle out of the wall. Do not touch any bare wires yet.
- Look for signs of thermal damage: melted plastic, black scorch marks, or a distinct fishy/burning smell. If present, cut the wires back to fresh, unburnt insulation.
Step 3: Rewire Using the Screw Terminals (The Correct Way)
If the wires are pushed into the back of the outlet, you must move them to the side screws.
- Insert a small flathead screwdriver into the release slot next to the backstabbed wire to free it. Never just yank the wire, as you can damage the copper core.
- Use your Klein wire strippers to snip off the bent or pitted end of the copper wire, then strip exactly 3/4 inch of fresh insulation.
- Use your needle-nose pliers to bend the exposed copper into a tight "J-hook" or candy-cane shape.
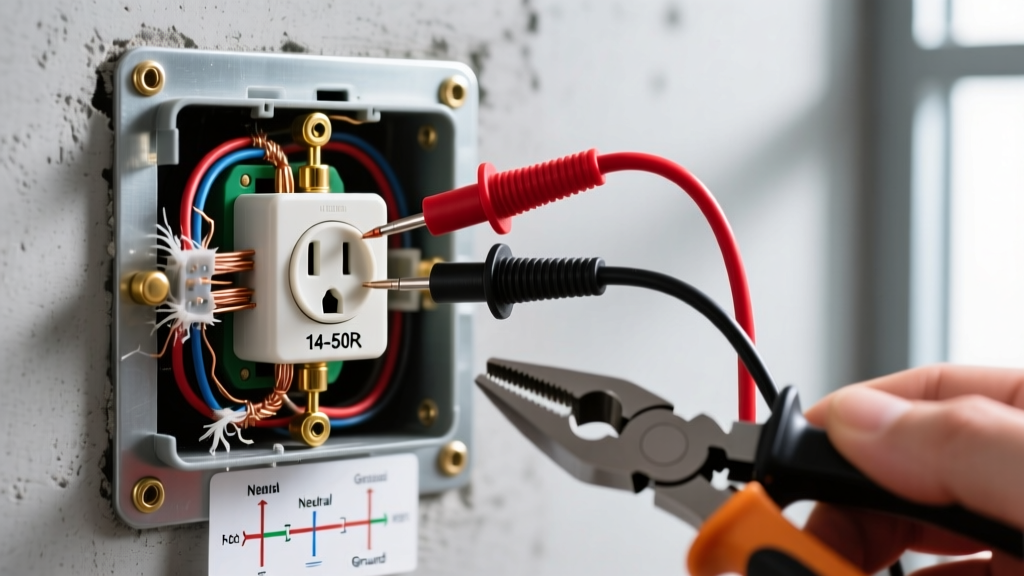
- Hook the black (hot) wire around the brass screw. Hook the white (neutral) wire around the silver screw. Hook the bare/green (ground) wire around the green screw.
- Critical Detail: The hook must wrap clockwise around the screw. This ensures that as you tighten the screw, it pulls the wire loop tighter rather than pushing it out.
- Tighten the screws firmly. While professional electricians use torque screwdrivers set to roughly 14 inch-pounds to meet UL 498 standards, a beginner should tighten until the screw is snug and the wire cannot be wiggled by hand.
Step 4: Re-seat and Test
Carefully fold the wires back into the junction box using a zigzag pattern (accordion style) to avoid pinching the hot wire against the metal box. Screw the receptacle back in, attach the faceplate, and flip the breaker back on. Test with your NCVT and a plug-in lamp.
Cost Breakdown: DIY vs. Hiring a Pro in 2026
Understanding the financial aspect of electrical repairs helps you decide when to DIY and when to call a professional.
- DIY Repair Cost: $4.50 to $15.00 (Cost of a premium TR receptacle and wire nuts). Assumes you already own basic hand tools.
- Professional Electrician (2026 Rates): Expect to pay a minimum service call fee of $150 to $250, plus $85 to $130 per hour for labor. A simple outlet replacement usually hits the minimum service fee threshold.
Verdict: If you are comfortable following the safety steps above, DIYing a single dead outlet saves you roughly $200. However, if you discover aluminum wiring (identifiable by its dull gray color instead of copper orange), stop immediately. Aluminum requires specialized CO/ALR connectors and anti-oxidant paste, and should be handled by a licensed professional.
Frequently Asked Questions
Why is only half of my outlet working?
This is usually a "switched receptacle" designed for floor lamps. In this setup, the small metal break-off tab connecting the top and bottom brass screws has been removed, allowing a wall switch to control the top half while the bottom half remains always-on. If this happened accidentally during a replacement, you simply need to snap the tab off the new brass hot side using your pliers.
My outlet is dead, but the breaker isn't tripped. What gives?
Outlets are often "daisy-chained." If an upstream outlet has a loose wire or a failed backstab connection, it will kill power to all downstream outlets on that same wall. Check the nearest working outlet; the fix is often hiding in a junction box you thought was fine.
Do I need a GFCI outlet here?
According to the National Electrical Code (NEC), Ground Fault Circuit Interrupter (GFCI) protection is mandatory in kitchens, bathrooms, garages, outdoors, and unfinished basements. If your dead outlet is in one of these zones, you must replace it with a GFCI receptacle (like the Leviton GFSW1-W, approx. $22.00) or ensure it is protected by a GFCI breaker upstream.