
Mastering the Standard Height of Electrical Outlet Upgrades
When remodeling an older home or upgrading a commercial space, outlet placement is frequently treated as an afterthought. However, the standard height of electrical outlet installations directly impacts daily ergonomics, furniture placement, and strict code compliance. In 2026, with the widespread adoption of the latest NEC (National Electrical Code) updates and increased emphasis on universal design, simply slapping a new receptacle into an existing, poorly placed junction box is no longer sufficient for a premium upgrade.
This comprehensive guide breaks down the exact measurements, code requirements, and step-by-step relocation techniques you need to bring your electrical infrastructure up to modern standards. Whether you are replacing ungrounded 2-prong outlets or completely relocating receptacles to accommodate new custom cabinetry, understanding the precise geometry of outlet placement is the hallmark of a professional-grade electrical upgrade.
Code vs. Convention: What the Rules Actually Say
A common misconception among DIYers is that the National Electrical Code (NEC) mandates a universal, specific height for all residential outlets. In reality, the NEC focuses primarily on spacing rather than height. The NEC requires that no point along a continuous wall space be more than 6 feet from an outlet, ensuring that a standard 6-foot lamp cord can reach a receptacle without crossing a doorway.
The actual 'standard height' is a building convention established by the National Association of Home Builders (NAHB) and ergonomic best practices. However, when your upgrade involves multi-family dwellings, commercial spaces, or aging-in-place remodels, you must adhere to federal accessibility guidelines. The ADA Design Standards and the HUD Fair Housing Act dictate strict reach-range parameters that override standard builder conventions.
Height Specifications by Room and Application
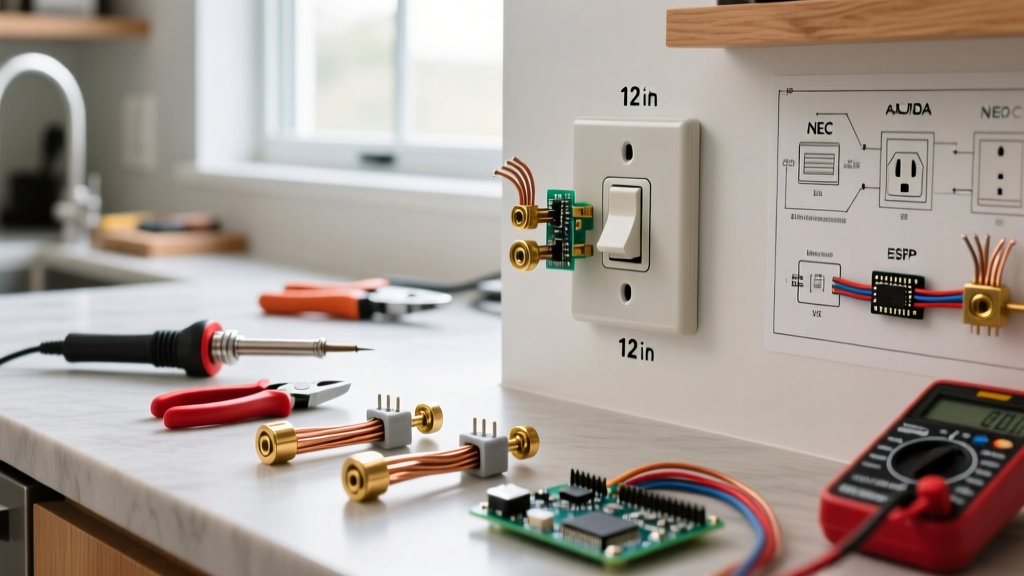
Below is the definitive 2026 reference matrix for outlet heights. Note that all measurements are taken from the finished floor to the center of the receptacle yoke (the middle screw of the faceplate), not the bottom of the electrical box.
| Room / Application | Standard Builder Height | ADA / Accessible Height | Upgrade Considerations & Edge Cases |
|---|---|---|---|
| Living Rooms & Bedrooms | 12 to 16 inches | 15 to 48 inches | Avoid placing outlets behind heavy entertainment centers; use recessed boxes if necessary. |
| Kitchen Countertops | 18 to 24 inches (approx. 4-6 inches above counter) | N/A (Task-specific) | Must be GFCI protected. Keep at least 1.5 feet away from the kitchen sink edge. |
| Bathroom Vanity | 40 to 44 inches | 15 to 48 inches | Must be GFCI protected. Do not install directly over the sink basin; offset to the side. |
| Laundry (Washer/Dryer) | 30 to 36 inches | N/A (Appliance-specific) | Place above the water supply valves to prevent catastrophic shorting in case of a hose leak. |
| Garage & Workshop | 48 to 54 inches | 15 to 48 inches | Elevated heights prevent obstruction by workbenches and tool chests. |
The Anatomy of a Proper Outlet Relocation
Upgrading to the correct standard height of electrical outlet placements often requires physically moving the junction box. In older homes (pre-1970s), outlets were frequently installed arbitrarily low to the floor—sometimes just 8 inches up—making them inaccessible for modern furniture layouts. Here is the professional workflow for relocating an outlet to the proper 15-inch ADA-compliant or 16-inch standard residential height.
Step 1: Verification and Safe De-energization
Never trust a wall switch or a previous homeowner's labeling. Use a high-quality non-contact voltage tester, such as the Klein Tools NCVT-3, to verify the circuit is dead at the breaker panel. Once verified, use a laser level (e.g., Bosch GLL30) to project a perfectly horizontal line from an adjacent, correctly placed outlet to your new target height. Mark the center-point of the new box location on the drywall.
Step 2: Extracting the Old Box and Fishing the Wire
Cut the drywall around the old outlet using a jab saw or oscillating multi-tool. If the existing box is nailed to a stud, use a reciprocating saw with a metal-cutting blade to slice the nails. Pull the Romex (NM-B) cable into the wall cavity. If the cable lacks the slack to reach the new height, you must install a junction box in the attic or basement to extend the run; the NEC strictly prohibits hidden, inaccessible wire splices inside walls.
Step 3: Mounting the New Old-Work Box
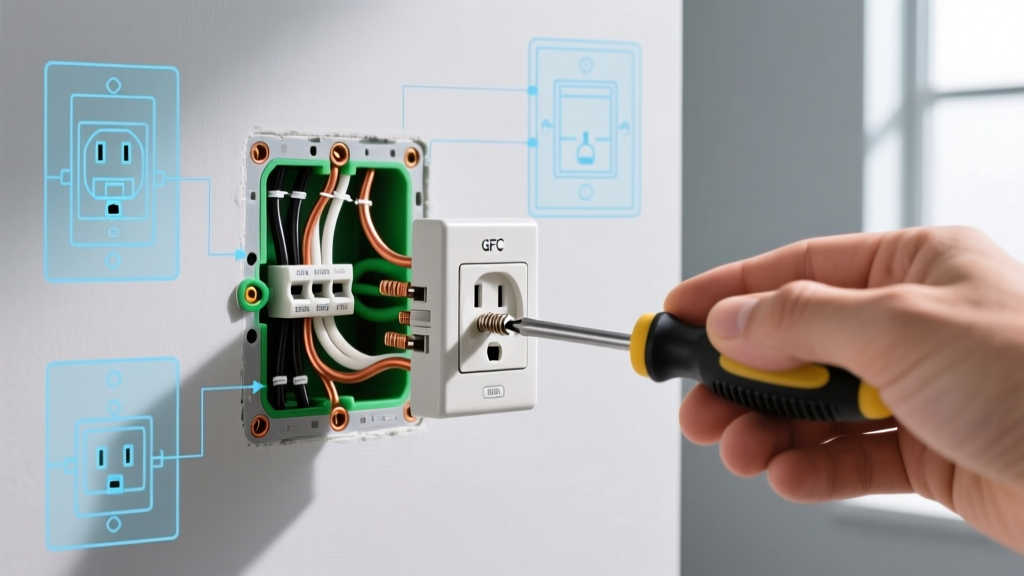
Cut the new opening at your laser-leveled mark. For retrofits, the Carlon B618R 1-Gang Old Work Box is the industry standard. Feed the extended Romex through the knockout, insert the box into the drywall, and tighten the mounting screws. The box's internal flanges will rotate and clamp tightly against the back of the drywall, providing a rock-solid mount capable of supporting the repeated insertion and removal of heavy appliance plugs.
Step 4: Terminating with Modern TR Receptacles
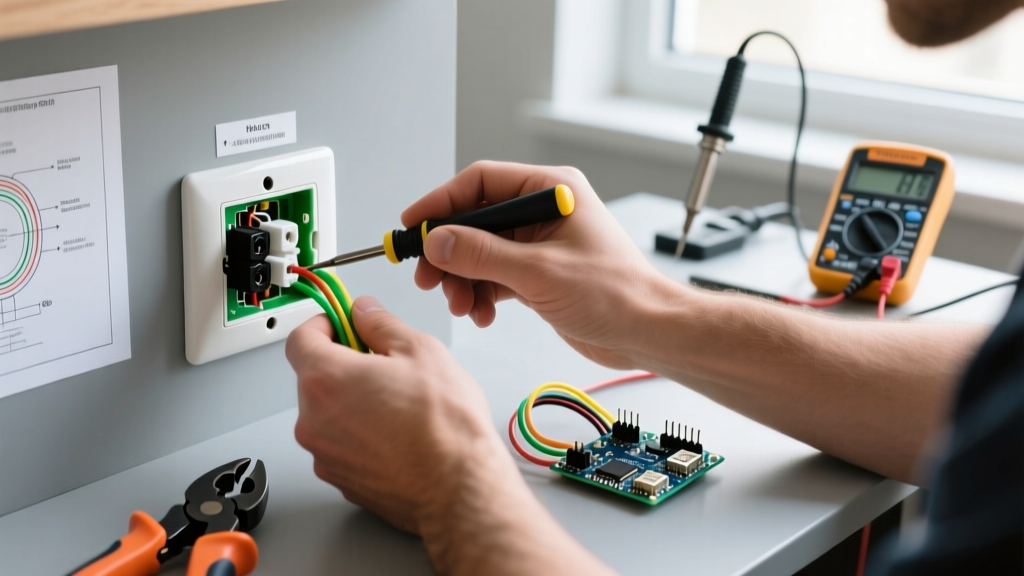
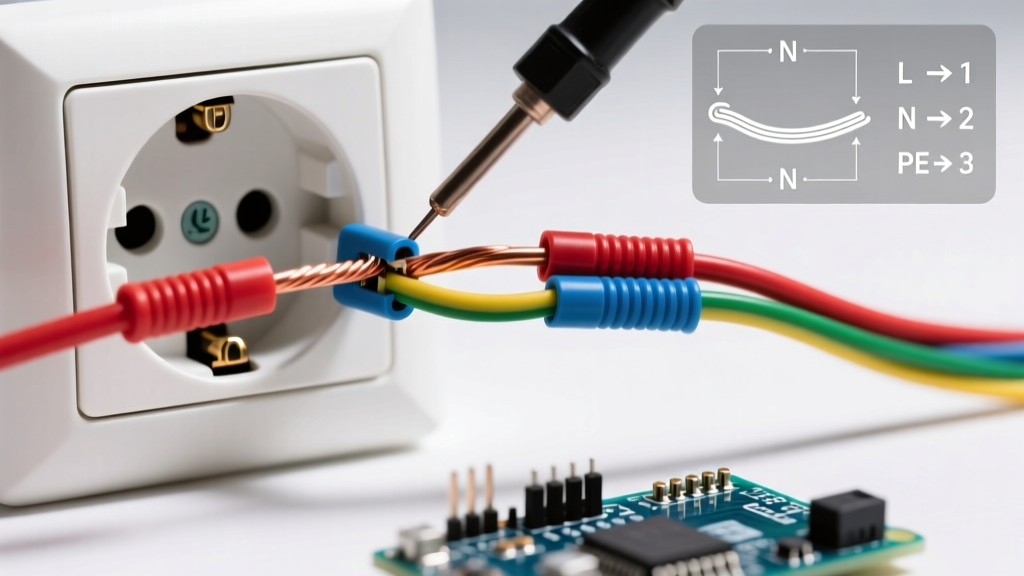
Current code requires all 15A and 20A, 125V residential receptacles to be Tamper-Resistant (TR). Upgrade to a premium specification-grade model like the Leviton T5320-W. Unlike cheap builder-grade outlets, spec-grade receptacles feature brass internal contacts that resist heat buildup and provide superior grip on plug prongs over decades of use. Wire the black (hot) to the brass screw, white (neutral) to the silver screw, and bare copper (ground) to the green screw. Torque the terminal screws to the manufacturer's specification (typically 14 in-lbs) using an insulated torque screwdriver to prevent loose-connection arcing.
Master Electrician's Pro-Tip: When measuring the standard height of electrical outlet placements, always account for the final flooring thickness. If you are roughing in electrical before hardwood or tile is laid, add 3/4-inch to 1-inch to your height measurement to compensate for the subfloor-to-finished-floor transition.
2026 Cost Breakdown for Outlet Upgrades
Budgeting accurately is critical for any electrical remodel. The costs associated with correcting outlet heights vary based on wall construction (drywall vs. plaster and lath) and wire accessibility.
- Simple Receptacle Swap (No Relocation): $85 - $125 per outlet. Includes upgrading a standard receptacle to a GFCI or AFCI/TR combo device.
- Vertical Relocation (Same Stud Bay): $175 - $250 per outlet. Includes drywall cutting, wire extension, new old-work box, and basic drywall patching.
- Complex Relocation (Crossing Studs/Plaster Walls): $300 - $450+ per outlet. Requires extensive wall opening, flexible fish tape routing, and professional plaster repair.
- Drywall Repair & Painting Prep: $50 - $150 per patch, depending on the finish level required to hide the old box location.
Common Failure Modes and Edge Cases
Even experienced DIYers make critical errors when adjusting outlet heights. Avoid these common pitfalls:
1. The Baseboard Heater Conflict
Relocating an outlet to the standard 12-inch height is a massive fire hazard if the wall features an electric baseboard heater. The NEC prohibits installing receptacles directly above electric baseboard heaters. If your room relies on baseboard heat, you must route the outlet higher (at least 24 inches) or relocate it to an adjacent, unheated wall segment.
2. Ignoring ADA Forward Reach Limits
When designing an accessible space, simply placing an outlet at 48 inches is not enough if there is an obstruction. According to ADA guidelines, if a user must reach over an obstruction (like a kitchen counter or a low cabinet) that is deeper than 20 inches, the maximum forward reach height drops significantly. Always cross-reference your floor plan with accessibility reach-range charts.
3. Using the Wrong Box for the Wall Thickness
Standard old-work boxes are designed for 1/2-inch drywall. If you are upgrading a commercial space with 5/8-inch Type-X fire-rated drywall, or a historic home with 3/4-inch plaster, standard boxes will not clamp securely. You must source 'deep' or 'plaster-specific' old-work boxes with extended mounting ears to ensure the receptacle does not push back into the wall cavity when a stiff plug is pulled out.
Final Thoughts on Ergonomic Electrical Design
Understanding and applying the standard height of electrical outlet placements elevates a basic remodel into a thoughtfully designed, future-proofed space. By combining the spacing mandates of the NEC with the ergonomic heights detailed in this guide, you ensure that your upgraded electrical system is not only safe and code-compliant, but genuinely functional for the people using it every day. Always prioritize spec-grade components, verify your measurements against finished floor plans, and when in doubt, consult a licensed master electrician to review your rough-in layout before closing up the walls.