
Why Electrical Outlet Box Size Dictates Installation Success
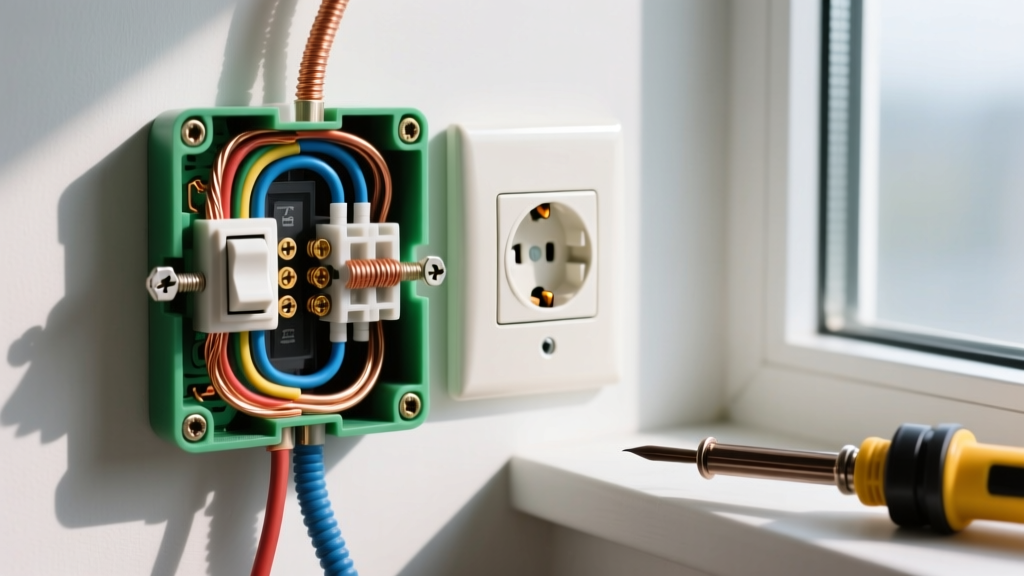
Choosing the correct electrical outlet box size is not just a matter of physical convenience; it is a critical safety requirement governed by the National Electrical Code (NEC). When an electrical box is overcrowded, the wires bend at sharp angles, insulation can be damaged, and heat dissipation is severely restricted. This trapped heat degrades wire insulation over time, creating a hidden fire hazard behind your drywall.
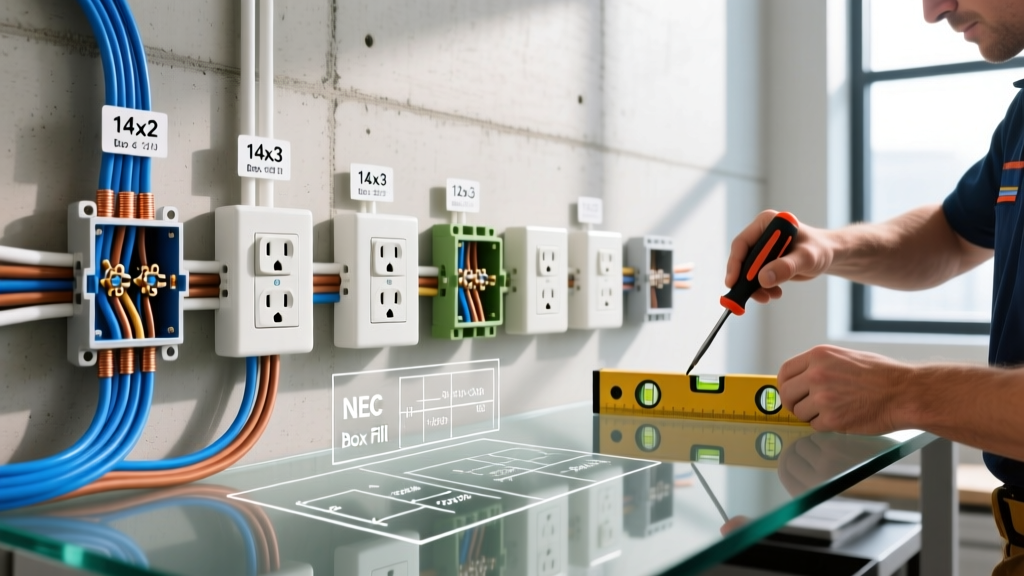
Whether you are installing a standard 15-amp duplex receptacle or a bulky smart dimmer, understanding box fill calculations ensures your installation is safe, code-compliant, and physically manageable. According to the National Fire Protection Association (NFPA), NEC Article 314 explicitly outlines the minimum volume requirements for outlet boxes to prevent these exact thermal and mechanical failures.
Step 1: Master the NEC Box Fill Volume Allowances
Before cutting any drywall or pulling any Romex, you must understand how the NEC measures box capacity. Boxes are rated in cubic inches (cu in). The required volume depends on the gauge (AWG) of the largest conductor entering the box.
Below is the standard volume allowance per conductor based on NEC Table 314.16(B):
| Wire Size (AWG) | Volume Allowance per Conductor | Common Application |
|---|---|---|
| 14 AWG | 2.0 cubic inches | 15-Amp lighting and receptacle circuits |
| 12 AWG | 2.25 cubic inches | 20-Amp kitchen, bathroom, and outdoor circuits |
| 10 AWG | 2.5 cubic inches | 30-Amp dryer or heavy appliance circuits |
| 8 AWG | 3.0 cubic inches | 40-Amp to 50-Amp heavy equipment |
Note: If a box contains mixed wire sizes, all volume calculations must be based on the largest wire present in the box.
Step 2: Tally Your Conductor and Device Count
The most common mistake DIYers make is counting every single physical wire. The NEC uses a specific counting system to determine the "fill" of the box. Here is the exact framework to count your components:
- Current-Carrying Conductors: Count 1 for every hot (black/red) and neutral (white) wire that originates outside the box and terminates or splices inside it.
- Grounding Conductors: Count 1 total for all bare copper or green grounding wires combined, regardless of how many enter the box.
- Internal Clamps: Count 1 total if the metal box has internal cable clamps. (Most plastic non-metallic boxes do not have internal clamps, so this count is 0).
- Devices (Switches/Receptacles): Count 2 for every yoke-mounted device (switch or outlet), based on the largest wire connected to that specific device.
- Pigtails: Count 0. Pigtails that originate and terminate entirely within the box do not consume volume allowance.
Step 3: Calculate Your Required Cubic Inch Capacity
Let us walk through a real-world scenario. You are installing a single-gang outlet on a 15-amp circuit (14 AWG wire). You have two 14/2 NM-B cables entering a metal box with internal clamps, and you are installing one standard duplex receptacle.
- Current-Carrying Wires: 2 blacks + 2 whites = 4 wires. (4 x 2.0 cu in = 8.0 cu in)
- Grounds: 2 bare wires count as 1. (1 x 2.0 cu in = 2.0 cu in)
- Clamps: 1 internal metal clamp. (1 x 2.0 cu in = 2.0 cu in)
- Device: 1 duplex receptacle counts as 2. (2 x 2.0 cu in = 4.0 cu in)
Total Required Volume: 8.0 + 2.0 + 2.0 + 4.0 = 16.0 cubic inches.
In this scenario, a standard 12.5 cu in metal box is a code violation. You must upgrade to a box rated for at least 16.0 cu in, such as an 18 cu in extra-deep box.
Step 4: Select the Right Physical Box Model
Once you have your minimum cubic inch requirement, select the physical box. As of 2026, the market offers specialized boxes to accommodate modern electrical demands. Here are three industry-standard options:
- Standard Old-Work (Retrofit): Carlon B618R-UPC. A 1-gang, 18 cu in non-metallic box. Features butterfly wings for drywall mounting. Ideal for the 14 AWG calculation above. Retail price: ~$1.65.
- Standard New-Work (Metal): Raco 8200. A 1-gang, 12.5 cu in metal box with a built-in nail bracket. Best used only when a single 14/2 or 12/2 cable enters the box with a standard toggle switch. Retail price: ~$2.30.
- Extra-Deep for Smart Devices: Arlington BE1. A massive 1-gang, 24 cu in non-metallic box. Specifically designed to house bulky smart switches, GFCI receptacles, and Matter-over-Thread modules without crushing the wires. Retail price: ~$4.85.
For comprehensive reviews on modern enclosure standards and smart-home wiring integrations, Electrical Contractor Magazine frequently publishes updated guides on accommodating deeper devices in residential retrofits.
Step 5: Step-by-Step Physical Installation
With the correctly sized box in hand, follow these steps for a secure, flush installation in existing drywall (old-work scenario):
1. Trace and Cut the Opening
Hold the front flange of the box against the drywall. Trace the inside perimeter with a pencil. Use an oscillating multi-tool with a drywall blade or a manual drywall saw to cut along the inside of the line. Pro Tip: Cut slightly inside the line; you can always shave drywall away, but you cannot add it back if the box flange fails to cover the gap.
2. Prep and Feed the Cables
Strip the NM-B cable jacket, leaving exactly 1/4 inch of the outer sheath inside the box. This satisfies NEC requirements for jacket protection while maximizing internal wire length. Push the cables through the knockout holes in the back of the non-metallic box until the internal plastic clamps click and lock.
3. Insert and Secure the Box
Fold the butterfly mounting wings inward and push the box into the drywall opening. Using a #2 Phillips screwdriver, tighten the mounting screws on the front flange. As you tighten, the wings will rotate 90 degrees and pull flush against the back of the drywall. Stop tightening the moment the flange is snug against the wall—overtightening will crack the drywall paper or strip the plastic threads.
4. Dress the Wires
Neatly fold the grounding wires into the deep back corners of the box. Fold the neutrals (whites) next, and leave the hot wires (blacks) on top. This "Z-fold" technique ensures the device sits flush without pinching the conductors against the metal mounting screws of the receptacle.
Edge Cases: Smart Switches, GFCIs, and Dimmers
The standard electrical outlet box size rules often fail when installers introduce modern, bulky devices. Always apply the following adjustments to your box selection:
- GFCI and AFCI Receptacles: These devices feature massive internal circuit boards and are typically 1.3 inches deep (compared to 0.8 inches for a standard outlet). Always use a minimum 20 cu in box for GFCI installations to allow room for the stiff 12 AWG wires typically used on 20-amp protected circuits.
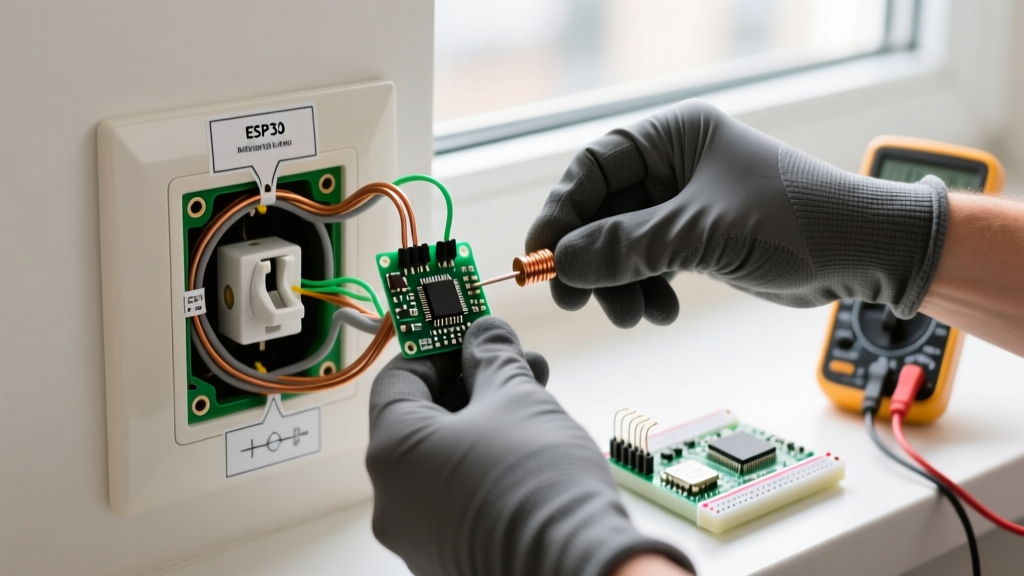
- Smart Dimmers (e.g., Lutron Caseta, Leviton Decora): Smart switches require a neutral wire, adding an extra current-carrying conductor to your fill calculation. Furthermore, the physical depth of the switch body can exceed 1.5 inches. If you are using a standard 14 cu in box, the switch will physically bottom out against the wires, preventing the faceplate from sitting flush. Upgrade to a 22+ cu in deep box like the Arlington BE1 to eliminate this frustration.
- Multi-Gang Configurations: When ganging two or more boxes together, remember that the device count rule applies to each yoke. A 3-gang box with three dimmers requires a massive 6-count device allowance, easily pushing the required volume past 40 cubic inches.
Final Thoughts on Box Sizing
Never compromise on electrical outlet box size to save a few dollars or avoid cutting a slightly larger hole in the drywall. The cost of upgrading from a 12.5 cu in box to an 18 cu in box is less than $1.00, but it provides the physical space necessary for safe heat dissipation, easier wire splicing, and code compliance. Calculate your fill, buy the deep box, and your installation will be safe, clean, and future-proofed for the next generation of smart home upgrades.