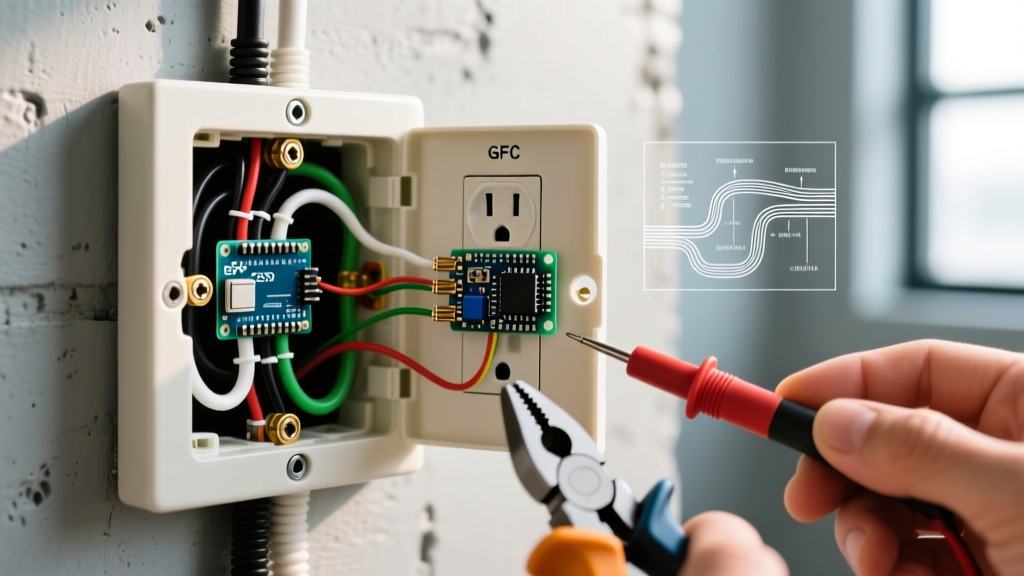

Experiencing a shock from an electrical outlet is a critical warning sign that should never be ignored. While some minor zaps are harmless static electricity, a true electrical shock indicates a severe wiring fault, a compromised grounding path, or degraded internal components. According to the U.S. Consumer Product Safety Commission (CPSC), faulty wiring and compromised receptacles contribute to hundreds of electrocutions and thousands of electrical fires annually. This guide breaks down the exact electrical failures that cause outlet shocks and provides a professional, code-compliant remediation protocol.
Static Discharge vs. True Electrical Leakage
Before tearing into your wall boxes, you must differentiate between static electricity and actual current leakage. Static shocks typically occur in low-humidity environments (below 30% relative humidity) when you touch the metal faceplate or the grounding pin of a plug. They are instantaneous, high-voltage but extremely low-current discharges that last a fraction of a millisecond.
A true electrical shock, however, feels like a continuous buzz, tingle, or sharp bite that persists as long as you maintain contact. This is caused by alternating current (AC) leaking through your body to find a path to ground. If you feel a continuous tingle when touching a plugged-in appliance's metal chassis or the outlet's mounting screws, you have a dangerous wiring fault that requires immediate intervention.
4 Primary Wiring Faults Causing Outlet Shocks
1. Open or Missing Equipment Grounding Conductor (EGC)
The most common cause of a persistent shock is an open ground. The bare copper or green insulated Equipment Grounding Conductor (EGC) is designed to provide a low-resistance path back to the main panel. If a fault occurs in an appliance, the current trips the breaker. If the EGC is disconnected, broken, or missing entirely (common in pre-1960s knob-and-tube or early Romex installations), the metal chassis of the appliance becomes energized at 120V. When you touch it, your body becomes the ground path.
2. The "Bootleg Ground" Deception
A bootleg ground is a highly dangerous, code-violating hack where a previous worker installs a jumper wire between the neutral (silver) terminal and the ground (green) terminal on a 3-prong receptacle to fool a basic plug-in tester. This creates a severe shock hazard. If the neutral wire ever becomes disconnected upstream, or if the hot and neutral are reversed, the entire grounding system of that outlet—and any downstream outlets—becomes energized at 120V. Touching the outlet cover plate screw can deliver a lethal shock.
3. Reversed Polarity (Hot and Neutral Swapped)
If the black (hot) and white (neutral) wires are landed on the wrong terminals, the receptacle will still power a lamp, but the internal switch on the appliance will only break the neutral path. The appliance's internal components remain energized at 120V even when turned off. If the appliance has a metal casing and a minor internal insulation failure, touching the casing will result in a shock. This violates National Electrical Code (NEC) Article 200 regarding grounded conductors.
4. Worn Internal Receptacle Wipers
Standard duplex receptacles rely on internal brass wipers to grip the plug blades. Over years of use, especially with heavy plugs (like laptop power bricks or window AC units), these wipers fatigue, spread apart, and lose tension. This creates a high-resistance connection that generates excessive heat (often melting the plastic face) and can cause arcing. While this primarily causes fires, degraded internal insulation can allow current to leak to the mounting yoke, shocking you when you touch the faceplate screws.
Diagnostic Matrix for Outlet Shocks
| Shock Symptom | Likely Fault | Required Tool for Verification | Immediate Action |
|---|---|---|---|
| Instantaneous snap, dry climate | Static Electricity | Hygrometer (check humidity) | Increase room humidity to 40%+ |
| Continuous tingle on appliance chassis | Open Ground / Missing EGC | Klein Tools RT210 Receptacle Tester | Unplug appliance, kill breaker, rewire ground |
| Shock from faceplate mounting screws | Bootleg Ground or Hot wire touching yoke | Fluke 117 True-RMS Multimeter | Kill breaker immediately, remove receptacle |
| Appliance shocks only when switched off | Reversed Polarity | Standard 3-light plug tester | Swap hot and neutral wires at the terminal |
Precision Testing with a True-RMS Multimeter
Do not rely solely on a $10 plug-in tester. To definitively diagnose a shock hazard, use a True-RMS multimeter like the Fluke 117 or the Klein Tools MM600. Set the dial to AC Voltage (V~).
- Hot to Neutral: Insert probes into the smaller (hot) and larger (neutral) slots. You should read 118V to 122V.
- Hot to Ground: Insert probes into the hot slot and the round ground hole. You should read 118V to 122V. If this reads 0V, you have an open ground.
- Neutral to Ground: Insert probes into the neutral slot and ground hole. This should read 0V to 2V. If it reads 120V, you have a bootleg ground or reversed polarity.
- Yoke to Ground: Touch one probe to the bare ground wire in the box and the other to the metal mounting yoke of the receptacle. Any reading above 2V indicates current leakage to the yoke, meaning the receptacle is internally compromised and must be replaced.
Step-by-Step Remediation Protocol
Before beginning any work, follow OSHA Lockout/Tagout (LOTO) procedures. Turn off the breaker, lock the panel if possible, and verify the circuit is dead with a non-contact voltage tester (NCVT) and your multimeter.
Step 1: Extract and Inspect
Remove the faceplate and unscrew the receptacle. Pull it gently from the box. Inspect the wire insulation. If the insulation is brittle, cracked, or shows heat discoloration (browning), the wire must be trimmed back to clean copper.
Step 2: Strip and Terminate Correctly
Use a precision wire stripper (like the Klein 11055) to strip exactly 3/4 inch of insulation from 14 AWG or 12 AWG solid copper wire. Do not nick the copper conductor, as this creates a weak point that can snap under torque. Form a perfect clockwise hook using needle-nose pliers.
Step 3: Apply Code-Compliant Torque
NEC 110.14(D) strictly requires that terminations be tightened to the manufacturer's specified torque. Loose connections cause arcing and heat. Use an inch-pound torque screwdriver (such as the Wiha 645P). For standard 15A/20A receptacles (like the Leviton T5262 or Hubbell 5262), tighten the terminal screws to 14 in-lbs for 14 AWG wire, and 16 in-lbs for 12 AWG wire.
Step 4: Establish a True Ground
If the box is metal and the EGC is intact, connect the bare ground wire to the green screw on the receptacle AND to the metal box using a green 10-32 grounding screw and a grounding pigtail. If the box is plastic, land the EGC directly to the receptacle's green screw. Never use a bootleg jumper.
Upgrading to GFCI and AFCI Protection
If you are dealing with an older 2-wire system (no ground wire present in the wall), the NEC allows you to replace a 2-prong receptacle with a 3-prong GFCI receptacle, provided it is labeled "No Equipment Ground." A GFCI (Ground Fault Circuit Interrupter) monitors the current differential between hot and neutral. If it detects a leak as small as 4 to 6 milliamps—well below the threshold of ventricular fibrillation—it trips in under 25 milliseconds, preventing lethal shocks. Standard GFCI receptacles like the Leviton GFWT2-W cost between $18 and $25. If the circuit lacks an equipment ground and you cannot run a new EGC, installing a GFCI is the only code-compliant way to provide shock protection for 3-prong appliances.
Code Note: Under current NEC Article 406.4(D)(2), replacing a non-grounding type receptacle with a GFCI type is permitted, but the receptacle must be marked with the provided "GFCI Protected" and "No Equipment Ground" stickers. This does not retroactively provide a ground for surge protectors, which still require a true EGC to function correctly.
Eliminating a shock from an electrical outlet requires methodical testing and strict adherence to termination standards. By identifying the exact failure mode—whether it is an open ground, a dangerous bootleg, or reversed polarity—and executing a torque-specific repair, you ensure the safety of your home's electrical infrastructure for decades to come.