
The Critical Difference: SAE J560 Commercial vs. RV 7-Way
One of the most dangerous and costly mistakes in heavy-duty towing is assuming all 7-way blade connectors are wired identically. While the physical plug may look the same, the wiring diagram for semi trailer plug configurations follows the SAE J560 standard, which is fundamentally different from the SAE J286 standard used for recreational vehicles (RVs) and light-duty trailers. Plugging an RV into a commercial semi-truck receptacle without a dedicated adapter will immediately cross-circuits, typically blowing the truck's marker light fuse or frying the trailer's ABS module.
In 2026, with the proliferation of advanced trailer telematics and smart ABS systems, adhering strictly to the SAE J560 pinout and utilizing proper cross-linked (TXL) wire gauges is not just a best practice—it is a federal compliance requirement under FMCSA 49 CFR 393.9 for commercial lighting and electrical devices.
Standard SAE J560 Wiring Diagram for Semi Trailer Plug
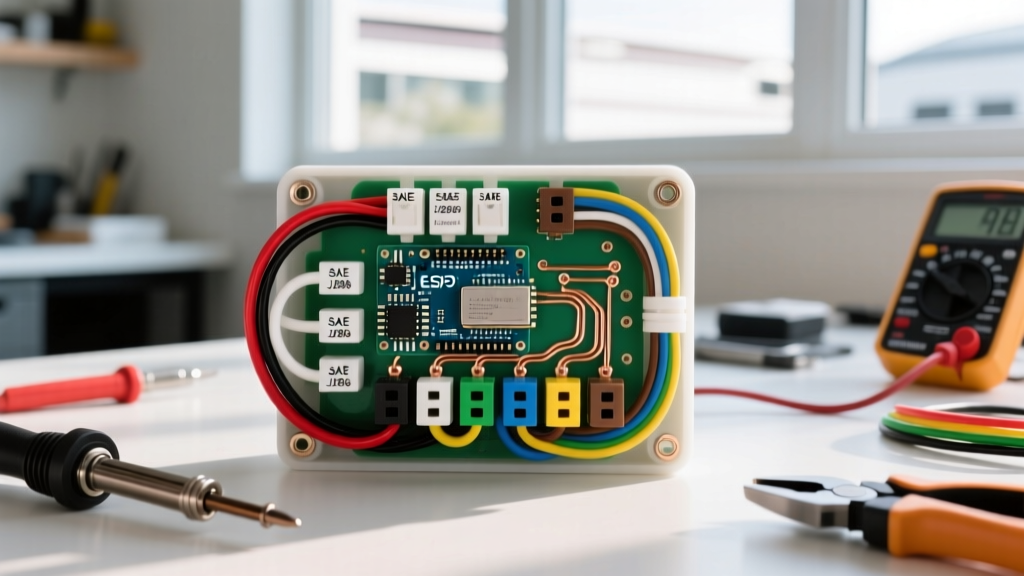
The commercial 7-way connector utilizes a robust, heavy-duty pin layout designed to handle the high amperage demands of air brake systems, interior reefers, and modern trailer telemetry. Below is the definitive pinout matrix for the SAE J560 standard.
| Pin Number | Function | Standard Wire Color | Minimum Wire Gauge (AWG) |
|---|---|---|---|
| Pin 1 | Ground Return (White) | White | 8 AWG (6 AWG preferred) |
| Pin 2 | Clearance, Side Marker, ID | Black | 12 AWG |
| Pin 3 | Left Turn Signal & Stop | Red | 10 AWG |
| Pin 4 | Right Turn Signal & Stop | Brown | 10 AWG |
| Pin 5 | Tail Lights & License Plate | Green | 12 AWG |
| Pin 6 | Auxiliary / Electric Brakes | Blue | 10 AWG |
| Pin 7 | ABS Power / Auxiliary 12V | Black or Red (Tracer) | 10 AWG |
Wire Material: Why TXL is Mandatory
Never use standard PVC-insulated THHN wire for semi-trailer chassis wiring. Commercial trailers experience extreme vibration, road salt exposure, and temperature swings from -40°F to over 180°F near axles and brakes. You must use TXL (Thin-wall Cross-linked Polyethylene) wire. TXL resists abrasion, withstands high heat, and will not crack in sub-zero winter conditions, ensuring the ground return on Pin 1 remains stable.
Common Wiring Scenarios and Edge Cases
When working in the field or the shop, you will encounter specific failure modes unique to heavy-duty commercial wiring. Here is how to diagnose and resolve the most frequent scenarios.
Scenario 1: The Auxiliary Power Voltage Drop (Pin 7)
The Symptom: The trailer's ABS warning light illuminates intermittently on the dash, or the trailer's smart-telematics GPS tracker reboots every time the driver hits the brakes.
The Root Cause: Pin 7 supplies continuous 12V power to the trailer's ABS module and auxiliary electronics. Many older trailers were wired with 12 AWG wire on Pin 7 to save copper costs. Modern ABS modules and telematics draw a combined startup surge of up to 15 amps. A 12 AWG wire over a 50-foot trailer run will suffer a voltage drop of 2 to 3 volts, starving the ABS module.
The Fix: Rerun Pin 7 using 10 AWG (or ideally 8 AWG) TXL wire. Ensure the tractor's alternator is outputting a minimum of 14.2V at idle to compensate for the line loss.
Scenario 2: Grounding Bottlenecks on Reefers
The Symptom: When the reefer unit kicks on or the interior lights are activated, the trailer's exterior clearance lights dim or flicker.
The Root Cause: Pin 1 (White) is the master ground return for the entire trailer. If an 8 AWG wire is used and the terminal is crimped poorly, the high amperage draw from the reefer's electric standby compressor forces return current to backfeed through the smaller 12 AWG ground wires of the clearance lights (Pin 2).
The Fix: Upgrade Pin 1 to 6 AWG TXL wire. Use a heavy-duty, closed-barrel ring terminal crimped with a hydraulic crimper, and apply NO-OX-ID A-Special conductive grease to the grounding stud on the trailer chassis to prevent galvanic corrosion between the copper terminal and steel frame.
Scenario 3: Adapting Commercial 7-Way to RV 4-Way Flat
If you are using a heavy-duty truck to tow a standard utility or RV trailer, you cannot simply rewire the truck's plug. You must use a commercial-to-RV adapter (such as the Hopkins 47435 or similar heavy-duty dongle). These adapters contain internal relays and resistors to separate the combined stop/turn signals of the commercial truck (Pins 3 and 4) into the discrete stop and turn circuits required by the RV's 4-way flat connector.
Safety Warning: Never attempt to 'jumper' the truck's receptacle to match an RV plug. This violates DOT regulations and will cause catastrophic shorts when a standard commercial trailer is eventually plugged into the modified truck.
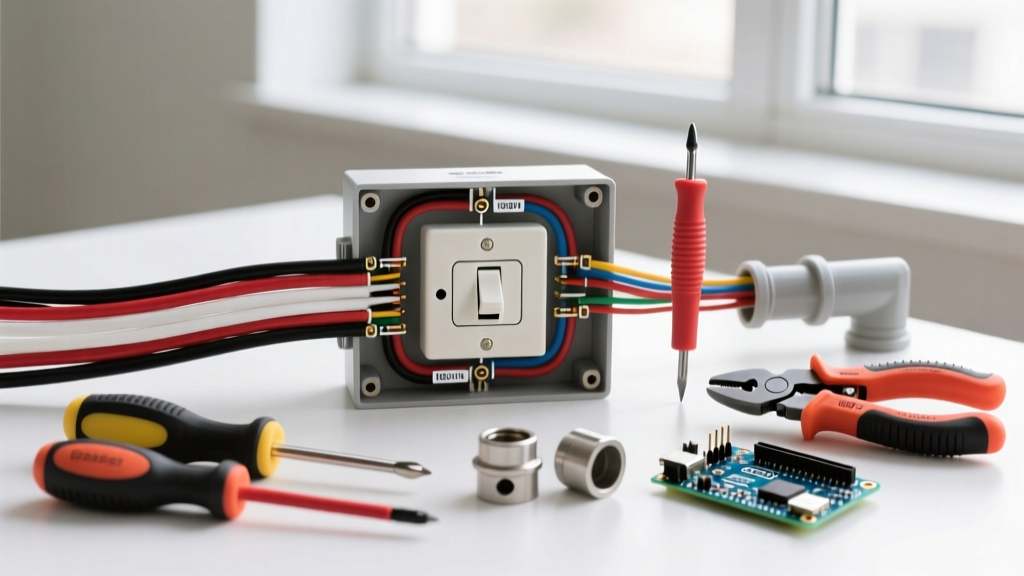
Step-by-Step: Installing the Pollak PK11720 Socket
The Pollak PK11720 is the industry-standard, heavy-duty 7-way socket for commercial tractors, retailing between $38 and $45 in 2026. It features spring-loaded brass contacts that maintain tension better than cheap aluminum alternatives. Here is the professional installation procedure:
- Prep the Harness: Strip 3/8 inch of insulation from your 7-wire TXL harness. Do not tin the wires with solder; solder wicks under the insulation and creates a brittle vibration point.
- Crimp Terminals: Use closed-barrel ring terminals. Crimp using a heavy-duty ratcheting crimper (e.g., Titan 11230) to ensure a gas-tight connection.
- Map the Pins: Looking at the back of the Pollak socket (the wiring side), the pins are numbered 1 through 7. Match the SAE J560 color code detailed in the table above.
- Torque the Screws: Secure the ring terminals to the socket's terminal screws. Tighten to 12-15 in-lbs. Over-tightening will strip the brass threads; under-tightening will cause arcing and melt the nylon housing.
- Seal the Boot: Slide the rubber weather boot over the harness. Inject a generous amount of dielectric silicone grease into the boot before seating it against the socket housing to block road spray and de-icing salts.
Preventative Maintenance: Beating Corrosion
The number one cause of trailer lighting failures is not broken wires, but galvanic corrosion inside the plug. When dissimilar metals (brass pins and steel sockets) are exposed to moisture and road salt, they create a micro-battery that eats the metal.
- Monthly: Unplug the trailer and inspect the center pin (Pin 7) and ground pin (Pin 1). These carry the highest continuous loads and generate the most heat.
- Quarterly: Clean the male and female contacts with an electrical contact cleaner (like CRC QD). Once dry, coat the male plug pins with NO-OX-ID A-Special or a high-quality dielectric grease. Avoid standard white lithium grease, which is non-conductive and can cause high-resistance voltage drops if it gets between the contact surfaces.
- Annually: Check the socket's internal spring tension. If the plug feels 'loose' when inserted, the internal brass leaves have fatigued. Replace the socket immediately to prevent arcing, which can melt the plug and start a fire.
Frequently Asked Questions
Can I use an RV 7-way plug on a commercial semi-trailer?
No. While they look identical, the RV plug (SAE J286) uses Pin 2 for tail lights and Pin 5 for brakes. The commercial plug (SAE J560) uses Pin 2 for clearance lights and Pin 5 for tail lights. Plugging an RV cord into a semi will instantly short the tail light circuit to ground or blow the truck's clearance fuse. For more on adapter solutions, consult expert trailer wiring guides to find the correct relay-powered adapter.
Why is my semi-trailer's left turn signal flashing rapidly?
Hyper-flashing on a commercial rig usually indicates a high-resistance connection rather than a burnt-out bulb, as most modern LED trailer lights don't draw enough current to trigger a standard thermal flasher. Check the Red wire (Pin 3) at the plug for corrosion, and verify the ground on Pin 1 is clean and tight to bare metal.
What size circuit breaker should I use for the trailer plug?
The tractor's main harness should be protected by a 30-amp auto-reset circuit breaker for the auxiliary/ABS circuits (Pins 6 and 7), and 15-amp breakers for the lighting circuits (Pins 2, 3, 4, and 5). Always mount breakers in a weather-sealed enclosure near the battery box, not under the trailer where they are exposed to road debris.