
Powering Your Arsenal: The Liberty Safe Gun Safe Electrical Outlet Kit
Securing firearms and valuables is only half the battle; preserving them from humidity, corrosion, and darkness is the other. For safe owners, routing power to the interior is a common wiring scenario that requires precision. The Liberty Safe gun safe electrical outlet kit is the industry-standard solution for bringing 120V AC power inside your vault to run dehumidifiers, LED lighting, and biometric charging stations. However, improperly installing this kit can compromise your safe’s UL-listed fire rating or create a severe electrical hazard.
In this comprehensive guide, we break down the exact wiring scenarios, load calculations, and fire-seal preservation techniques required to install your outlet kit safely and effectively in 2026.
Anatomy of the Liberty Safe Electrical Outlet Kit
Before drilling or routing cables, it is critical to understand the components included in the official Liberty Safe 4-Outlet (or 6-Outlet) Power Kit. Unlike standard hardware store power strips, these kits are engineered specifically for the high-heat, high-stress environment of a fire-rated gun safe.
- Pass-Through Power Cord: A 10-foot, 14 AWG (or 12 AWG) flat-profile flexible cord designed to slip through the safe’s pre-drilled electrical knockout without pinching or compromising the door seal.
- Relocatable Power Tap (Outlet Strip): A UL-listed, 15-Amp, 125V, 1875W max outlet strip featuring an integrated circuit breaker.
- Mounting Hardware: Heavy-duty adhesive pads, zip-tie mounts, and occasionally self-tapping screws for securing the strip to the safe’s interior carpet or steel backing.
- Fire Seal Grommet/Putty: A rubber grommet or intumescent putty designed to reseal the electrical knockout after the cord is passed through.
Expert Insight: Never substitute the Liberty Safe pass-through cord with a standard round extension cord. Round cords will prevent the safe door from closing flush against the silicone door seal, destroying the airtight environment required to keep moisture out and potentially ruining the fireboard integrity during a blaze.
Common Wiring Scenarios Inside the Safe
When planning your interior layout, you must account for the specific electrical loads and physical routing requirements of your accessories. Here are the three most common wiring scenarios for the Liberty Safe gun safe electrical outlet kit.
Scenario 1: The GoldenRod Dehumidifier (Continuous Load)
The most critical device in any gun safe is the dehumidifier. The popular GoldenRod electric dehumidifier operates as a continuous resistive load, typically drawing between 12W (for small safes) and 24W (for large vaults).
Wiring Strategy: Mount the outlet strip near the bottom rear corner of the safe. The GoldenRod must sit at the absolute lowest point because it works by slightly heating the air, causing moisture to rise and vent out. Ensure the cord from the dehumidifier does not cross the door hinge threshold where it could be severed when the heavy steel door closes.
Scenario 2: Magnetic LED Motion Lighting (Intermittent Load)
Modern gun safes utilize rechargeable, magnetic LED motion-sensor light bars. While these have internal batteries, many users prefer to keep them plugged into the outlet kit for continuous high-lumen output.
Wiring Strategy: Route the outlet kit’s power cord up the rear interior wall using adhesive cable clips. Do not use self-tapping screws to mount cable clips into the safe’s interior walls; you risk drilling into the fireboard or, worse, puncturing the exterior steel in a way that creates a rust entry point. Use heavy-duty 3M VHB adhesive mounts instead.
Scenario 3: Biometric Scanners and Smart Locks
If you have upgraded to an electronic keypad or a Wi-Fi-enabled smart lock that requires external power or frequent charging, you will need an outlet near the top of the door or the interior top shelf.
Wiring Strategy: Run a secondary, UL-listed short extension from the main outlet kit up to the door pocket. Ensure this secondary cord has enough slack to accommodate the full 180-degree swing of the safe door without putting tension on the receptacle.
Step-by-Step Installation & Fire Seal Preservation
The most critical phase of installing the Liberty Safe gun safe electrical outlet kit is maintaining the safe's fire rating. According to testing standards, a safe's fire rating relies on the expansion of moisture-rich gypsum fireboard and intumescent seals when exposed to 1200°F+ temperatures. An unsealed hole will allow superheated gases to enter, destroying your contents in minutes.
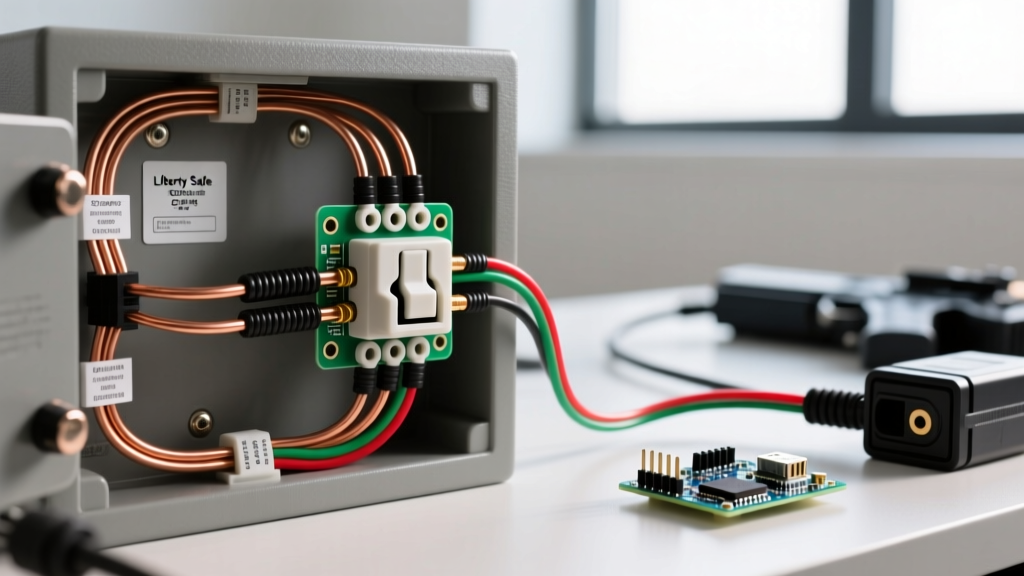
- Locate the Electrical Knockout: Most Liberty safes have a pre-drilled, plugged knockout hole in the bottom right or left rear corner. Remove the plastic plug.
- Route the Flat Cord: Feed the flat pass-through cord through the hole from the outside in. Leave about 2 feet of slack inside to allow for interior rearrangement.
- Seal the Breach (Crucial Step): If your kit includes a rubber compression grommet, press it firmly into the hole around the cord. For maximum fire protection, apply a bead of 3M Fire Barrier Sealant CP 25WB+ (an intumescent caulk that expands when heated) around the cord entry point on both the inside and outside.
- Mount the Power Strip: Secure the outlet strip to the interior floor or lower wall using the provided heavy-duty Velcro or zip-tie mounts. Avoid drilling into the floor if your safe sits on a concrete slab, as moisture can wick up through the screw holes.
- Connect to a GFCI Source: Plug the exterior end of the pass-through cord into a wall outlet. If the safe is in a garage or basement, the National Electrical Code (NEC) requires this to be a GFCI-protected receptacle to prevent shock hazards in damp environments.
Load Calculation and Safety Matrix
While the Liberty Safe gun safe electrical outlet kit is rated for 15 Amps (1875 Watts), you should never max out the circuit. Below is a load matrix for common safe accessories to help you manage your power distribution safely.
| Device | Average Wattage | Amperage Draw (at 120V) | Duty Cycle | Wiring Notes |
|---|---|---|---|---|
| 18" GoldenRod Dehumidifier | 12W - 15W | 0.10A - 0.12A | Continuous (100%) | Keep away from polymer gun cases to prevent melting. |
| 36" GoldenRod Dehumidifier | 24W - 30W | 0.20A - 0.25A | Continuous (100%) | Mount horizontally at the lowest point. |
| LED Motion Light Bar (Plugged) | 5W - 10W | 0.04A - 0.08A | Intermittent | Use adhesive mounts; avoid magnetic mounts on steel walls where they can rattle. |
| Gun Vault Dehumidifier (Desiccant) | 75W - 100W | 0.62A - 0.83A | Cycling (Thermostat) | Requires exhaust venting; not recommended for sealed safes. |
| Smart Lock / Biometric Charger | 5W | 0.04A | Intermittent | Ensure cord slack for door movement. |
Note: The total continuous load on a 15-Amp circuit should not exceed 80% (12 Amps or 1440 Watts) according to NEC Article 210.20. However, safe accessories rarely exceed 1 Amp total, making the 15A kit more than sufficient.
Troubleshooting Common Wiring Scenarios
Issue: The GFCI Breaker Keeps Tripping
Cause: Gun safes are often located in garages, basements, or pole barns where ambient humidity is high. If moisture condenses inside the exterior wall outlet or the pass-through cord's prong connection, it will cause a ground fault, tripping the GFCI.
Solution: Elevate the exterior connection off the concrete floor. Apply a dielectric grease to the prongs of the pass-through cord to prevent corrosion, and ensure the exterior outlet has a weatherproof "in-use" bubble cover if it is in an unfinished space.
Issue: The Outlet Strip Feels Warm to the Touch
Cause: If you are using a high-wattage electric desiccant dehumidifier (which uses a heating element to bake moisture out of silica gel) alongside a GoldenRod, the localized heat can build up.
Solution: Electric desiccant dehumidifiers are generally not recommended for airtight gun safes because they require venting. Switch to a standard resistive heating rod (GoldenRod) or a commercial-grade silica gel canister that requires no electricity. For deep technical standards on flexible cord safety and relocatable power taps, refer to guidelines published by UL Solutions.
Issue: Door Seal Pinching the Cord
Cause: The user attempted to route a standard round extension cord over the door threshold instead of using the flat pass-through cord through the rear knockout.
Solution: Immediately remove the round cord. The compression will eventually break down the copper stranding inside the wire, creating a high-resistance fault that can spark and ignite the safe's interior carpet. Always use the rear knockout. For more on electrical safety in residential and storage environments, consult the National Fire Protection Association (NFPA) NEC guidelines.
Final Safety and Compliance Reminders
Installing a Liberty Safe gun safe electrical outlet kit is a straightforward process, but it demands respect for both electrical codes and fire containment engineering. Never daisy-chain multiple power strips inside the safe, and never use a power strip that lacks an internal 15-amp resettable breaker. Furthermore, always verify that your safe's exterior wall outlet is properly grounded. You can use a simple $10 receptacle tester to confirm correct wiring before plugging in your safe's power kit. For comprehensive workplace and residential electrical safety standards, you can also reference OSHA's electrical safety guidelines, which provide excellent baseline rules for flexible cord usage and equipment grounding.
By following these specific wiring scenarios and utilizing the correct intumescent fire sealants, you will ensure your firearms remain protected from both humidity and catastrophic fire, while keeping your electrical setup fully compliant and safe for years to come.