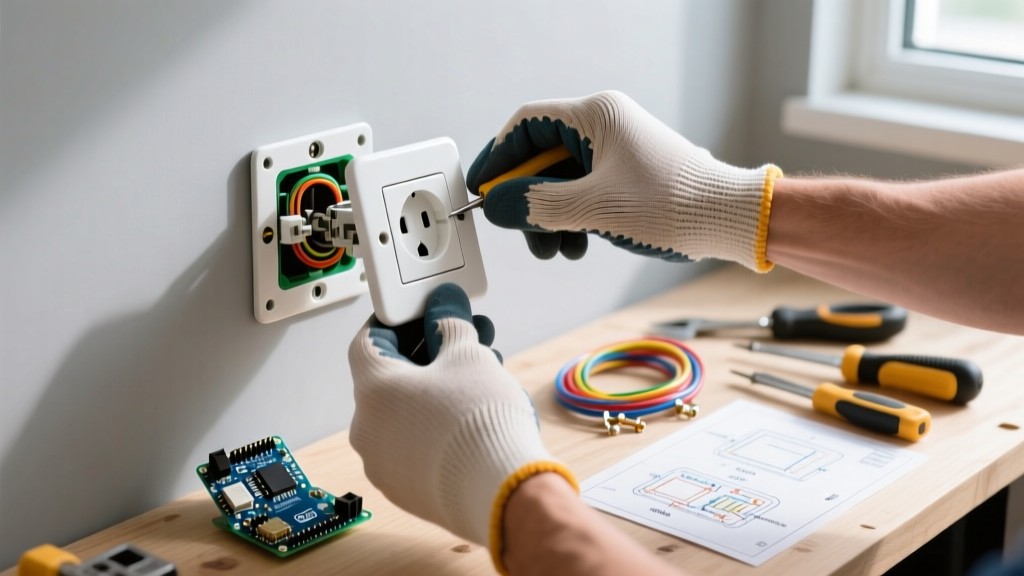

Upgrading Your Electrical Outlet Face: The Modern Standard
The visible electrical outlet face is often the most overlooked detail in a room's finish work. Whether you are renovating a mid-century home or finalizing a new build in 2026, transitioning from traditional screwed-in duplex cover plates to a sleek, screwless electrical outlet face dramatically elevates the aesthetic of your space. However, achieving that flawless, flush finish requires more than just snapping on a plastic cover. It demands precise box alignment, proper shimming, and an understanding of material tolerances.
In this comprehensive guide, we will walk through the exact step-by-step installation process for a premium screwless electrical outlet faceplate, ensuring a gap-free, crack-free result that meets modern electrical codes.
⚠️ Critical Safety Warning
Before touching any wiring or removing the existing electrical outlet face, you must cut power at the main breaker panel. According to the Electrical Safety Foundation International (ESFI), electrocution risks remain high even with supposedly 'off' switches. Always verify zero voltage using a non-contact voltage tester (NCVT) before proceeding.
Tools and Materials Required
Do not rely on cheap, multi-bit hardware store screwdrivers for electrical work. Using the right tools prevents stripped screws, damaged yokes, and cracked faceplates. Below is the professional toolkit required for this installation.
| Category | Recommended Product / Specification | Estimated Cost (2026) | Purpose |
|---|---|---|---|
| Voltage Tester | Klein Tools NCVT-2 Dual Range | $28.00 | Verifies 12V to 1000V AC safely |
| Screwdriver | Wiha 32090 Insulated SlimLine | $14.50 | Prevents short circuits in tight boxes |
| Shims | idealSPACE Outlet Shims (Caterpillars) | $4.50 / pack | Brings recessed receptacles flush to wall |
| Faceplate | Lutron Claro Screwless Wall Plate | $7.50 - $9.00 | Premium polycarbonate, snap-on finish |
| Level | Kapro 922 SmartTape Torpedo Level | $22.00 | Ensures perfect vertical alignment |
Step-by-Step Installation Guide
Step 1: Power Down and Verify
Navigate to your main electrical panel and flip the breaker controlling the room's receptacles to the OFF position. Return to the outlet and test the top and bottom slots with your Klein Tools NCVT-2. The tester should remain completely dark and silent. Remove the existing center screw and pull the old electrical outlet faceplate away from the wall.
Step 2: Assess Box Depth and NEC Compliance
Look at the gap between the wall surface (drywall, tile, or wood paneling) and the plastic yoke (the mounting ears) of the receptacle. According to the National Electrical Code (NEC) Section 314.20, boxes in combustible surfaces (like standard drywall) must be flush or project up to 1/4 inch. If your receptacle is recessed more than 1/4 inch, you are violating code and creating a fire hazard where sparks could ignite inside the wall cavity.
Action: If the gap is greater than 1/16th of an inch, you must use shims. Do not just tighten the mounting screws to pull the outlet forward; this bends the yoke, warps the receptacle, and guarantees your new screwless faceplate will crack under tension.
Step 3: Shim and Align the Receptacle
- Loosen the mounting screws: Use your insulated Wiha screwdriver to back out the top and bottom mounting screws about three turns. Do not remove them entirely.
- Apply the shims: Snap off the required number of idealSPACE caterpillar shims. Slide them over the mounting screws between the receptacle yoke and the drywall. You may need 2 to 4 shims per screw depending on the depth.
- Tighten and Level: Snug the screws down. Place your torpedo level against the face of the receptacle. Adjust the shims on the left or right side until the receptacle is perfectly plumb. A crooked receptacle will cause a screwless faceplate to sit at a visible angle, ruining the aesthetic.
Step 4: Install the Sub-Plate
Screwless electrical outlet face systems utilize a two-part design: a structural sub-plate and a decorative snap-on cover. Place the sub-plate over the receptacle. Insert the provided 6-32 machine screws through the sub-plate and into the receptacle yoke. Pro-Tip: Tighten these screws until the sub-plate is snug against the wall, but do not overtighten. If you overtighten the sub-plate, it will bow inward, which will prevent the decorative faceplate from snapping on correctly later.
Step 5: Snap on the Decorative Electrical Outlet Face
Align the decorative screwless faceplate over the sub-plate. Start by pressing firmly on the top edge until you hear a distinct 'click'. Move to the bottom edge and press firmly. Finally, apply gentle pressure to the left and right sides. Run your thumb around the perimeter to ensure there are no visible gaps between the faceplate and the wall texture.
Material Comparison: Choosing Your Faceplate
Not all electrical outlet face materials are created equal. In 2026, homeowners are moving away from standard white thermoset nylon toward more specialized materials. Here is how the top three materials compare.
| Material | Brand Example | Pros | Cons | Best Use Case |
|---|---|---|---|---|
| Polycarbonate | Lutron Claro | Highly durable, UV resistant, sleek screwless design | Can crack if the sub-plate is bent during install | Living rooms, high-visibility areas |
| Thermoset Nylon | Leviton Decora Plus | Extreme impact resistance, very affordable, flexible | Visible screws, slightly thicker profile | Garages, workshops, utility rooms |
| Stamped Metal | Pass & Seymour Radiant | Premium architectural look, heavy-duty feel | Requires precise wall patching, can scratch, higher cost | Luxury builds, accent walls |
Troubleshooting Common Installation Failures
Even experienced DIYers run into issues when upgrading their electrical outlet face. Use this diagnostic matrix to solve common problems.
| Symptom | Root Cause | Corrective Action |
|---|---|---|
| Faceplate bows inward in the center | Sub-plate screws were overtightened, bending the metal/plastic frame. | Back off the sub-plate screws by a quarter-turn. Ensure the receptacle yoke is not pushed back into the box. |
| Visible gap on one side of the wall | Drywall cutout is uneven, or the electrical box was nailed crookedly to the stud. | Use a bead of paintable acrylic latex caulk (like DAP Alex Plus) in a matching color to fill gaps under 1/16th of an inch. |
| Faceplate cracks near the top screw | The plaster ears on the receptacle yoke are broken, causing uneven torque distribution. | Replace the entire receptacle. Do not attempt to use a broken yoke, as it compromises the grounding path and mechanical stability. |
The Painter's Trick: If you are installing the electrical outlet face before the room's final paint coat, do not tape over the faceplate. Paint tends to bleed under the tape, creating a messy line. Instead, install the faceplate, paint carefully up to the edge with an angled sash brush, and if you get paint on the polycarbonate face, wipe it immediately with a damp microfiber cloth. Polycarbonate resists water-based latex paints easily when wet.
Frequently Asked Questions (FAQ)
Can I install a screwless electrical outlet face over a GFCI receptacle?
Yes, but you must ensure you are buying a faceplate specifically designed for GFCI/Decora-style openings. Standard duplex openings (the classic two-slot with a center screw) will not fit over the rectangular body of a GFCI or a smart outlet. Measure the opening: a Decora/GFCI opening is exactly 1.312 inches by 2.625 inches.
Are smart electrical outlet faces worth the upgrade?
In 2026, integrated smart faces are highly popular. Products like the SnapPower Guidelight 2.0 (which replaces the standard faceplate and adds LED nightlights powered by the side screws) cost around $18. They are excellent for hallways and bathrooms, but they require the side screws on the receptacle to be present and energized, which is standard on most modern 15A and 20A duplex receptacles.
What if my wall is tiled? Do I need a special faceplate?
For tiled surfaces like kitchen backsplashes, the electrical box is often recessed to accommodate the tile thickness. You will likely need extra-long 6-32 machine screws and a thicker stack of shims to bring the receptacle flush with the tile. Metal faceplates are recommended here, as they are less likely to warp against the hard, uneven grout lines compared to polycarbonate.
Final Thoughts
Achieving a perfect electrical outlet face installation is a hallmark of quality craftsmanship. By respecting NEC depth requirements, utilizing proper shimming techniques, and choosing the right material for your specific environment, you ensure both a beautiful finish and a safe, code-compliant electrical system. Take your time during the alignment phase—the extra five minutes spent leveling the receptacle will pay dividends in the flawless look of your screwless faceplate for years to come.


