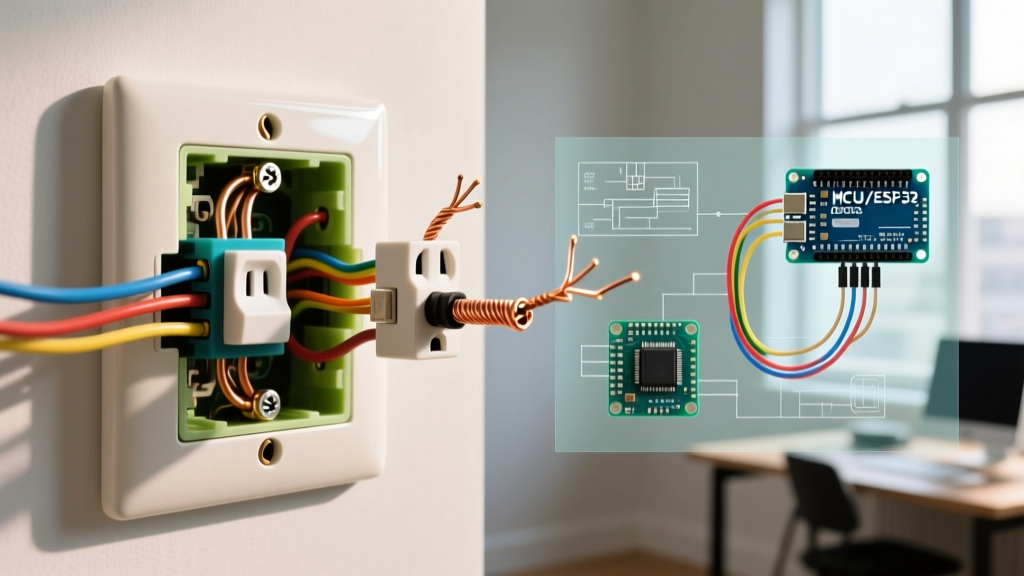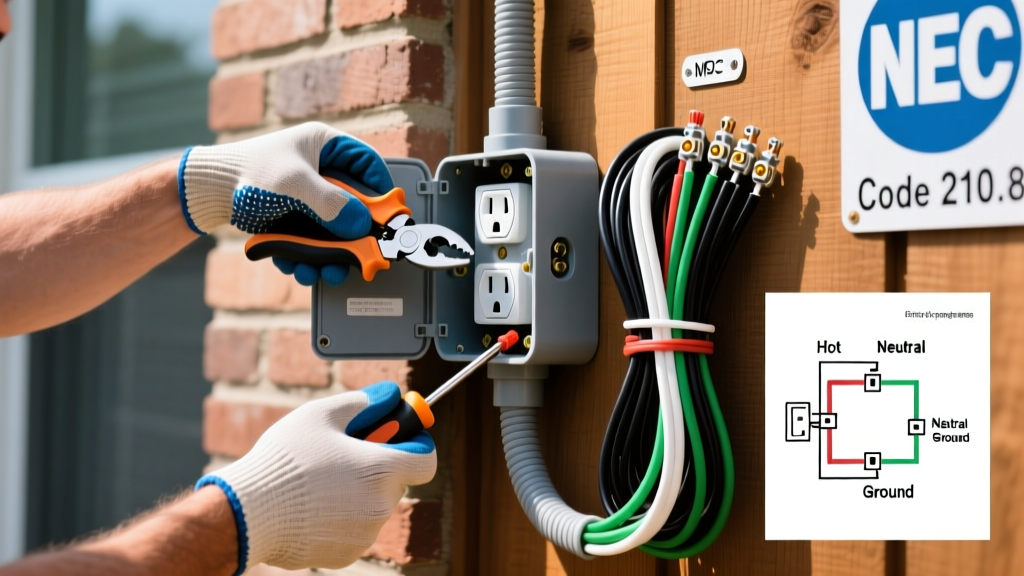

Why Add an Outdoor Receptacle?
Whether you are powering holiday lights, running a corded electric lawn mower, or setting up an outdoor entertainment space, having a reliable exterior power source is essential. For many homeowners, the process of installing outside electrical outlet fixtures seems daunting, reserved only for licensed electricians. However, if you have a basic understanding of residential wiring and follow strict safety protocols, tapping into an existing interior circuit to add an exterior receptacle is a highly achievable weekend DIY project.
This comprehensive tutorial will walk you through the exact steps, tools, and code requirements necessary to safely install a weatherproof, GFCI-protected outdoor receptacle by tapping through an exterior wall. By the end of this guide, you will have a fully functional, code-compliant outdoor power source.
Crucial NEC Code Requirements for Outdoor Receptacles
Before picking up a screwdriver, you must understand the rules governing outdoor electricity. The National Electrical Code (NEC) is updated every three years, and local jurisdictions enforce these standards to prevent electrocution and fires. According to the National Fire Protection Association (NFPA), outdoor electrical environments demand rigorous protection against moisture and physical damage.
- GFCI Protection (NEC 210.8(A)(3)): All 15A and 20A, 125V outdoor receptacles must have Ground Fault Circuit Interrupter (GFCI) protection. This device trips the circuit in milliseconds if it detects a current leak to ground, saving your life in wet conditions.
- Extra-Duty Weatherproof Covers (NEC 406.9(B)(1)): You cannot use standard flat flip-covers. The code mandates an 'extra-duty' or 'in-use' bubble cover that allows a cord to be plugged in while keeping the interior completely sealed from rain and snow.
- Circuit Sourcing: You must tap into a general-purpose indoor circuit (like a living room or den). Never tap into a kitchen, bathroom, or laundry circuit, as NEC rules prohibit extending these dedicated 20A appliance circuits outdoors.
Tools and Materials Checklist
To ensure a professional-grade installation, you need the right components. Do not substitute indoor-rated materials for outdoor use. Below is the exact bill of materials for a standard through-wall installation.
| Item | Specific Model / Specification | Estimated Cost |
|---|---|---|
| GFCI Receptacle | Leviton 8599-000W (20A, Self-Test) | $18 - $22 |
| Weatherproof Box | Carlon B618R (PVC, 1-Gang, Extra Duty) | $8 - $12 |
| In-Use Cover | TayMac MM410C (Die-cast, Clear Bubble) | $12 - $15 |
| Cable | Southwire UF-B 12/2 with Ground (per foot) | $1.50 / ft |
| Cable Clamp | 3/8' NM/UF Plastic Connector (Interior side) | $1.00 |
| Sealant | GE Silicone II Window & Door (Clear, 100% Waterproof) | $7 - $9 |
| Voltage Tester | Klein Tools NCVT-2 (Non-Contact Dual Range) | $25 - $30 |
Total estimated material cost: $50 - $75 (assuming you already own basic hand tools and a power drill).
Step-by-Step: Installing Outside Electrical Outlet
Step 1: Map the Circuit and Kill the Power
Locate an interior outlet on an exterior wall that you want to tap into. Plug a lamp into it and turn it on. Go to your main breaker panel and flip the breaker off until the lamp goes dark. Use your Klein Tools NCVT-2 non-contact voltage tester on the interior outlet to confirm the power is 100% dead. Remove the faceplate and the two mounting screws to pull the receptacle out of the wall box. You will be connecting your new outdoor cable to the 'Load' or 'Line' terminals here, depending on your wiring strategy. For a simple extension, piggybacking off the existing Line wires using Wago lever-nuts or wire nuts is the cleanest method.
Step 2: Drill the Penetration Hole
You need to route the UF-B cable from the interior wall box to the exterior. Using a 3/4-inch spade bit or auger bit, drill a hole through the wall. Pro-Tip: Drill from the inside out. This prevents the exterior siding or stucco from blowing out and splintering. Angle the drill bit very slightly downward (about 2 degrees) so that any condensation inside the wall cavity naturally drains outward rather than pooling inside your wall.
Step 3: Mount the Exterior Weatherproof Box
Take the Carlon B618R PVC weatherproof box and remove the appropriate knockout plug on the back. Feed the UF-B cable through the hole from the inside, pulling about 8 inches of cable out of the exterior wall. Apply a generous, continuous bead of GE Silicone II sealant around the entire back perimeter of the PVC box. Press the box firmly against the siding, ensuring the cable is not pinched. Drive the provided stainless steel mounting screws through the box's internal mounting tabs and into the wall studs or exterior sheathing. The silicone will ooze out slightly; wipe away the excess with a damp rag immediately.
Step 4: Prep and Wire the GFCI Receptacle
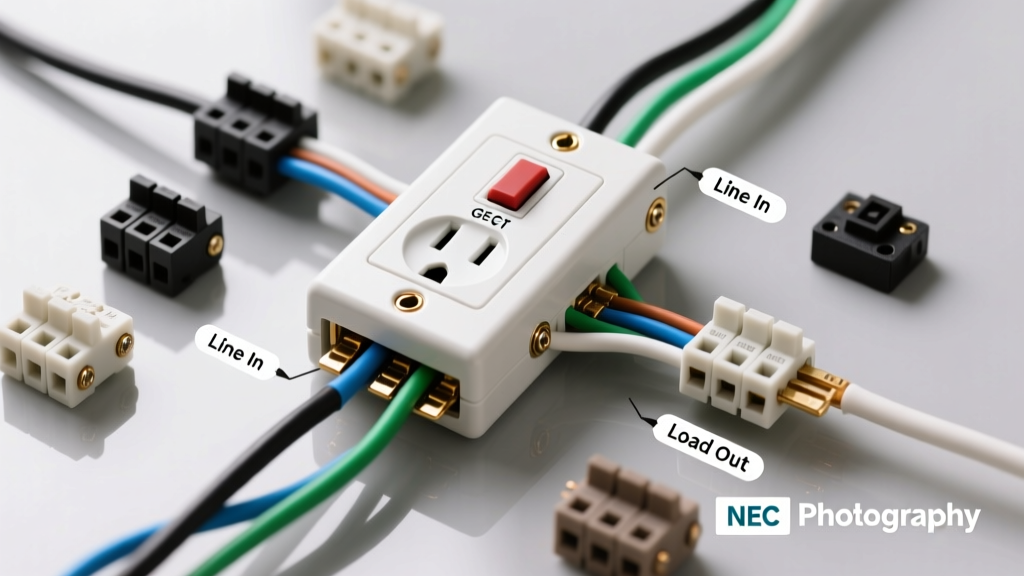
Strip the outer gray UF-B jacket back about 2 inches, and strip the individual black, white, and bare copper wires back exactly 3/4 inch. Look at the back of the Leviton 20A GFCI. You will see two sets of terminals: 'LINE' and 'LOAD'. Because this is the end of the run, you will only use the LINE terminals.
- Connect the Black (Hot) wire to the Brass LINE screw.
- Connect the White (Neutral) wire to the Silver LINE screw.
- Connect the Bare Copper (Ground) wire to the Green Ground screw.
Ensure no bare copper is exposed outside the terminal connections. Gently fold the wires into the back of the PVC box using a 'Z' fold pattern to avoid crushing the wires against the GFCI's internal circuit board.
Step 5: Install the In-Use Bubble Cover
Mount the Leviton GFCI to the Carlon box using the included stainless steel screws. Next, attach the TayMac MM410C in-use cover. The gasket on the cover must sit perfectly flush against the siding or the PVC box flange. If your siding is uneven (like cedar shingles or vinyl lap siding), you may need to apply an extra bead of silicone behind the gasket to ensure a watertight seal. Secure the cover with the provided screws.
Step 6: Interior Connections and Power Up
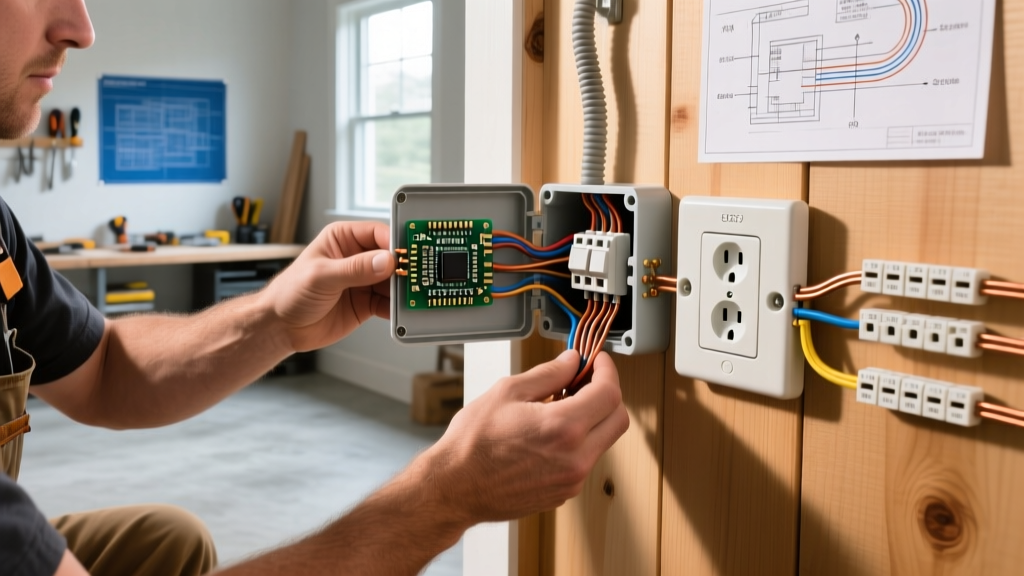
Return to the interior wall box. Install a 3/8-inch NM cable clamp onto the knockout where your new UF-B cable enters the box. Secure the cable with the clamp's locknut. Connect the new black wire to the existing black wires, the new white to the existing whites, and the new ground to the existing grounds using appropriately sized wire nuts or Wago 221 connectors. Push the wires neatly into the box, remount the interior receptacle, and restore power at the breaker panel.
Common Beginner Mistakes to Avoid
Warning: The U.S. Consumer Product Safety Commission (CPSC) reports that thousands of residential electrical fires and shocks occur annually due to improper outdoor wiring. Avoid these critical errors:
- Using Indoor NM-B (Romex) Cable Outside: Standard indoor cable is not rated for moisture or UV exposure. Even if hidden behind a cover, condensation will destroy the paper wrapping and corrode the copper. Always use UF-B or THWN wires inside PVC conduit.
- Wiring to the 'LOAD' Terminals by Mistake: If you wire your power source to the LOAD terminals on the GFCI, the outlet will not have power, and the reset button will not function. Power must always enter the LINE terminals.
- Skipping the Drip Loop: If you are running conduit or cable along the exterior wall before entering the box, always create a 'drip loop' (a U-shape dip in the cable) just before the entry point. This forces rainwater to drip off the bottom of the loop rather than running down the cable directly into your electrical box.
Frequently Asked Questions
Can I daisy-chain another outdoor outlet off this new GFCI?
Yes. If you want to add a second outlet further down the wall, you can run a new cable from the 'LOAD' terminals on your Leviton GFCI to the 'LINE' terminals of a standard (non-GFCI) outdoor receptacle. The first GFCI will protect the downstream outlet, saving you money and space.
Do I need a permit for installing outside electrical outlet fixtures?
In most municipalities, adding a single receptacle by tapping an existing circuit does not require a permit, provided you are not upgrading your service panel or adding a new dedicated circuit. However, local codes vary wildly. Always check with your local building department before starting. If you plan to sell your home, unpermitted electrical work can cause inspection failures.
My GFCI trips immediately when I plug in my string lights. Why?
Outdoor string lights are notorious for developing micro-fractures in their insulation or collecting moisture in the sockets. When the GFCI detects even a 4-to-6 milliamp leak to ground, it trips to save you from a shock. Inspect your light strands for damaged bulbs or cracked sockets. If the GFCI trips with nothing plugged in, you likely have moisture inside the weatherproof box or a pinched wire behind the receptacle.
Final Thoughts
The process of installing outside electrical outlet setups is a rewarding DIY project that instantly increases the utility and value of your home. By strictly adhering to NEC weatherproofing mandates, utilizing high-quality components like the TayMac in-use cover and Leviton self-test GFCI, and taking your time with the silicone sealing process, you will achieve a safe, durable, and professional result. Always prioritize safety: if you ever feel unsure about your home's wiring capacity or grounding integrity, pause the project and consult a licensed master electrician.