
The Hidden Dangers of Aging and Outdated Receptacles
Electrical receptacles are the most frequently used components in your home's wiring system, yet they are often ignored until they fail. If you are noticing plugs sliding out easily, seeing discoloration on the faceplate, or dealing with outdated two-prong ungrounded sockets, it is time to take action. According to the National Fire Protection Association (NFPA), electrical failures or malfunctions are a leading cause of home structure fires, with aging wiring and loose receptacle connections playing a significant role.
When you decide to replace electric outlet hardware, you are not just swapping a plastic faceplate; you are upgrading the safety infrastructure of your home. Modern electrical codes mandate features like Tamper-Resistant (TR) shutters and Ground Fault Circuit Interrupter (GFCI) protection in specific zones. This comprehensive guide will walk you through the exact specifications, tools, and step-by-step procedures required to execute a professional-grade upgrade.
Receptacle Selection Matrix: Choosing the Right Upgrade
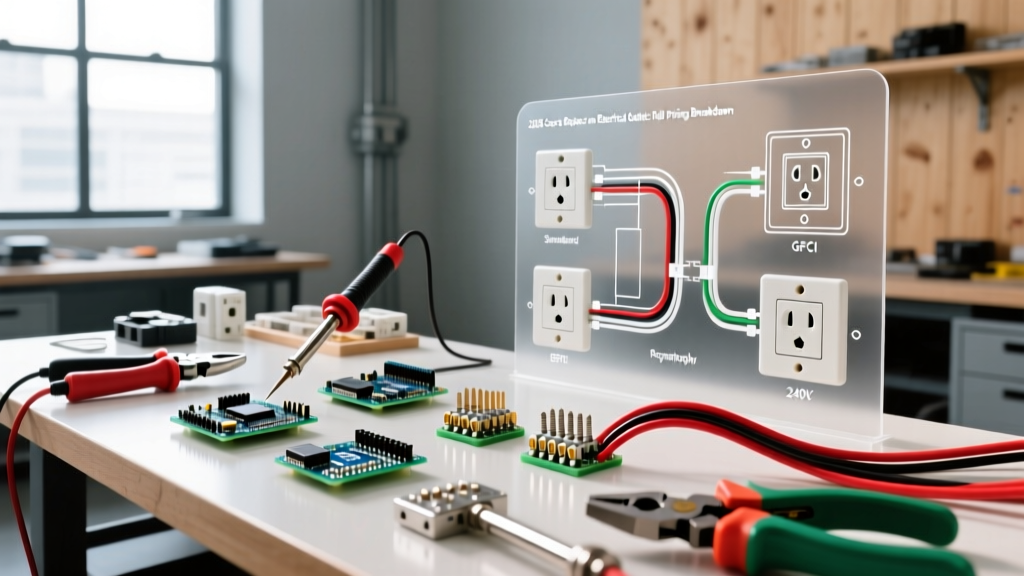
Before you turn off the breaker, you must select the correct replacement device. The 2023 National Electrical Code (NEC), which has seen widespread state-level adoption by 2026, strictly dictates where specific receptacle types must be used. Below is a decision matrix to help you choose the right component for your specific circuit.
| Receptacle Type | Best Application Zones | Key Safety Feature | Avg. Cost (2026) |
|---|---|---|---|
| Standard TR Duplex (15A/125V) | Living rooms, bedrooms, hallways | Internal shutters prevent foreign object insertion | $3.50 - $5.50 |
| GFCI Duplex (15A/125V) | Kitchens, bathrooms, garages, outdoors | Trips circuit at 4-6mA ground fault variance | $20.00 - $28.00 |
| AFCI/GFCI Dual Function | Laundry rooms, kitchens (where AFCI is mandated) | Combines arc-fault and ground-fault protection | $45.00 - $55.00 |
| 20A Commercial Grade | Heavy appliance zones, workshop circuits | Heavier brass contacts, higher thermal tolerance | $8.00 - $12.00 |
Pro-Tip: Always look for the 'TR' stamp on the faceplate. The Consumer Product Safety Commission (CPSC) notes that TR receptacles feature spring-loaded shutters that only open when equal pressure is applied to both slots simultaneously, effectively eliminating childhood shock hazards.
The Professional's Tool Kit and Material Budget
To properly replace electric outlet devices, you need more than just a flathead screwdriver. Using the correct tools ensures secure terminations and prevents future thermal failures.
- Non-Contact Voltage Tester (NCVT): Essential for verifying the circuit is dead. (e.g., Klein Tools NCVT-1, approx. $18).
- Wire Strippers: Must have precise gauges for 14 AWG and 12 AWG solid copper to avoid nicking the conductor. (e.g., Klein 11054E, approx. $28).
- Torque Screwdriver: Often overlooked by DIYers. Leviton and Eaton specify terminal screw tightening torques (typically 14 in-lbs for 15A/20A devices). Under-torquing causes arcing; over-torquing strips threads.
- 3-Light Receptacle Tester: For verifying correct wiring polarity post-installation (approx. $12).
- Lineman's Pliers & Needle-Nose Pliers: For cutting, bending, and forming wire loops.
Step-by-Step: How to Replace Electric Outlet Safely
Follow this exact sequence to ensure a safe, code-compliant installation. Never skip the verification steps.
Step 1: Isolate and Verify the Circuit
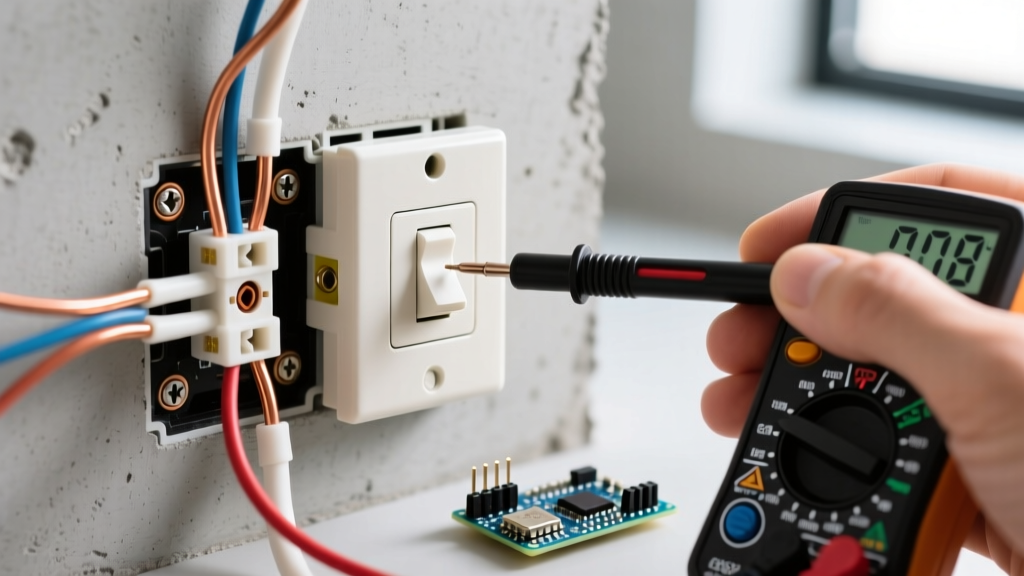
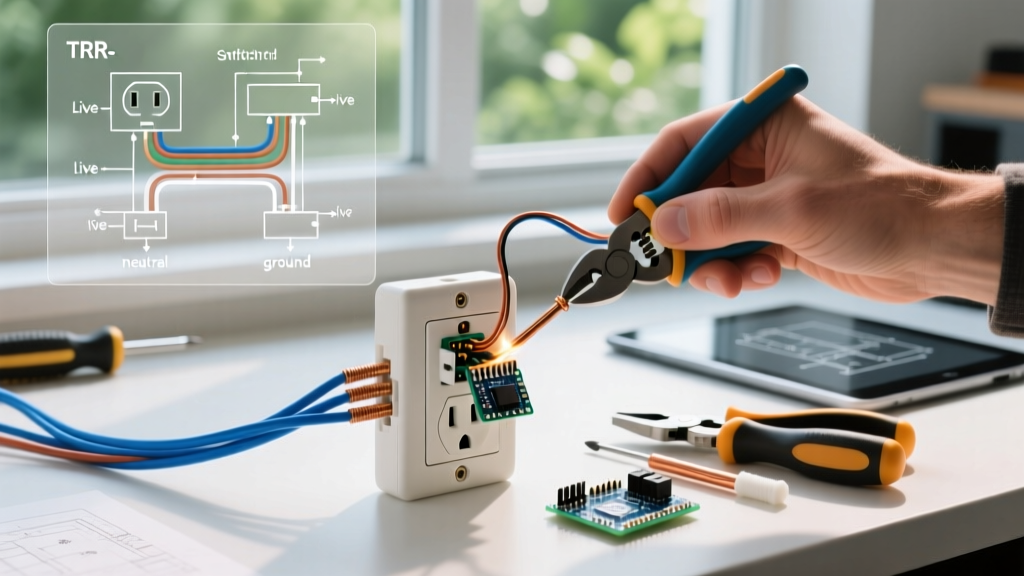
Locate your main electrical panel and switch off the breaker controlling the outlet. Do not rely on wall switches. Insert your NCVT into the top and bottom slots of the receptacle. The tool must remain completely silent and unlit. For absolute certainty, remove the faceplate and test the side terminal screws directly with a multimeter set to AC voltage.
Step 2: Extract and Inspect the Existing Wiring
Unscrew the top and bottom mounting screws and gently pull the yoke out of the gang box. Take a photo of the existing wiring configuration before disconnecting anything. Inspect the wire insulation. If the insulation is brittle, cracked, or shows signs of heat damage (melting), you may need to cut back to fresh wire or consult an electrician.
Step 3: Prepare the Conductors
Using your wire strippers, strip exactly 3/4 inch of insulation from the black (hot), white (neutral), and bare/green (ground) wires. If the existing wire ends are heavily oxidized or have deep gouges from previous side-wiring loops, snip them off and re-strip fresh copper. Clean copper ensures optimal conductivity.
Step 4: Terminate Using the Screw-and-Clamp Method
There are three ways to wire a receptacle: push-in (back-stabbing), side-wiring (looping around the screw), and back-wiring (screw-and-clamp). Never use push-in back-stabbing. The internal spring-metal grips loosen over years of thermal expansion and contraction, leading to high-resistance arcing faults behind the wall.
Instead, use the screw-and-clamp method found on commercial and high-quality residential receptacles (like the Leviton ProGrade line). Insert the straight, stripped wire directly into the back wire hole and tighten the terminal screw to 14 in-lbs. The internal brass clamp secures the wire with immense surface area contact, eliminating loop-formation errors and providing a rock-solid connection.
Step 5: Secure the Yoke and Test
Carefully fold the wires into the back of the gang box using a Z-pattern to prevent pinching. Align the yoke and drive the mounting screws until the plaster ears sit flush against the drywall—do not overtighten, as this can crack the device housing. Restore power at the breaker and use your 3-light tester to confirm correct wiring (two amber lights indicate a correct connection).
Advanced Troubleshooting: Edge Cases and Failure Modes
When you open up an older home's electrical box to replace electric outlet hardware, you will occasionally encounter dangerous code violations left behind by previous owners. Here is how to identify and handle them.
The 'Bootleg Ground' Hazard
If you are upgrading an old two-prong ungrounded outlet to a three-prong receptacle, you must have an actual ground wire connected to the grounding terminal. A common, highly dangerous DIY cheat is the 'bootleg ground,' where a jumper wire is installed between the neutral (silver) screw and the ground (green) screw. This tricks a standard 3-light tester into showing a 'correct' reading, but it energizes the entire metal chassis of any plugged-in appliance if the neutral wire ever disconnects. Always verify the ground wire traces back to the panel or a grounded metal box. If no true ground exists, you must install a GFCI receptacle and apply the included 'No Equipment Ground' sticker, which is a legal NEC exception for replacements.
Multi-Wire Branch Circuits (MWBC)
If you open the box and find two black hot wires and two white neutral wires connected to a single standard duplex outlet, you likely have an MWBC. This setup shares a single neutral wire between two separate hot phases (often on a 240V split-phase system). If you are replacing this outlet and decide to 'break the fin' on the hot side to separate the top and bottom plugs, you must also break the fin on the neutral side if they are on different phases, or you will overload the shared neutral wire, creating a severe fire hazard. When in doubt, use a multimeter to measure the voltage between the two hot wires; if it reads 240V, they are on different legs.
Expert FAQ: Receptacle Upgrades
Q: Can I replace a 15-amp outlet with a 20-amp outlet to handle more power?
A: No. You can only install a 20-amp receptacle if the circuit breaker is rated for 20 amps AND the wiring in the wall is 12 AWG copper. Placing a 20A receptacle on a 15A circuit with 14 AWG wire does not increase your capacity; it merely creates a false sense of security and violates NEC guidelines.
Q: Why is my new GFCI outlet tripping immediately after installation?
A: GFCIs are highly sensitive to downstream leakage. If you wired the 'LOAD' terminals instead of the 'LINE' terminals, or if a downstream device on the same circuit has a minor ground fault (like an outdoor light fixture with moisture ingress), the new GFCI will trip. Disconnect the load wires and test the GFCI alone to isolate the fault. For more on electrical safety diagnostics, consult resources from the Electrical Safety Foundation International (ESFI).
Upgrading your home's receptacles is one of the most cost-effective safety improvements you can make. By prioritizing screw-and-clamp terminations, utilizing tamper-resistant devices, and rigorously testing for edge cases like bootleg grounds, you ensure your electrical system remains safe, robust, and fully compliant with modern standards.