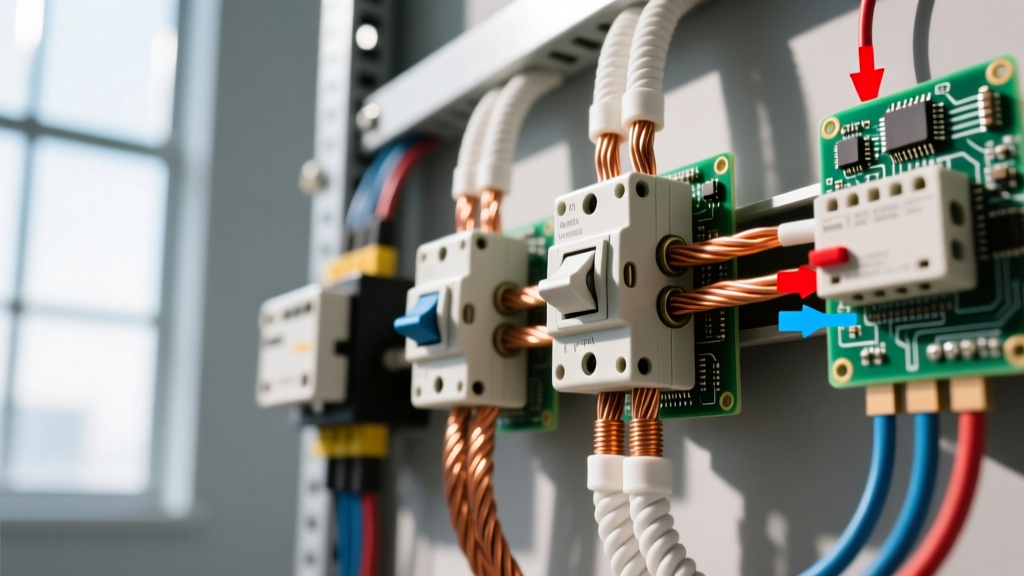

Pre-Installation: Circuit Capacity and the 80% Rule
When you decide to add new electrical outlet to an existing circuit, the very first step is not buying wire or cutting drywall—it is verifying circuit capacity. The National Electrical Code (NEC) mandates strict adherence to load calculations to prevent thermal runaway and electrical fires. According to the National Fire Protection Association (NFPA), electrical distribution and lighting equipment failures account for tens of thousands of home structure fires annually.
Before tapping into an existing branch circuit, you must apply the 80% Continuous Load Rule. If the new outlet will power devices that run for three hours or more (e.g., space heaters, window AC units, or sump pumps), the circuit breaker must be rated for at least 125% of the continuous load.
- 15-Amp Circuit (14 AWG Wire): Maximum continuous load is 12 amps (1,440 watts at 120V).
- 20-Amp Circuit (12 AWG Wire): Maximum continuous load is 16 amps (1,920 watts at 120V).
If your existing circuit is already powering a 1,000W microwave and a 500W coffee maker, adding a new outlet for a 1,500W toaster will trip the breaker and violate NEC Article 210.3. Always map the existing loads before extending the circuit.
NEC Code Compliance: Where GFCI and AFCI are Mandatory
Modern electrical codes have drastically expanded the zones requiring Ground Fault Circuit Interrupter (GFCI) and Arc Fault Circuit Interrupter (AFCI) protection. The Electrical Safety Foundation International (ESFI) notes that GFCIs have prevented thousands of electrocutions since their introduction. When you add new electrical outlet in the following areas, you must comply with the latest NEC Articles 210.8 (GFCI) and 210.12 (AFCI).
| Room / Location | GFCI Required? | AFCI Required? | NEC Reference |
|---|---|---|---|
| Kitchen (Countertop) | Yes | Yes | 210.8(A)(6) / 210.12(A) |
| Bathroom | Yes | Yes | 210.8(A)(1) / 210.12(A) |
| Bedroom | No | Yes | 210.12(A) |
| Garage & Outdoors | Yes | Yes (Garage) | 210.8(A)(2) / 210.12(A) |
| Living Room / Hallway | No | Yes | 210.12(A) |
| Unfinished Basement | Yes | No | 210.8(A)(5) |
Pro Tip: If you are extending an older circuit that lacks AFCI protection in a bedroom or living room, the NEC requires you to upgrade the branch circuit breaker to an AFCI or Dual-Function (AFCI/GFCI) breaker, such as the Square D Homeline HOM120DF, which retails for approximately $55 to $65.
Box Fill Calculations: Preventing Overcrowding and Fire Hazards
One of the most frequently failed inspection points when homeowners add new electrical outlet is box fill capacity. NEC Article 314.16 dictates the maximum number of conductors allowed in an electrical box based on cubic inch (cu. in.) volume. Overcrowding crushes wire insulation, leading to short circuits and arcing.
The Cubic Inch Multiplier
Each wire gauge requires a specific volume allowance per conductor:
- 14 AWG: 2.0 cubic inches per conductor
- 12 AWG: 2.25 cubic inches per conductor
- 10 AWG: 2.5 cubic inches per conductor
Real-World Calculation Example
Imagine you are installing a new outlet using 12/2 NM-B cable (12 AWG). You are bringing one feed cable in and one out to the next device (2 hots, 2 neutrals, 2 grounds). The internal device (receptacle) counts as two conductors.
- Hot Wires: 2 wires × 2.25 cu. in. = 4.5 cu. in.
- Neutral Wires: 2 wires × 2.25 cu. in. = 4.5 cu. in.
- Ground Wires: All grounds count as 1 wire × 2.25 cu. in. = 2.25 cu. in.
- Receptacle Device: 2 × 2.25 cu. in. = 4.5 cu. in.
- Total Required Volume: 15.75 cubic inches.
CRITICAL WARNING: A standard "old work" single-gang drywall box (like the Carlon B114R) only holds 14 cubic inches. If you use 12 AWG wire in this scenario, you will violate NEC box fill rules. You must upgrade to a deeper box, such as the Carlon B120R (20 cubic inches), to remain code-compliant.
Step-by-Step Safe Wiring Execution
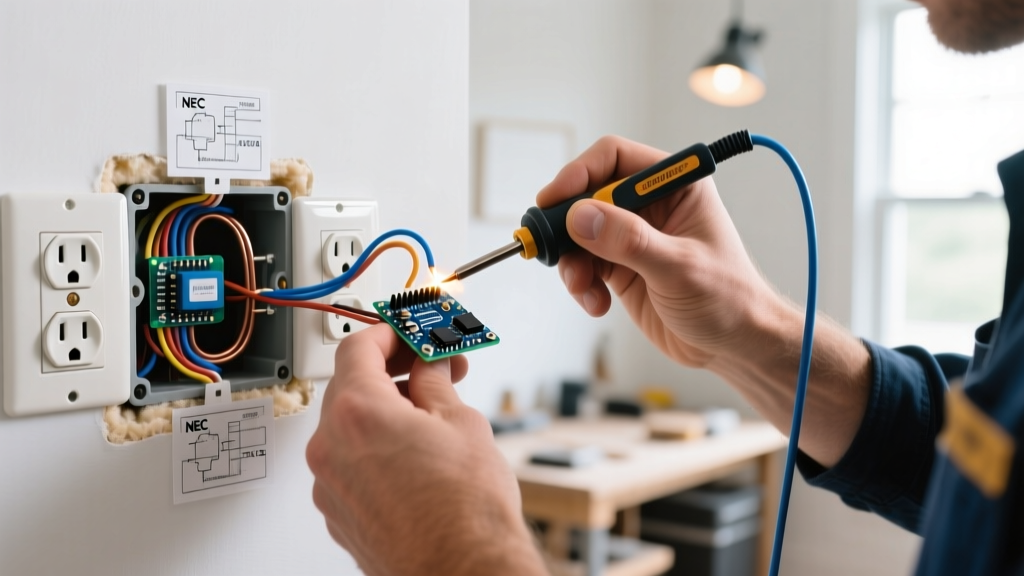
Once your load calculations and box fill metrics are verified, proceed with the physical installation. Always use Tamper-Resistant (TR) receptacles, such as the Leviton 5362-TRW (20A) or Leviton 4269-TRW (15A), which are mandated by NEC 406.12 for virtually all residential 125V, 15A and 20A locations to prevent child electrocution.
1. Power Down and Verify
Turn off the breaker and use a non-contact voltage tester (e.g., Klein Tools NCVT-2) followed by a multimeter to confirm zero voltage between hot-to-neutral and hot-to-ground.
2. Pigtailing vs. Daisy-Chaining
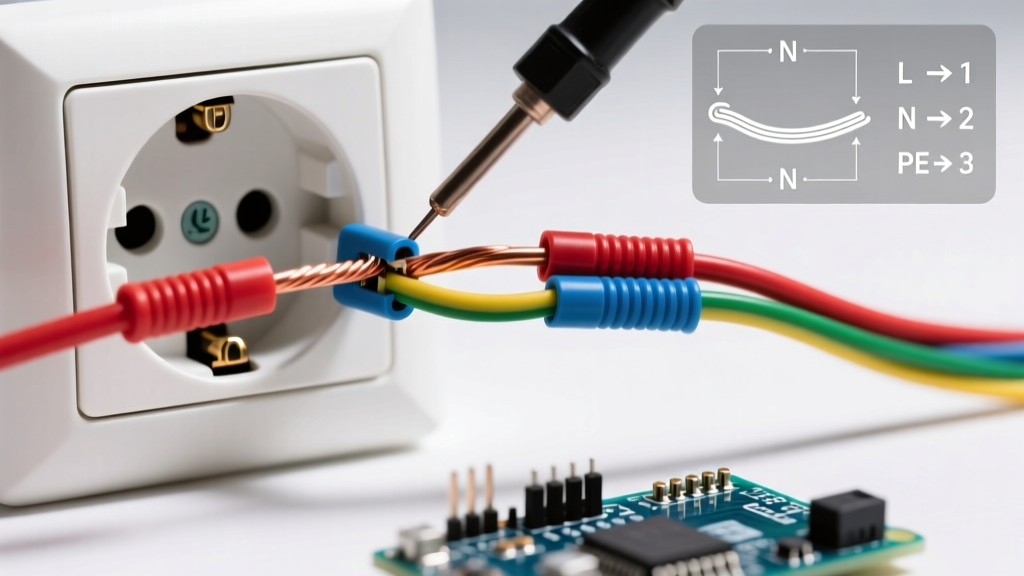
While you can daisy-chain the hot wires through the receptacle screws, best practice and strict code compliance for Multi-Wire Branch Circuits (NEC 300.13) require pigtailing the neutral wires. Use a red or gray Wago 221 lever nut or a purple wire nut to connect the incoming neutral, outgoing neutral, and a 6-inch pigtail to the receptacle. This ensures that if the receptacle fails or is removed, the downstream neutral remains intact, preventing dangerous overvoltages on shared neutrals.
3. Torque to Specification
Since the 2017 NEC update, Article 110.14(D) requires that all electrical terminations be tightened to the manufacturer's specified torque. For most standard Leviton and Eaton receptacles, this is 14 in-lbs. Use a calibrated torque screwdriver (like the Klein Tools 32500) to secure the wires. Under-tightened screws cause thermal expansion/contraction cycles that eventually lead to arcing and melted terminals.
Common Code Violations and Failure Modes
When inspectors evaluate a newly added outlet, they look for specific, common failure modes. Avoid these critical mistakes:
- Backstabbing (Push-In Connectors): Never use the push-in holes on the back of a standard 15A receptacle for 12 AWG wire (they physically won't fit) and avoid them entirely for 14 AWG. The spring-loaded contacts degrade over time, causing high-resistance connections and melted plastic backs. Always use the side screw terminals or the screw-clamp plates.
- Reversed Polarity: The black (hot) wire must connect to the brass screw, and the white (neutral) must connect to the silver screw. Reversing these leaves the internal circuitry of plugged-in appliances energized even when switched off, creating a severe shock hazard.
- Missing Grounding Pigtails: If you are using a metal electrical box, NEC 250.148 requires you to bond the equipment grounding conductor to the metal box using a green grounding screw or clip, in addition to grounding the receptacle itself.
- Over-stripping Wire: Strip exactly 3/4 inch of insulation using precision strippers like the Klein Tools 11055. Exposing too much bare copper past the screw terminal creates a shock hazard, while too little results in insulation being pinched under the screw, causing a high-resistance open circuit.
Frequently Asked Questions (FAQ)
Can I add a new outlet to a lighting circuit?
Generally, no. NEC Article 210.23 restricts mixing lighting and receptacle loads on the same branch circuit in many modern jurisdictions, particularly for kitchen, bathroom, and dedicated appliance circuits. Furthermore, lighting circuits are often wired with 14 AWG wire and 15A breakers, which may not provide adequate capacity for standard receptacle loads.
Do I need a permit to add new electrical outlet?
Yes. In almost all municipalities, extending an existing branch circuit to add a new receptacle requires an electrical permit and a final inspection. The U.S. Consumer Product Safety Commission (CPSC) strongly advises against unpermitted DIY electrical work, as it can void your homeowner's insurance in the event of an electrical fire.
What if my existing circuit has no ground wire?
If you are extending an older two-prong, ungrounded circuit, you cannot simply install a standard 3-prong receptacle. NEC 406.4(D) allows you to install a GFCI receptacle and label it "No Equipment Ground," but you cannot extend an ungrounded circuit to add new standard outlets. You must either run a new grounded circuit from the panel or retrofit a separate equipment grounding conductor back to the panel's grounding bar.