
The Unique Challenges of RV Electrical Systems
Replacing or upgrading an RV electrical wall outlet is not the same as swapping a receptacle in a stick-built home. Residential electrical systems are static, but an RV is a dynamic environment subjected to constant highway vibration, extreme thermal cycling (from -20°F winter storage to 120°F summer travel), and structural flexing. As of 2026, the widespread integration of high-capacity lithium battery banks and 3000W+ pure sine wave inverters means that RV AC outlets are frequently running near their maximum continuous load for extended periods, powering induction cooktops, space heaters, and medical devices.
Standard builder-grade outlets rely on backstabbed (push-in) connections that easily vibrate loose on the road, leading to arcing, melted faceplates, and severe fire hazards. According to the Recreation Vehicle Industry Association (RVIA), electrical connection failures remain a leading cause of RV interior fires. This guide details the exact tools, commercial-grade materials, and installation protocols required to build a vibration-proof, code-compliant RV electrical system.
Why Builder-Grade Outlets Fail in RVs
Most factory-installed RV receptacles are the lowest tier of residential builder-grade models. They fail in mobile environments for three primary reasons:
- Backstabbed Connections: The internal spring-loaded brass clips used in push-in wiring lose their tension under continuous micro-vibrations, increasing resistance and generating heat.
- Thermal Expansion Mismatch: Cheap thermoplastic bodies expand and contract at different rates than the copper wiring, slowly loosening terminal screws over seasonal temperature swings.
- Thin Contact Blades: Low-grade outlets have thin brass internal contacts that fail to grip the male prongs of heavy-duty RV appliance plugs securely, causing localized arcing.
Essential Materials for the RV Outlet Upgrade
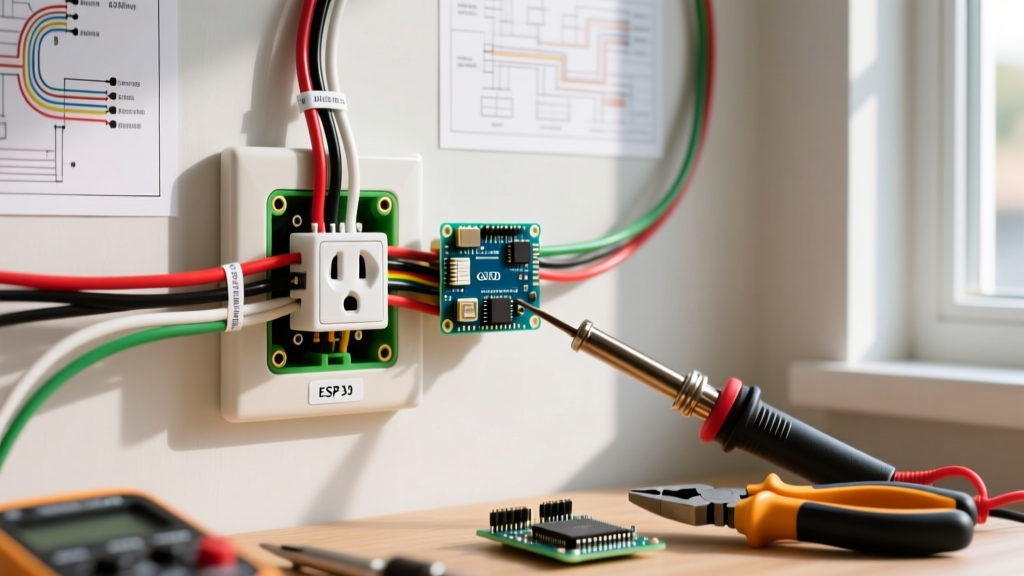
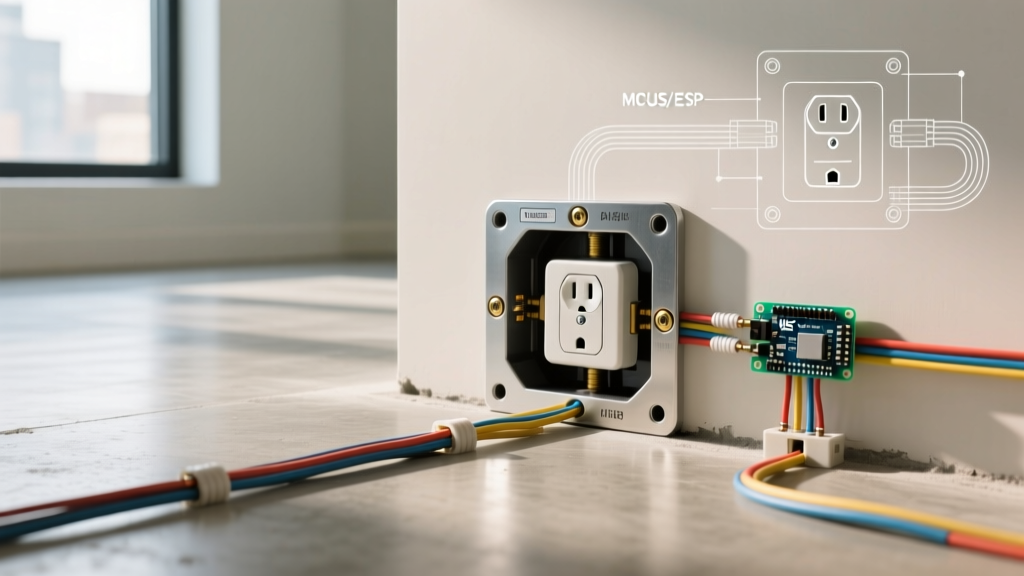
To ensure longevity and safety, you must abandon residential builder-grade components in favor of commercial and industrial specifications. Here is the exact bill of materials required for a professional-grade RV electrical wall outlet upgrade.
1. Commercial Specification Grade Receptacles
For standard 15-amp circuits, use the Leviton 5362 (Commercial Specification Grade). Priced around $4.50 per unit, it features a high-impact thermoplastic body, heavy-gauge brass contacts, and a unique auto-grounding clip that ensures a solid ground path even if the mounting box is compromised. For 20-amp GFCI circuits (kitchens and bathrooms), the Leviton 8280-W (20A GFCI) (approx. $28.00) offers a ruggedized internal mechanism designed to resist false tripping from generator power fluctuations.
2. Vibration-Proof Wire Connectors
Traditional twist-on wire nuts are notorious for loosening in RVs. The industry standard for mobile applications is now the Wago 221 Series Lever-Nut. Specifically, the 221-412 (2-conductor) and 221-413 (3-conductor) models. Priced at roughly $0.50 each, these transparent, UL-listed push-wire connectors use a clamping lever mechanism that maintains constant, gas-tight pressure on both solid and stranded wire, completely immune to road vibration.
3. Proper Wire and Pigtails
RVs typically use 14 AWG wire for 15A circuits and 12 AWG for 20A circuits. When creating pigtails to connect multiple outlets in a daisy-chain, always use stranded THHN copper wire rather than solid Romex. Stranded wire is vastly superior in flexing environments and resists metal fatigue from the movement of the RV walls and slide-outs.
The Professional RV Electrical Tool Kit
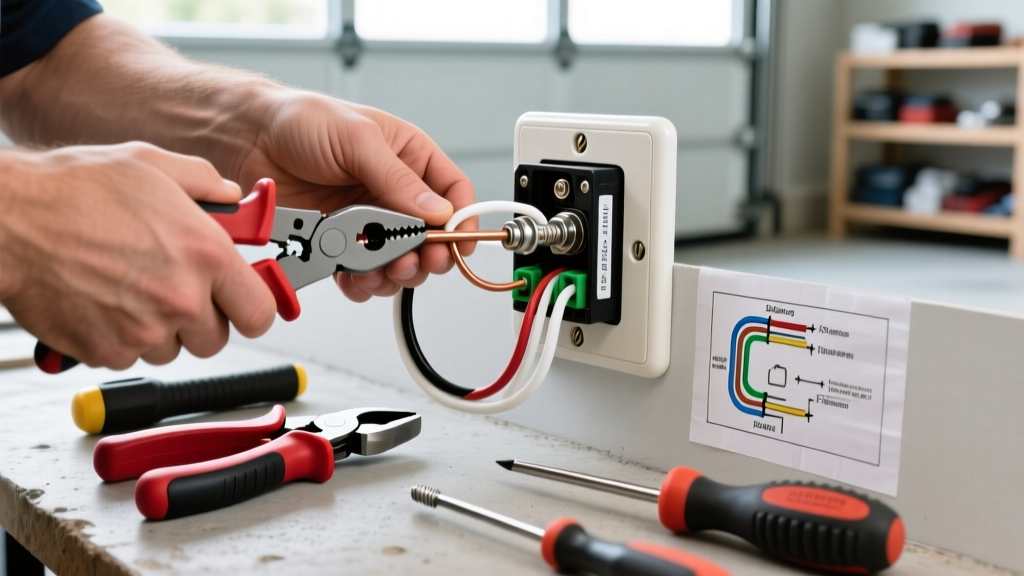
Executing a flawless outlet replacement requires precision tools. Do not rely on cheap multi-tools; improper stripping and termination cause the majority of post-installation failures.
Wire Stripping and Preparation
The Klein Tools 11057 (approx. $35.00) is the mandatory wire stripper for this job. It features dedicated, precision-machined holes for 10-18 AWG solid and 12-20 AWG stranded wire. Using the correct hole prevents nicking the copper conductor, which creates a weak point that will snap under vibration.
Testing and Diagnostics
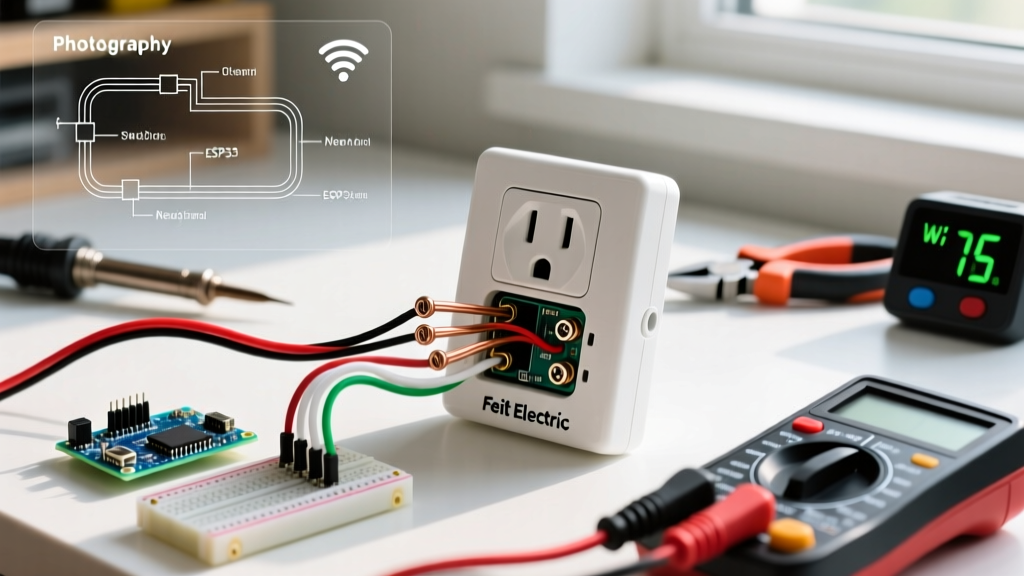
Before touching a single wire, verify the circuit is dead. The Fluke 117 True-RMS Multimeter (approx. $220.00) features VoltAlert non-contact voltage detection, allowing you to safely scan the outlet faceplate before removal. For post-installation verification, the Gardner Bender GDT-3190 receptacle tester checks for correct wiring, open grounds, and hot/neutral reversals, and includes a built-in button to test GFCI trip circuits.
Torque Control
The NFPA National Electrical Code (NEC) now strictly mandates torque verification for electrical terminations. A simple inch-pound torque screwdriver, such as the Wiha 645P set to 14 in-lbs (the standard specification for most 15A/20A receptacle terminal screws), ensures the wire is clamped tightly enough to prevent arcing, but not so tight that it shears the brass screw head or crushes stranded wire.
Material Comparison Matrix: Wire Connectors in Mobile Applications
| Connector Type | Vibration Resistance | Stranded Wire Compatibility | Reusability | Cost per Unit |
|---|---|---|---|---|
| Standard Twist-On Wire Nut | Poor (Loosens over time) | Fair (Requires pre-twisting) | No | $0.05 |
| Crimp Butt Splice | Excellent | Excellent | No (Destructive) | $0.20 |
| Wago 221 Lever-Nut | Excellent (Constant pressure) | Excellent (No pre-twist) | Yes (Lever release) | $0.50 |
Step-by-Step Installation Protocol
Follow this exact sequence to ensure your RV electrical wall outlet upgrade meets both safety standards and mobile durability requirements.
- Isolate Power: Turn off the specific branch circuit breaker at the RV main distribution panel. Verify zero voltage using the Fluke 117 multimeter across hot-to-neutral, hot-to-ground, and neutral-to-ground.
- Extract and Inspect: Remove the faceplate and unscrew the old receptacle. Pull it out gently. Inspect the existing Romex or THHN wiring for brittle insulation or heat discoloration. If the wire insulation is cracked, cut it back to clean copper.
- Strip and Prepare: Use the Klein 11057 to strip exactly 3/4 inch of insulation from the hot (black), neutral (white), and ground (bare/green) wires. Do not nick the copper.
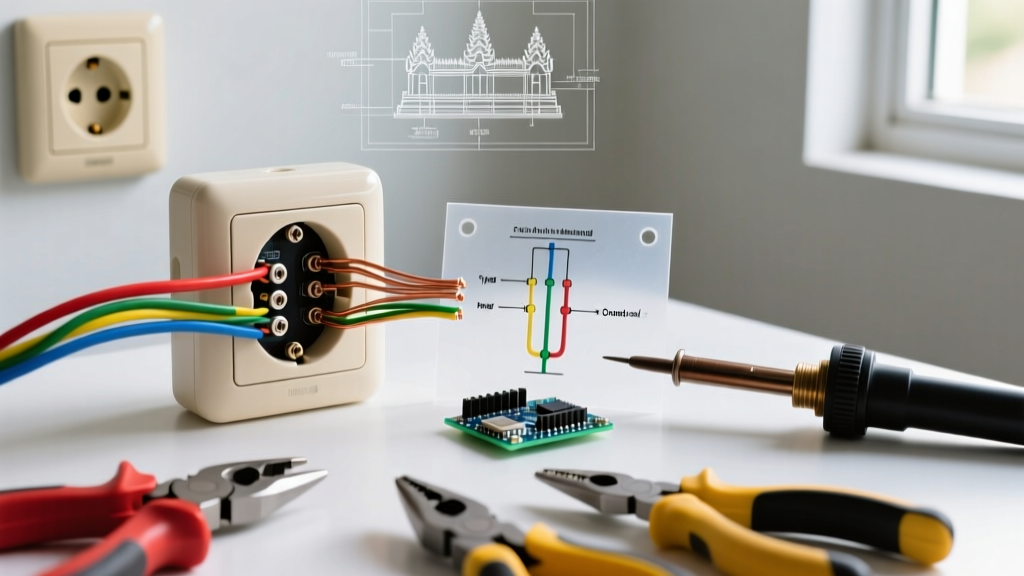
- Create Pigtails (If Daisy-Chained): If the outlet feeds downstream devices, use Wago 221-413 lever nuts to join the incoming wire, the outgoing wire, and a 6-inch stranded THHN pigtail. Ensure the lever snaps down completely and the wire is visible through the transparent housing.
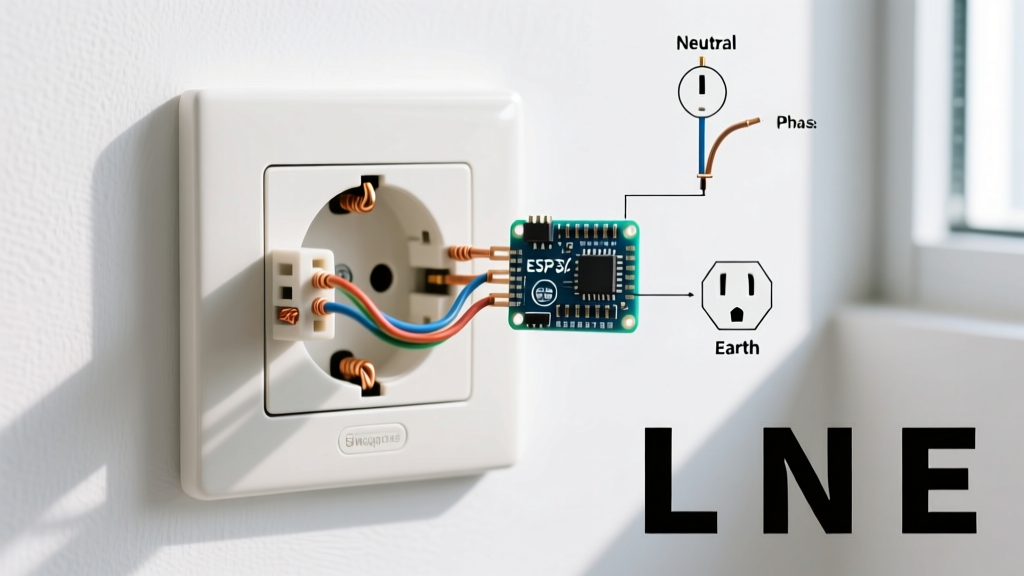
- Terminate at the Receptacle: Wrap the pigtail wire clockwise around the brass (hot) and silver (neutral) terminal screws. This ensures the screw pulls the wire loop tighter as it tightens. Never use the backstab holes.
- Apply Torque: Tighten the terminal screws using your torque screwdriver set to 14 in-lbs. Secure the ground wire to the green screw with the same torque.
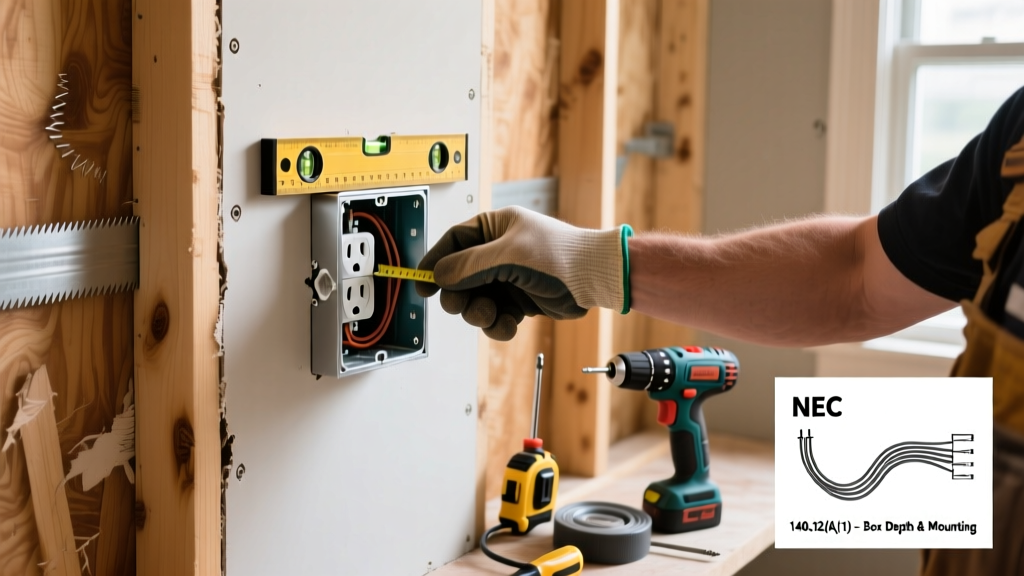
- Secure and Test: Push the wires neatly into the back of the junction box, being careful not to pinch them against sharp metal edges. Mount the Leviton 5362 receptacle, install the faceplate, restore power, and verify functionality with the Gardner Bender GDT-3190 tester.
Pro-Tip for Slide-Out Outlets: Outlets located in RV slide-outs are subjected to extreme wire flexing every time the room is extended or retracted. Always leave a generous service loop (at least 8 inches) of stranded wire in the wall cavity behind these specific outlets to prevent the conductors from pulling taut and tearing away from the terminal screws.
Code Compliance and Final Safety Checks
When modifying an RV electrical system, adherence to established codes is non-negotiable for both safety and insurance validity. The NEC Article 551 specifically governs Recreational Vehicles, outlining strict requirements for GFCI protection in areas near water sources and exterior outlets. Furthermore, the RVIA mandates that all 120-volt AC outlets in RVs must be grounded and properly polarized.
By upgrading from brittle, backstabbed builder-grade units to commercial-grade Leviton receptacles terminated with Wago lever connectors and verified with precision torque tools, you eliminate the most common points of failure in mobile electrical systems. This investment in premium materials and proper technique ensures your RV electrical wall outlets will safely handle the demanding power requirements of modern off-grid and highway travel for years to come.