
Why Upgrade Your Electrical Outlets?
Upgrading aging or damaged electrical receptacles is one of the most impactful safety improvements you can make in a residential or commercial space. According to the National Fire Protection Association (NFPA), electrical failures and malfunctions are a leading cause of home fires, often stemming from degraded connections, outdated non-grounded receptacles, or the absence of modern safety shutters. If you are asking yourself, "how do you install a electrical outlet safely and to modern code standards?", this upgrade and replacement guide provides the exact technical specifications, tool requirements, and step-by-step procedures needed for a 2026-compliant installation.
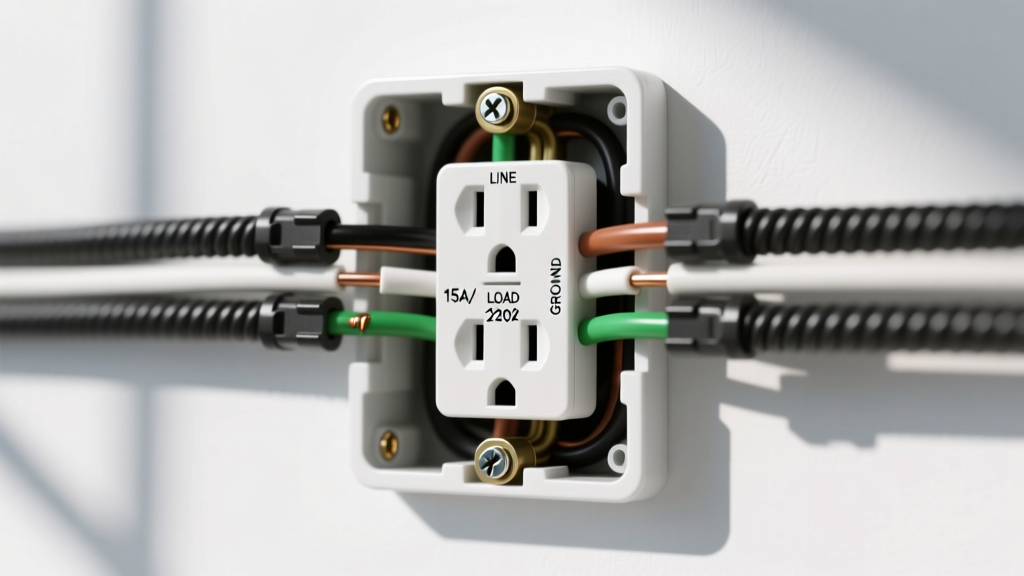
Many older homes still feature standard duplex receptacles that rely on push-in "backstab" connectors. Over years of thermal cycling (heating and cooling under load), the internal spring contacts in these push-in terminals lose tension. This creates high electrical resistance, leading to arcing, melted plastic housings, and eventual circuit failure. Upgrading to modern, side-wired or back-wired clamp Tamper-Resistant (TR) receptacles eliminates this failure mode entirely.
Choosing the Right Receptacle for Your Upgrade
Before beginning any wiring work, you must select a receptacle that matches your branch circuit's amperage and your specific use case. The Electrical Safety Foundation International (ESFI) mandates that all 15A and 20A, 125V and 250V non-locking receptacles in residential dwellings be Tamper-Resistant (TR) to prevent childhood shock hazards from foreign object insertion.
| Receptacle Type | Model Example | Amp Rating | Wire Gauge | Avg. Price (2026) |
|---|---|---|---|---|
| Standard 15A TR Duplex | Leviton T5320-W | 15A | 14 AWG | $2.80 - $3.50 |
| Standard 20A TR Duplex | Leviton T5262-W | 20A | 12 AWG | $3.50 - $4.50 |
| USB-C / USB-A Combo TR | Leviton T5633 | 15A | 14/12 AWG | $32.00 - $38.00 |
| 20A GFCI (Wet Locations) | Leviton GFNT2-W | 20A | 12 AWG | $18.00 - $24.00 |
Essential Tools for a Code-Compliant Installation
Professional electricians do not rely on guesswork. To ensure a safe, long-lasting connection that passes inspection, you need the following specific tools:
- Non-Contact Voltage Tester: Klein Tools NCVT-3 (Dual-range AC/DC, approx. $35). Essential for verifying the circuit is dead before touching any bare copper.
- Digital Multimeter: Fluke 117 or Klein Tools MM400 for confirming zero voltage between hot, neutral, and ground.
- Wire Strippers: Klein Tools 11055 (10-18 AWG) to ensure clean insulation removal without nicking the copper conductor.
- Torque Screwdriver: Gardner Bender or Klein Tools insulated torque driver. Modern NEC codes strictly require terminal screws to be tightened to manufacturer specifications.
- Insulated Screwdrivers: Milwaukee 48-22-3508 set (1000V rated) for terminal and yoke screw manipulation.
Step-by-Step: How Do You Install a Electrical Outlet?
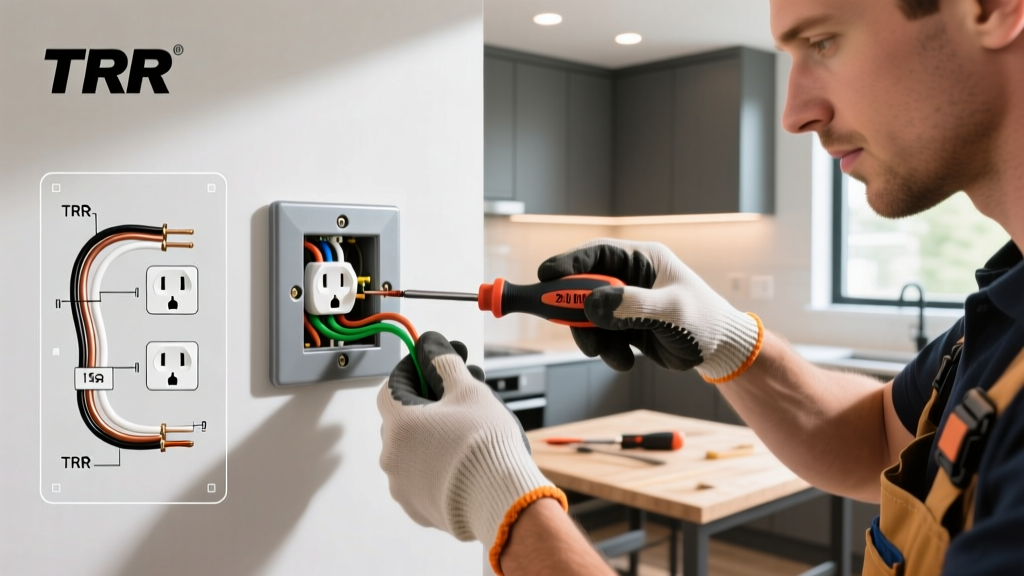
Follow this precise workflow to replace an old receptacle with a modern TR upgrade. This procedure assumes you are working on a standard 15A or 20A 120V branch circuit with a grounding conductor present.
Phase 1: Safety Verification and Extraction
- Kill the Power: Turn off the corresponding breaker at the main service panel. Place a piece of tape over the breaker to prevent accidental re-energization.
- Test for Voltage: Insert the Klein NCVT-3 into the slots of the existing outlet. The LED must remain green (no voltage detected). Follow up by testing between the hot (short slot) and neutral (long slot), and hot to ground (round hole) using your multimeter. It must read 0.0V.
- Remove the Old Device: Unscrew the faceplate and the two yoke mounting screws. Gently pull the receptacle out of the gang box.
- Inspect the Conductors: Look for heat damage, melted insulation, or brittle cloth-braided wiring. If the insulation is crumbling, stop. You must sleeve the wire with 3M heat-shrink tubing or call a licensed electrician to rewire the branch.
Phase 2: Conductor Preparation and Termination
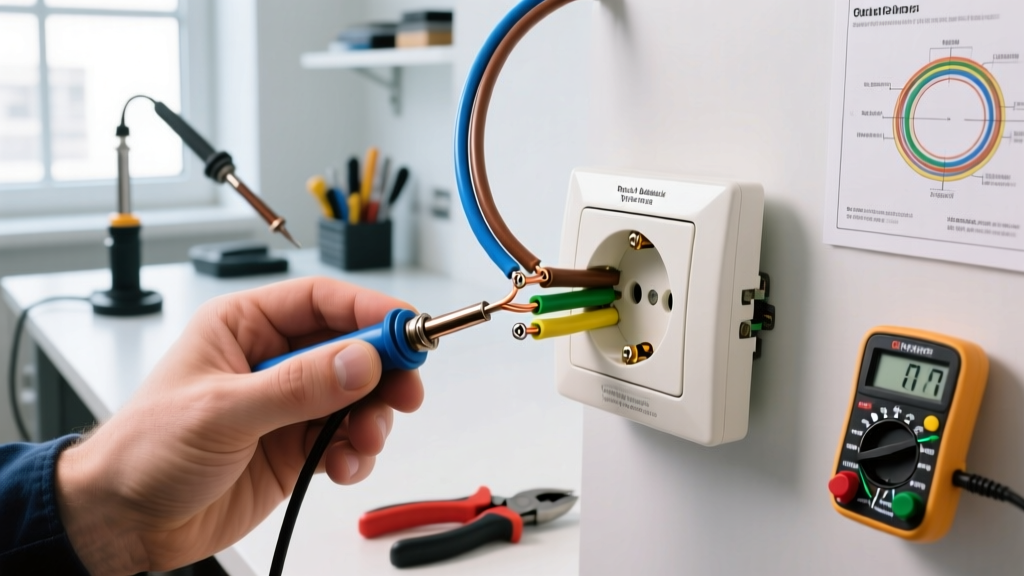
- Cut and Strip: If the existing copper wires are scored, oxidized, or previously backstabbed, snip the ends off with lineman's pliers. Strip exactly 5/8-inch of insulation using the Klein 11055 strippers. Do not strip more, or bare copper will be exposed outside the terminal.
- Form the J-Hook: Use needle-nose pliers to bend the stripped copper into a tight, 180-degree J-hook. This ensures maximum surface area contact under the screw head.
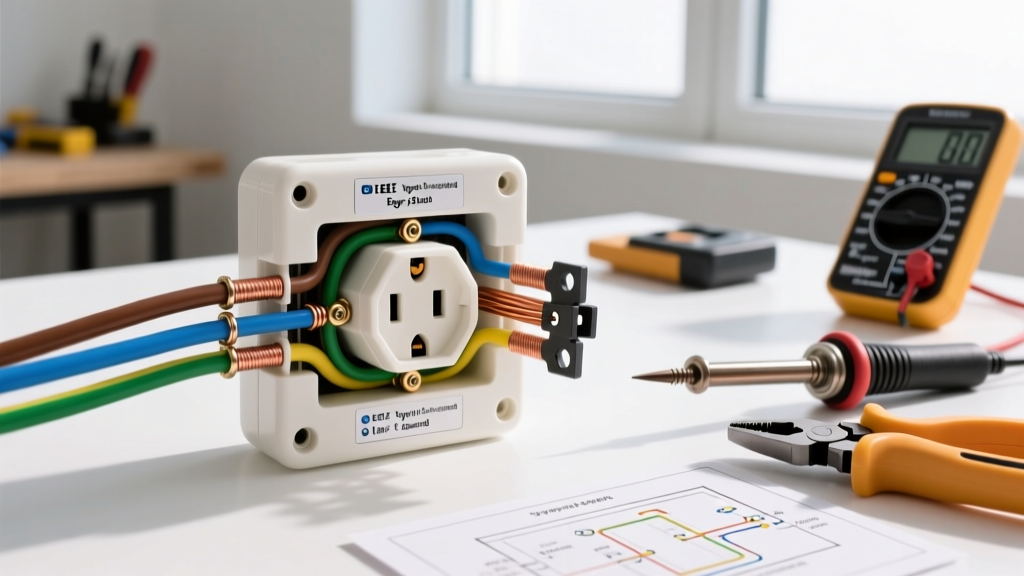
- Terminate to Side Screws: Loop the J-hook clockwise around the brass (hot) and silver (neutral) terminal screws. As you tighten the screw clockwise, the loop will naturally pull tighter around the shaft. A counter-clockwise loop will be pushed out from under the screw head, creating a catastrophic failure point.
- Apply Correct Torque: This is where most DIYers fail. According to NEC Article 110.14(D), electrical connections must be torqued to the manufacturer's specified values. For most Leviton and Eaton residential receptacles, the terminal screws require exactly 14 in-lbs of torque. Use your torque screwdriver until it clicks.
- Secure the Ground: Form a J-hook with the bare copper ground wire and terminate it clockwise under the green grounding screw. Torque to 14 in-lbs.
NEC Code Alert: Never use the "push-in" backstab holes on the back of a standard receptacle for a permanent upgrade. While technically permitted by UL for 14 AWG wire, the spring-loaded contacts are notorious for loosening over time due to thermal expansion and contraction, leading to high-resistance arcing faults. Always use the side-binding screw terminals or the internal screw-clamp back-wiring plates.
Phase 3: Securing and Testing
- Fold and Mount: Carefully fold the wires back into the gang box. Push the receptacle flush against the wall and secure it with the provided 6-32 mounting screws. Ensure the yoke is level.
- Install Faceplate: Attach the new nylon faceplate. Do not overtighten the faceplate screws, as this can crack the nylon or warp the internal TR shutters, preventing plugs from inserting.
- Restore and Verify: Turn the breaker back on. Use a receptacle tester (like the Klein Tools RT210) to confirm correct wiring. The tester should display two amber lights, indicating "Correct" wiring. If it shows "Open Ground" or "Hot/Neutral Reverse," turn the power back off and re-inspect your terminations.
Common Upgrade Failure Modes & Troubleshooting
Even with careful installation, upgrades in older homes can present unique challenges. Here is how to troubleshoot common edge cases:
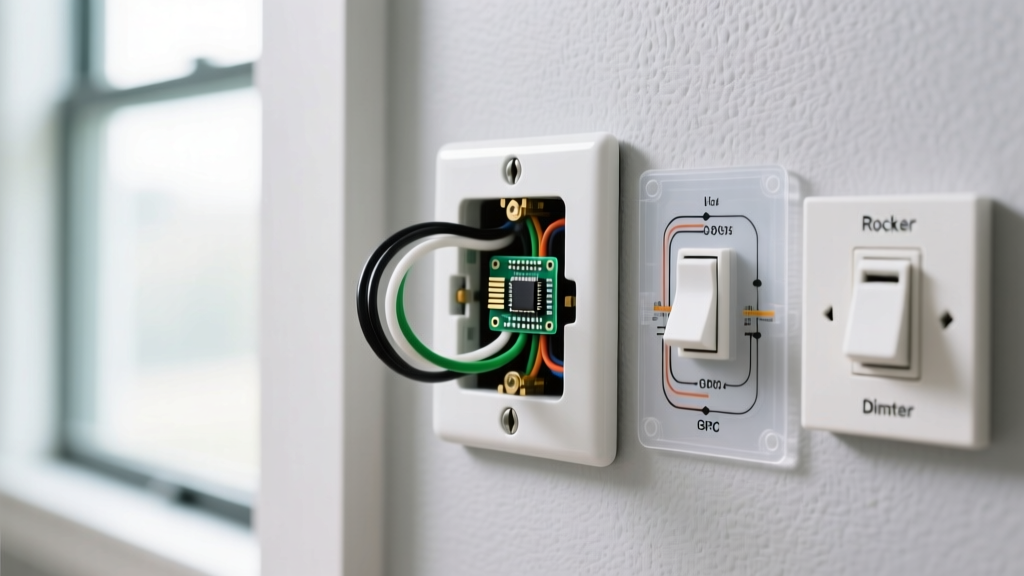
- Short Yoke / Shallow Box: If you are upgrading to a USB-C receptacle (like the Leviton T5633), note that the internal electronics make the device body significantly deeper (approx. 1.6 inches) than a standard duplex. If your gang box is shallow (less than 2.5 inches deep), the wires will be severely crushed. You must install a box extender or replace the gang box with a deep 22.5 cubic-inch remodel box.
- Multi-Wire Branch Circuits (MWBC): If you open the box and find two hot wires (one black, one red) connected to the old receptacle's brass tabs, you have an MWBC. You must break the brass fin (the small metal tab between the top and bottom hot screws) on your new receptacle using lineman's pliers. Failing to break this tab on an MWBC will cause a dead short between the two 120V legs, resulting in a violent breaker trip and potential arc flash.
- Pigtailing Requirements: If the outlet you are replacing has two sets of hot, neutral, and ground wires (indicating it is in the middle of a daisy-chained circuit), do not stack two wires under a single terminal screw. Instead, use Wago 221-413 lever nuts or Ideal 3M cold-press connectors to pigtail the wires. Create a single jumper wire from the wire nut to the receptacle terminal.
Frequently Asked Questions
How do you install a electrical outlet in an older home with cloth wiring?
If you encounter cloth-braided or early rubber-insulated wiring, the insulation is often brittle and will crack when bent. Do not strip this wire with standard mechanical strippers, as you will likely sever the copper strands. Instead, carefully push the cloth insulation back, clean the copper with a Scotch-Brite pad, and apply a piece of 3M heat-shrink tubing over the exposed wire near the terminal to act as modern insulation. If the wire is too short to reach the new receptacle, you must install a junction box extension or hire an electrician to pull new THHN conductors through the walls.
Can I upgrade a 15A outlet to a 20A outlet for my power tools?
No. You cannot simply swap a 15A receptacle for a 20A receptacle unless the branch circuit wiring is 12 AWG copper and the breaker is rated for 20A. If your walls contain 14 AWG wire (typically sheathed in white Romex/NM-B), the maximum breaker and receptacle rating is 15A. Installing a 20A receptacle on a 14 AWG / 15A breaker circuit is a code violation and masks the circuit's true capacity, though it will not immediately cause a fire. However, installing a 20A breaker on 14 AWG wire is a severe fire hazard.
Do I need an AFCI or GFCI receptacle for my upgrade?
It depends on the location. Under the latest NEC guidelines, GFCI (Ground Fault Circuit Interrupter) protection is required in all wet or damp locations, including kitchens, bathrooms, garages, outdoors, and within 6 feet of a sink. AFCI (Arc Fault Circuit Interrupter) protection is required in almost all living spaces, including bedrooms, living rooms, and hallways. If your main panel already features AFCI/GFCI breakers for these circuits, you can install standard TR receptacles at the wall. If the panel has standard breakers, you must upgrade the first receptacle in the daisy-chain to an AFCI or GFCI model to protect the downstream devices.