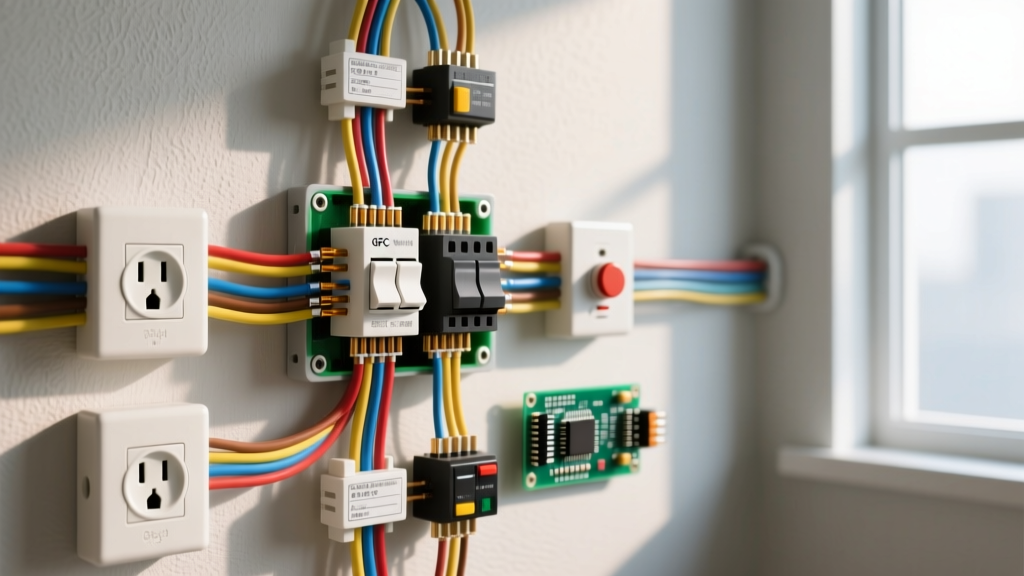

The Inspector’s Perspective: Why Outlet Covers Matter
When homeowners ask how to cover electrical outlet receptacles, they usually think of a simple cosmetic upgrade. However, from an electrical inspection and testing standpoint, the cover plate is a critical safety boundary. According to the National Fire Protection Association (NFPA), the National Electrical Code (NEC) strictly regulates faceplates to prevent exposure to live parts, ensure proper grounding continuity, and mandate weatherproofing in specific environments. Failing to install the correct cover, or installing it improperly, is one of the most common reasons for failed residential electrical inspections.
This guide approaches outlet covering not as a basic DIY chore, but as a formal inspection and testing procedure. We will cover pre-installation diagnostics, NEC-compliant material selection, precise torque specifications, and post-installation verification to ensure your receptacles are safe, code-compliant, and built to last.
Pre-Cover Diagnostic Testing (Do This First)
Before you even unbox your new cover plates, you must verify the electrical integrity of the receptacle and the junction box. Once the cover is on, troubleshooting becomes significantly harder.
1. Voltage and Polarity Verification
Use a premium receptacle tester like the Klein Tools RT250 (approx. $35) or a True-RMS multimeter like the Fluke 117 (approx. $200). You are checking for:
- Correct Polarity: Ensure the hot (black) is on the brass screw and neutral (white) is on the silver screw. Reversed polarity is a severe shock hazard that a cover plate will hide.
- Ground Continuity: Verify the equipment grounding conductor (EGC) is active. If you are installing a metal cover plate on a metal box, the cover itself becomes part of the grounding path.
- GFCI/AFCI Functionality: Press the TEST button on the receptacle. If the internal mechanism is stiff or failing, replace the device before covering it.
2. Box Fill and Protrusion Inspection
NEC Article 314.24 dictates strict box fill calculations. If wires are jammed into the back of the box, they can press against the terminal screws, potentially loosening them over time. Furthermore, NEC 406.5 requires that the receptacle face be flush with the cover plate. If the box is set too deep in the drywall (more than 1/4 inch recessed), you must install a box extender ring (like the Arlington Industries BE1) before applying the cover plate to prevent exposed live parts inside the wall cavity.
Selecting the Right Cover: NEC Compliance Matrix
Choosing the wrong cover plate type is an automatic inspection failure. The table below outlines the specific cover types required for different environments based on current NEC standards.
| Cover Type | Material / NEMA Rating | NEC Code Reference | Application & Inspector Notes |
|---|---|---|---|
| Standard Indoor Faceplate | Polycarbonate / Nylon (NEMA 1) | NEC 406.5 | Dry, indoor locations only. Must be unbroken and fit flush. Nylon is preferred over PVC as it resists cracking when over-torqued. |
| Weatherproof 'In-Use' | Die-Cast Aluminum / Polycarbonate Bubble (NEMA 3R) | NEC 406.9(A) | Outdoor and damp locations. Must remain weatherproof even when a cord is plugged in. Hubbell WP1055 series is an industry standard. |
| Blank / Dead Front Plate | Polycarbonate or Steel | NEC 110.12, 314.25 | Used for abandoned junction boxes or capped-off circuits. No holes or open knockouts are permitted. |
| Tamper-Resistant (TR) | Internal Shutter Mechanism | NEC 406.12 | Mandatory in all 15A and 20A, 125V/250V residential receptacles. The cover plate must not interfere with the shutter operation. |
Inspector's Note on Tamper-Resistant Receptacles: According to the Electrical Safety Foundation International (ESFI), TR receptacles feature internal shutters that only open when equal pressure is applied to both slots simultaneously. When covering these outlets, ensure the faceplate opening is perfectly aligned; a misaligned plate can bind the shutter mechanism, rendering the outlet unusable or forcing users to bypass the safety feature.
Step-by-Step Installation & Torque Specifications
Proper mechanical execution (NEC 110.12) requires more than just driving screws until they stop. Over-tightening is the leading cause of cracked polycarbonate faceplates and stripped device yokes.
Step 1: Prepare the Device Yoke
If the receptacle is loose in the box, remove the 'plaster ears' (the scored metal tabs on the top and bottom of the yoke) using needle-nose pliers. This allows the device to sit perfectly flat against the box ears, preventing the cover plate from cracking when tightened against an uneven surface.
Step 2: Align and Seat the Plate
For multi-gang boxes (2, 3, or 4 outlets side-by-side), alignment is critical. Use a 2-foot torpedo level to ensure the plates are perfectly horizontal. If the boxes are slightly misaligned in the wall, use oversized 'jumbo' or 'mid-size' cover plates (e.g., Leviton 427 series) to hide drywall gaps, rather than forcing the plate out of square.
Step 3: Apply Precise Torque
Most standard 6-32 cover plate screws require between 6 and 8 inch-pounds (in-lbs) of torque. Using a standard screwdriver often applies 15+ in-lbs, which induces micro-fractures in nylon plates. These fractures expand with seasonal temperature changes, eventually snapping the plate. For professional results, use a calibrated torque screwdriver like the Wiha 320P (approx. $85) set to the manufacturer's specification.
Post-Cover Verification & Troubleshooting
Once the cover is installed, the inspection is not complete. You must perform post-cover testing to ensure the physical installation hasn't compromised the electrical function.
- The 'Plug-Pull' Test: Insert a heavy-duty plug (like a 14AWG extension cord) and pull it straight out. The cover plate should not flex, lift, or pull away from the wall. If it does, the device yoke is not properly secured to the box, or the drywall behind the box is crumbling.
- GFCI Clearance Check: On GFCI outlets, ensure the cover plate is not pressing against the 'TEST' or 'RESET' buttons. Deep-bezel weatherproof covers sometimes exert constant pressure on these buttons, causing nuisance tripping or preventing the device from resetting.
- Thermal Imaging (Advanced): For high-load circuits (e.g., kitchen countertop receptacles powering microwaves or air fryers), use a thermal camera like the FLIR ONE after running a load for 15 minutes. Check the perimeter of the cover plate. Hot spots indicate loose terminal connections underneath the plate that are generating resistive heat.
Top 5 Outlet Cover Inspection Failures (And How to Avoid Them)
Based on field data and U.S. Consumer Product Safety Commission (CPSC) hazard reports, here are the most frequent edge cases and failures encountered during outlet cover inspections:
- Paint on the Contacts or Screws: Painters often tape over outlets poorly, allowing paint to seep into the receptacle slots or coat the cover plate screws. Paint is an insulator; on a metal cover plate screwed into a grounded metal box, paint on the screw threads breaks the grounding continuity. Fix: Always mask carefully and scrape any paint from screw threads before installation.
- Using Indoor Plates in Damp Locations: Installing a standard nylon faceplate in a bathroom splash zone or an unfinished basement violates NEC 406.9. Moisture ingress leads to corrosion on the brass terminal screws. Fix: Use NEMA 3R rated weatherproof covers with integrated gaskets in any area subject to moisture.
- Missing Faceplate Screws: Leaving one screw out of a duplex cover plate because the threaded hole on the receptacle yoke is stripped. This leaves the plate loose and exposes the inner wiring cavity. Fix: Use a 6-32 threaded yoke repair tap to clean the threads, or replace the receptacle entirely.
- Cracked or Chipped Plates: Even a hairline crack is an inspection failure, as it compromises the dielectric insulation barrier and allows dust/moisture ingress. Fix: Never use superglue to repair a cracked electrical faceplate. Replace it immediately.
- Improper Gasket Sealing on Exterior Covers: When installing 'in-use' bubble covers outdoors, inspectors will check the top and sides for a continuous bead of silicone caulk. The bottom edge must remain unsealed to allow condensation to weep out. Sealing all four sides traps water inside the cover. Fix: Apply GE Silicone II to the top and side flanges only.
Final Thoughts on Outlet Safety
Understanding how to cover electrical outlet receptacles correctly bridges the gap between a cosmetic finish and a life-saving safety barrier. By treating the cover plate installation as a formal step in your testing and inspection workflow—verifying polarity, respecting torque limits, and matching NEMA ratings to the environment—you ensure long-term reliability and strict NEC compliance. Always prioritize high-quality polycarbonate or die-cast materials over brittle, budget-grade PVC, and never skip the pre-cover diagnostic tests.