
Navigating the Complexities of Roman Electrical Infrastructure
If you are troubleshooting a Rome Italy electrical outlet, you are likely dealing with a frustrating collision of modern 230V appliances, mid-century wiring practices, and unique national standards. Unlike the standardized NEMA outlets in North America or the universal BS 1363 sockets in the UK, Italy operates on the CEI 23-50 standard. This means you will frequently encounter the proprietary Type L (Italian 3-pin in-line) socket, alongside the European Type F (Schuko), and increasingly, hybrid "bipasso" receptacles designed to accept both.
For expats, digital nomads, and electrical DIYers living in or renovating historic Roman palazzi, understanding the exact pinout, load limitations, and grounding mechanics of these outlets is critical. A misdiagnosed fault can lead to melted plugs, damaged switching power supplies, or persistent tripping of the main residual current device (RCD). This guide provides deep-dive diagnostic procedures, exact measurements, and actionable repair strategies for Italian 230V/50Hz receptacle systems as of 2026.
The Roman Receptacle Ecosystem: Type L vs. Type F
Before pulling out a multimeter, you must identify the specific socket variant you are diagnosing. According to the International Electrotechnical Commission (IEC), Italy primarily utilizes the Type L standard, though Schuko (Type F) has become heavily integrated into modern renovations. The physical dimensions dictate the maximum safe current draw, which is the root cause of 80% of outlet-related failures in older Roman apartments.
| Standard | Pin Configuration | Pin Spacing & Diameter | Max Current / Wattage (230V) | Required Wire Gauge |
|---|---|---|---|---|
| Type L (10A) | 3 in-line pins | 19mm spacing / 4.0mm diameter | 10A / 2,300W | 1.5mm² (14 AWG) |
| Type L (16A) | 3 in-line pins | 26mm spacing / 5.0mm diameter | 16A / 3,680W | 2.5mm² (12 AWG) |
| Type F (Schuko) | 2 round pins + side earth | 19mm spacing / 4.8mm diameter | 16A / 3,680W | 2.5mm² (12 AWG) |
| Hybrid (Bipasso) | Accepts 10A, 16A, & Schuko | Variable slot geometry | 16A / 3,680W (rated) | 2.5mm² (12 AWG) |
Diagnosing the 10A vs. 16A Thermal Runaway
The most common and dangerous failure mode when troubleshooting a Rome Italy electrical outlet is the thermal meltdown of 10A sockets. In older buildings, high-draw appliances like hair dryers, space heaters, and kettles (often rated at 2,000W to 2,400W) are plugged into 10A Type L sockets. While 2,400W technically falls within the 2,300W-2,500W theoretical limit of a 10A/16A borderline, the continuous draw generates immense heat.
Identifying Thermal Damage
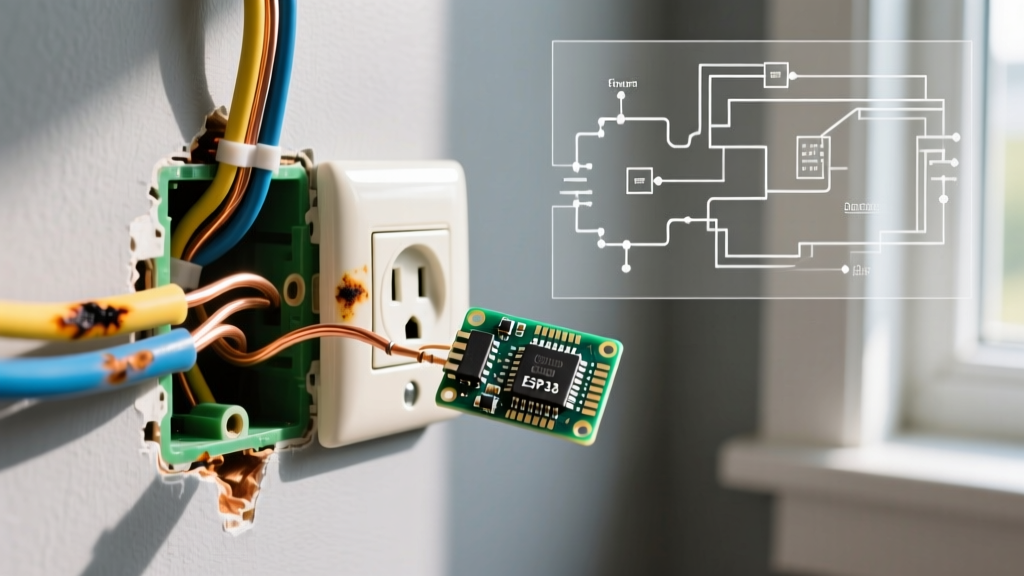
Inspect the socket faceplate. If the thermoplastic polymer (often older urea-formaldehyde or early PVC) shows yellowing, micro-fractures around the pin slots, or a distinct acrid odor, the internal brass contacts have lost their spring tension. This loss of tension increases contact resistance, creating a localized arc and thermal runaway.
CRITICAL SAFETY WARNING: Never use a "Schuko to 10A Type L" adapter for appliances drawing over 1,800W. The 10A wall socket and its 1.5mm² back-wiring are physically incapable of dissipating the heat generated by a 16A continuous load, creating a severe fire hazard inside the wall cavity.
The Fix: Upgrading to Hybrid Bipasso
If you diagnose a melted 10A socket, do not simply replace it with another 10A unit. Upgrade to a modern hybrid bipasso or Schuko-compatible socket, such as the Bticino Living Now or Vimar Arké series (retailing between €14 and €22 per module in 2026). However, you must verify the back-box wiring. If the wall cavity contains 1.5mm² wire, you must derate the circuit breaker in the main panel from 16A down to 10A to protect the wire, even if the new socket is rated for 16A.
Troubleshooting the "Salvavita" (RCD) Trips
In Italy, the Residual Current Device (RCD) is colloquially known as the salvavita (lifesaver). Functionally identical to a North American GFCI breaker but located at the main panel rather than the receptacle, the salvavita is typically rated to trip at a 30mA (0.03A) leakage threshold. The Electrical Safety Foundation International (ESFI) notes that ground-fault protection devices of this sensitivity are critical for preventing lethal ventricular fibrillation, but they are notoriously sensitive to cumulative leakage.
Why the Salvavita Keeps Tripping
If your Rome Italy electrical outlet seems fine, but plugging in a device instantly kills power to the entire apartment, you are dealing with an RCD trip. This is rarely a fault of the outlet itself, but rather a ground leakage issue. Common culprits in Roman apartments include:
- Cumulative Leakage: Modern switching power supplies (laptops, LED drivers) contain Y-capacitors that intentionally leak 1-2mA to ground. If you have 15 devices plugged in across the apartment, you may hit 25mA of baseline leakage. Plugging in one more device pushes it over the 30mA threshold.
- Moisture Ingress in Wet Rooms: Older bathrooms in Rome often lack proper IP44-rated splash guards. Condensation inside the socket creates a micro-bridge between the Line and Earth pins.
- Degraded Appliance Heating Elements: Washing machines and electric water heaters (scaldabagno) develop micro-fractures in their heating coils, leaking current into the water and triggering the RCD.
Diagnostic Procedure for RCD Faults
- Unplug every single device in the apartment. Do not just turn them off; physically remove the plugs.
- Reset the salvavita in the main panel.
- Plug devices back in one by one, waiting 30 seconds between each.
- When the RCD trips, the last device plugged in is the primary fault, or the specific outlet it was plugged into has a Line-to-Earth short.
Step-by-Step Multimeter Testing on Type L Sockets
When diagnosing a dead or erratic Rome Italy electrical outlet, you must understand the specific pinout of the Type L socket. Unlike Schuko or NEMA sockets where Earth is offset, the center pin of a Type L socket is always Earth. The outer pins are Line (Phase) and Neutral. Note that Italian wiring historically did not enforce strict polarity on the outer pins, meaning Line and Neutral can be reversed depending on how the electrician wired the plug.
Expected Voltage Readings (230V Nominal)
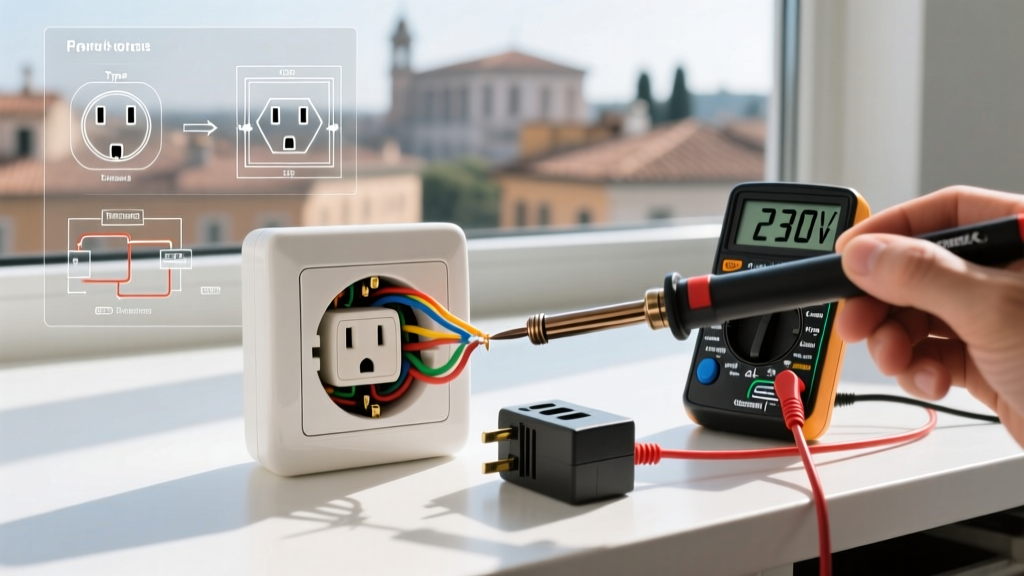
Set your digital multimeter to AC Voltage (V~), ensuring the range is set to at least 300V. Insert the probes into the socket:
- Line to Neutral (Outer pins): Should read between 218V and 242V. (The European harmonized standard allows a ±10% tolerance on 230V).
- Line to Earth (Outer pin to Center pin): Should read ~230V. If this reads 0V, you have an open ground fault or a broken earth wire in the backbox.
- Neutral to Earth (Outer pin to Center pin): Should read between 0V and 2V. If this reads >5V, you have a shared neutral issue, a loose neutral connection at the panel, or high harmonic distortion on the grid.
Identifying Legacy Wiring Colors
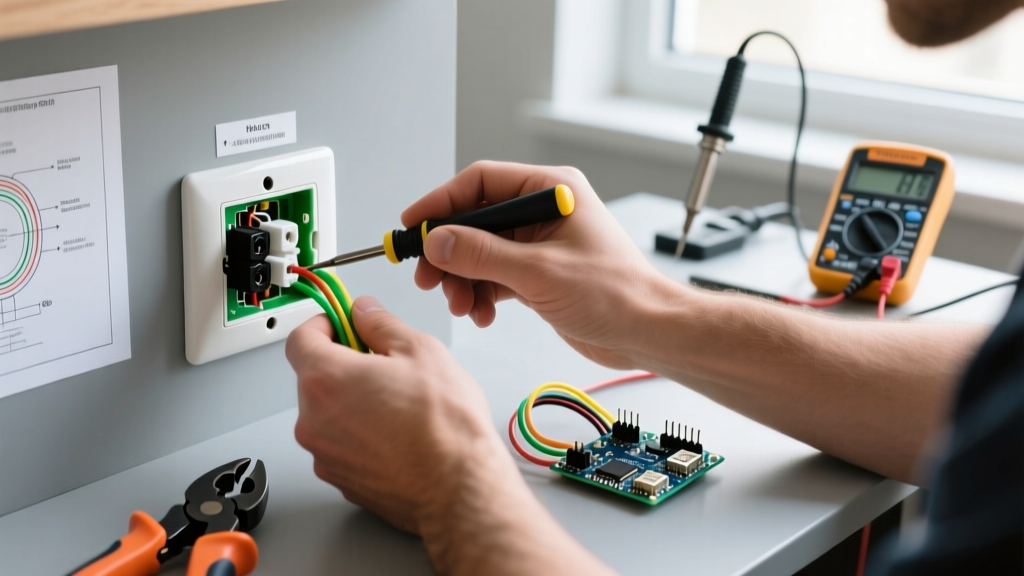
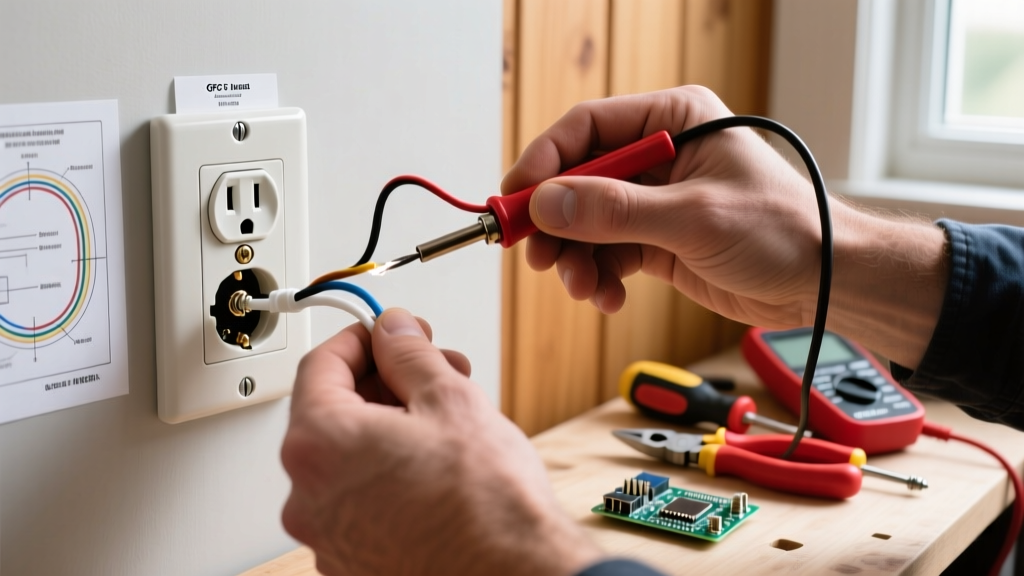
When you remove the faceplate to check terminal torque, be prepared for non-standard wire colors. While modern CEI standards dictate Brown (Line), Blue (Neutral), and Yellow/Green (Earth), apartments built in Rome between 1950 and 1980 frequently feature Black (Line), Grey or White (Neutral), and Bare Copper or Red (Earth). Always verify with a non-contact voltage tester or multimeter before touching terminals.
Upgrading Outlets in Historic Roman Buildings
If your diagnosis concludes that the outlet is mechanically failed, replacing it requires understanding Italian flush-mounted boxes (scatole da incasso). Unlike the large rectangular gang boxes used in the US, Italian outlets are mounted in modular, rectangular backboxes embedded directly into the masonry or plaster.
The 3-Module vs. 4-Module System
Most standard single outlets in Rome utilize a 3-module backbox. If you want to upgrade to a socket that includes integrated USB-C PD (Power Delivery) charging ports—a highly requested feature in 2026 renovations—you will likely need to chisel out the plaster to install a wider 4-module or 5-module box. Brands like Bticino and Vimar offer snap-in modular components. You simply strip the 1.5mm² or 2.5mm² wires, insert them into the quick-connect or screw terminals of the individual modules, and snap the modules into the mounting rail.
Final Torque and Safety Check
Before snapping the decorative faceplate on, ensure the terminal screws are torqued to the manufacturer's specification (typically 0.5 to 0.8 Nm for standard receptacle terminals). Loose connections in 230V systems cause arcing, which will quickly destroy the socket and pose a severe fire risk. Once assembled, use a dedicated Italian-standard receptacle tester to verify that the center Earth pin is properly bonded to the building's grounding rod or structural rebar network.