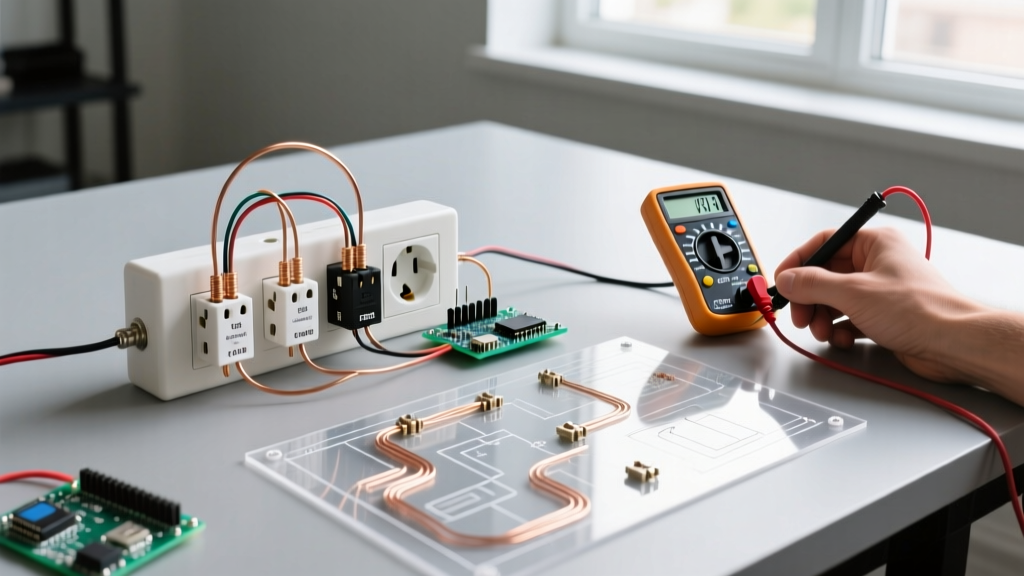

Why Integrate Power Into Custom Furniture?
Building custom furniture is a highly rewarding DIY endeavor, but integrating electrical components elevates the project from simple woodworking to a functional, modern smart-home asset. A side table with electrical outlet capabilities solves the persistent problem of lamp placement and device charging without relying on hazardous, code-violating extension cords. However, treating a movable piece of furniture like a fixed structural wall is a common beginner mistake that leads to severe safety hazards.
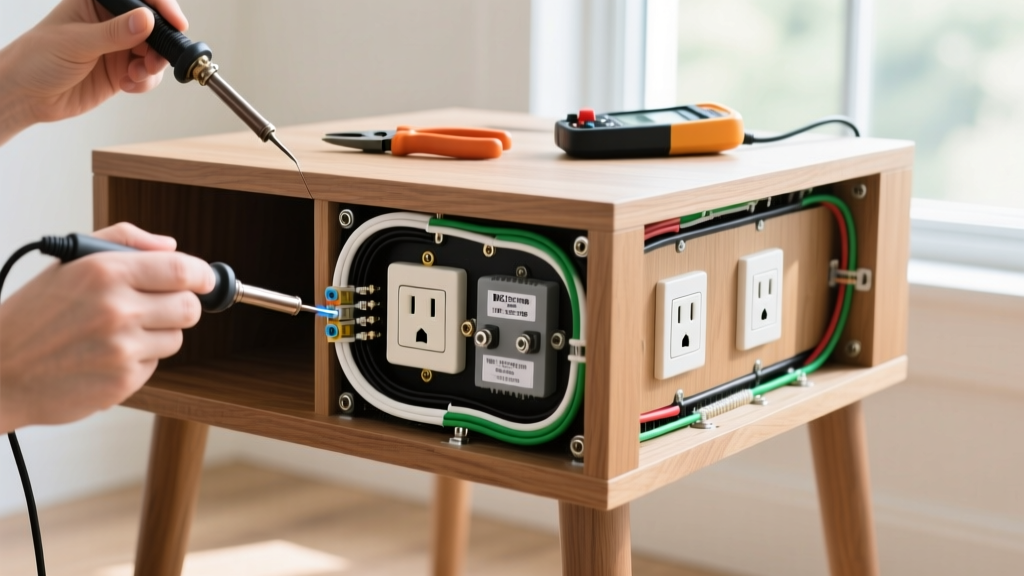
This beginner installation tutorial will walk you through the exact process of retrofitting a standard wooden side table with a safe, code-compliant 15-amp duplex receptacle. We will cover material selection, precise routing measurements, National Electrical Code (NEC) compliance regarding flexible cords, and professional torque specifications.
Understanding NEC Code & Furniture Safety
Before picking up a router, you must understand how electrical codes view movable furniture. According to the NFPA 70 National Electrical Code, you cannot use standard NM-B (Romex) solid-core wire to feed a movable piece of furniture. NM-B is designed for fixed, concealed structural wiring and will quickly fracture from the micro-vibrations and movement of a side table being bumped or repositioned.
Code Rule of Thumb: Movable furniture must be fed via a flexible, jacketed cord (such as SJTOW) equipped with a proper strain relief connector, effectively classifying the side table as an 'appliance' rather than a fixed building receptacle.
Furthermore, the OSHA Standard 1910.305 on Flexible Cords strictly mandates that flexible cords must be protected from damage and utilize strain relief mechanisms to prevent tension from being transmitted directly to the terminal screws. Ignoring this results in wires pulling out of the receptacle, causing arcing and potential fires.
Tools & Materials Matrix (2026 Pricing)
To ensure safety and longevity, do not compromise on the electrical components. Below is the exact bill of materials required for a standard 120V, 15A furniture outlet integration.
| Component | Exact Model / Specification | Purpose | Est. Cost (2026) |
|---|---|---|---|
| Receptacle | Leviton 5262-SW (15A, 125V, Tamper-Resistant) | Primary power delivery; TR doors prevent child shock hazards. | $3.85 |
| Electrical Box | Carlon B618R (1-Gang Non-Metallic Old Work) | Houses the receptacle; features flip-clamps for wood mounting. | $2.25 |
| Power Cord | 14/3 SJTOW (15A Rated, 6-foot length) | Flexible, oil/weather-resistant jacketed power delivery. | $16.50 |
| Strain Relief | Arlington Industries 3100 (3/8-inch NPT) | Locks the cord to the box, preventing terminal wire pull-out. | $1.95 |
| Torque Tool | Klein Tools 65080 (Insulated Torque Screwdriver) | Ensures terminal screws are tightened to exact manufacturer specs. | $42.00 |
Step-by-Step Installation Guide
Step 1: Routing the Receptacle Cutout
The Carlon B618R old-work box requires a precise rectangular cutout measuring exactly 2.0 inches wide by 3.75 inches high. Do not attempt to cut this freehand with a jigsaw; the box's flip-clamp wings require a tight tolerance to grip the wood securely.
- Mark the cutout dimensions on the rear or side panel of your side table, ensuring you are at least 1 inch away from any structural joints or glue lines.
- Drill a 1/2-inch pilot hole inside the corners of your marked rectangle.
- Use a flush-trim router bit or a jigsaw with a fine-tooth blade (20 TPI or higher) to cut the rectangle. Sand the edges lightly with 120-grit paper to prevent wood splinters from damaging the SJTOW cord jacket over time.
- Insert the Carlon box into the hole and tighten the mounting screws until the internal plastic wings flip and clamp tightly against the interior of the wood panel.
Step 2: Prepping the SJTOW Cord & Strain Relief
Before wiring the receptacle, you must prepare the flexible cord and secure the strain relief.
- Drill a 3/4-inch hole in the bottom or rear of the side table for the cord entry point.
- Thread the 14/3 SJTOW cord through the Arlington 3100 strain relief connector, then through the 3/4-inch wood hole, and finally into the knockout hole of the Carlon box.
- Strip back 1.5 inches of the outer black SJTOW jacket to expose the three inner wires (Black, White, Green).
- Tighten the strain relief collar firmly around the outer jacket. Crucial Test: Pull hard on the cord from the outside. The jacket should not slip; the pulling force must be absorbed by the connector, not the internal wires.
Step 3: Wiring the Leviton Receptacle
Proper termination is where most DIY furniture builds fail. We will use the side-wiring method with torque verification.
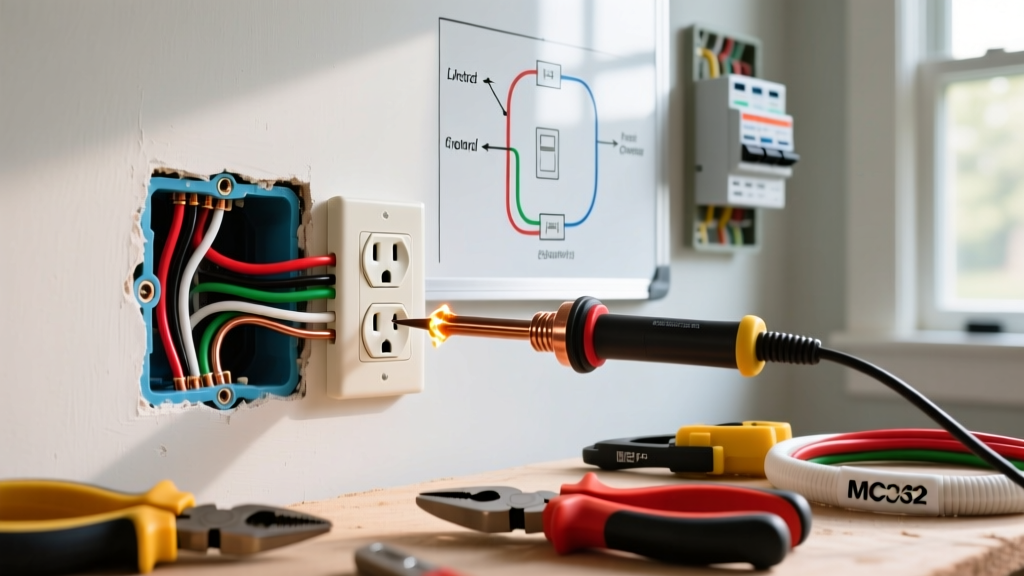
- Strip exactly 3/4 inch of insulation from the Black (Hot), White (Neutral), and Green (Ground) wires using precision wire strippers. Do not nick the copper.
- Form a tight 'J' hook at the end of each wire using needle-nose pliers.
- Hook the Green wire around the green grounding screw and tighten.
- Hook the White wire around the silver terminal screw (Neutral). Ensure the hook faces clockwise so tightening the screw pulls the loop closed rather than pushing it out.
- Hook the Black wire around the brass terminal screw (Hot), again facing clockwise.
- Using your torque screwdriver set to 0.5 in-lbs (inch-pounds), tighten the brass and silver screws. Leviton explicitly specifies this torque to prevent cold-flow deformation of the copper while ensuring sufficient contact pressure to prevent arcing.
Critical Failure Modes to Avoid
When building a side table with electrical outlet features, avoid these common pitfalls that lead to catastrophic failure:
- Backstabbing (Push-in Wiring): Never use the quick-insert holes on the back of the receptacle. The internal spring-loaded contacts are notorious for losing tension over time, especially when the side table is bumped, leading to high-resistance connections and melting.
- Using Solid Core Wire for Drops: As mentioned, running 14/2 NM-B Romex from the floor to the table leg violates NEC Article 400.8. The solid copper will work-harden and snap inside the insulation from routine furniture movement.
- Over-tightening Box Clamps: The Carlon B618R is made of PVC. Over-torquing the mounting screws will crack the box housing, compromising its UL listing and fire-containment rating.
Frequently Asked Questions (FAQ)
Do I need a GFCI outlet for my side table?
Generally, no. Unless your side table is located within 6 feet of a wet bar sink, an aquarium, or an outdoor patio, a standard 15A tamper-resistant (TR) duplex receptacle is perfectly code-compliant for living room or bedroom use. GFCI receptacles are physically deeper and often will not fit cleanly into standard 1-gang old-work boxes mounted in 3/4-inch plywood.
Can I use a USB-integrated outlet instead?
Yes, but pay close attention to the physical depth. Receptacles with built-in USB-A and USB-C charging ports (like the Leviton T5635) feature bulky internal power supplies that require a minimum box depth of 1.75 inches. The Carlon B618R is only 1.5 inches deep. If you choose a USB outlet, you must upgrade to a deeper box, such as the Carlon B618R-UPC or route out additional wood from the interior panel to accommodate the extra depth.
How do I secure the cord along the table leg?
Use adhesive-backed nylon cable clamps (such as the Gardner Bender GPC-515N) spaced every 8 inches along the inside of the table leg. This prevents the cord from dangling, getting caught in vacuum cleaners, or creating a tripping hazard, maintaining both aesthetics and OSHA safety compliance.