
Why You Must Upgrade When You Replace Outdoor Electrical Outlet Hardware
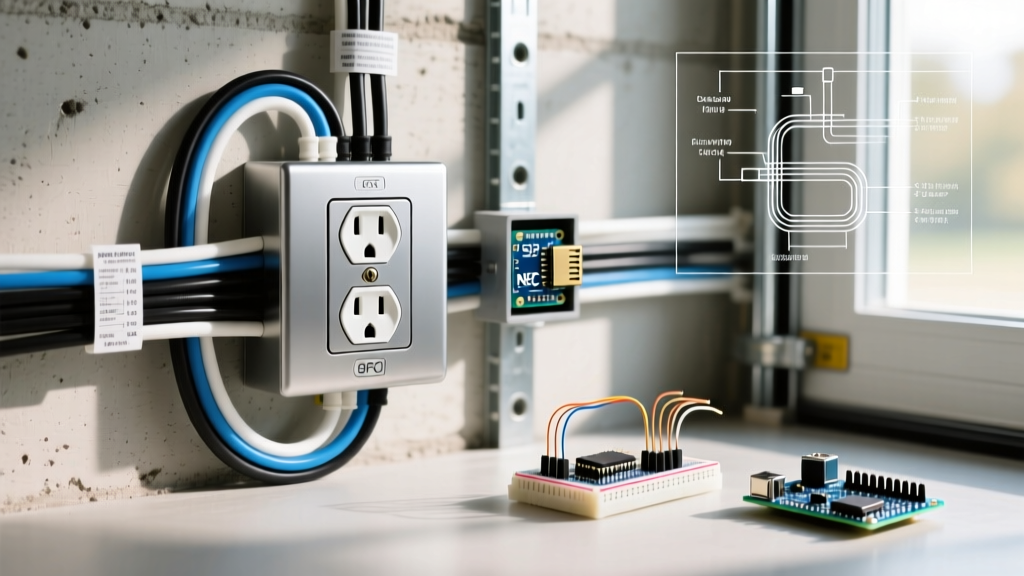
Outdoor electrical environments are brutally unforgiving. Receptacles mounted on exterior walls face extreme thermal cycling, UV radiation, driving rain, and corrosive pollen. If you are planning to replace outdoor electrical outlet units that are more than a decade old, you are likely dealing with early-generation GFCIs or standard indoor-rated duplex receptacles that have suffered severe internal degradation. According to the National Fire Protection Association (NFPA), moisture ingress and corroded terminals are leading causes of high-resistance connections, which can lead to arc faults and electrical fires.
Modern electrical codes mandate strict upgrades. When you replace outdoor electrical outlet hardware today, the National Electrical Code (NEC) requires the installation of Weather-Resistant (WR) and Tamper-Resistant (TR) Ground Fault Circuit Interrupters (GFCIs), paired with an extra-duty "in-use" cover. This guide provides a master-class, step-by-step framework to execute this upgrade safely, ensuring your exterior power meets 2026 safety standards.
Diagnostic Checklist: Signs Your Outdoor Receptacle Needs Immediate Replacement
Before tearing into the wiring, confirm the failure mode. Outdoor outlets rarely fail without warning. Look for these specific degradation markers:
- Brittle or Yellowed Plastics: UV exposure destroys standard polycarbonate faces. If the cover cracks when you open it, the internal yoke is likely compromised.
- Nuisance Tripping: If the GFCI trips during rainstorms or high humidity, the internal sensing circuitry has suffered moisture intrusion. Early GFCIs lacked the conformal coating found on modern WR models.
- Stiff Test/Reset Buttons: The internal mechanical springs have corroded. A GFCI that requires excessive force to reset is a critical safety failure.
- Thermal Scorching: Brown or black marks around the terminal slots indicate a high-resistance connection caused by loose wires or oxidized copper.
2026 Material & Tool Requirements for Exterior Upgrades
Do not use indoor-rated receptacles outside, even if they are placed inside a weatherproof box. You must procure components specifically stamped with the "WR" (Weather Resistant) designation. WR receptacles utilize UV-stabilized face plastics, nickel-plated brass terminal screws, and specialized internal corrosion inhibitors.
Component and Cost Breakdown
| Component | Recommended Model / Spec | Estimated Cost (2026) | Purpose |
|---|---|---|---|
| WR GFCI Receptacle (15A) | Leviton 8599-W0W or Hubbell WR15W | $22.00 - $28.00 | Core shock protection & UV resistance |
| WR GFCI Receptacle (20A) | Leviton 8899-W0W (T-Slot) | $26.00 - $34.00 | Heavy-duty equipment power |
| Extra-Duty In-Use Cover | TayMac MM540C (1-Gang, Deep) | $14.00 - $19.00 | Weatherproofing while cords are plugged in |
| Silicone Sealant | GE Silicone II (Clear, Outdoor) | $6.00 - $9.00 | Flange weather-sealing |
| Torque Screwdriver | Klein Tools 32500 (or calibrated equivalent) | $45.00 - $60.00 | NEC 110.14(D) compliance |
Code Alert: The Electrical Safety Foundation International (ESFI) emphasizes that GFCIs are mandatory for all 15A and 20A, 125V outdoor receptacles. Furthermore, NEC Article 110.14(D) now strictly requires the use of a calibrated torque screwdriver to tighten terminal screws to the manufacturer's specified inch-pound rating to prevent thermal loosening over time.
Step-by-Step Execution: Replacing the Outdoor Outlet
Phase 1: Power Isolation and Box Inspection
- Kill the Circuit: Turn off the corresponding breaker at the main panel. Lock out the panel if possible.
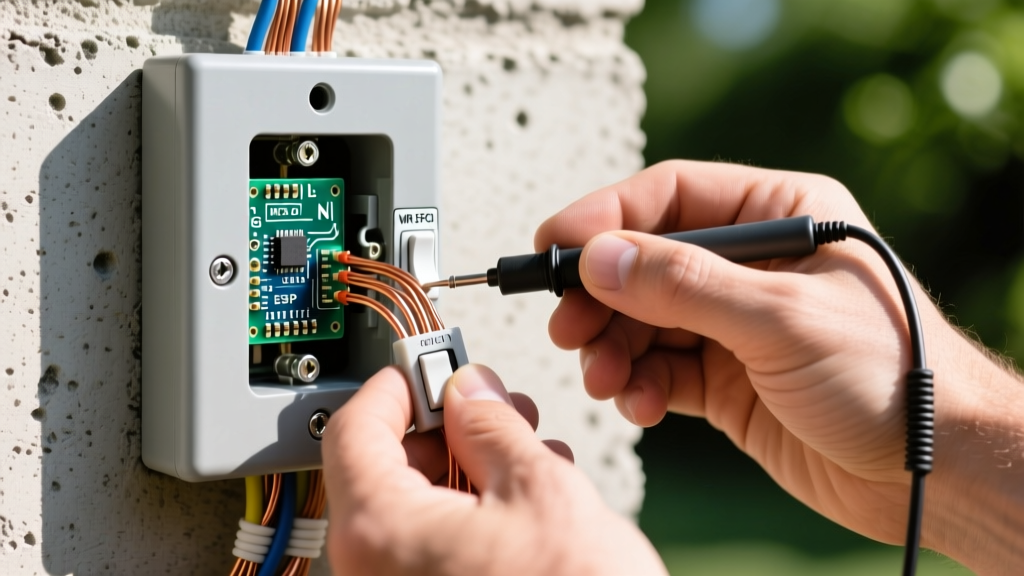
- Verify Zero Energy: Use a non-contact voltage tester (like the Fluke 2AC VoltAlert) on the receptacle slots, then verify with a digital multimeter (DMM) set to AC Voltage. Measure Hot-to-Neutral, Hot-to-Ground, and Neutral-to-Ground. All must read 0.0V.
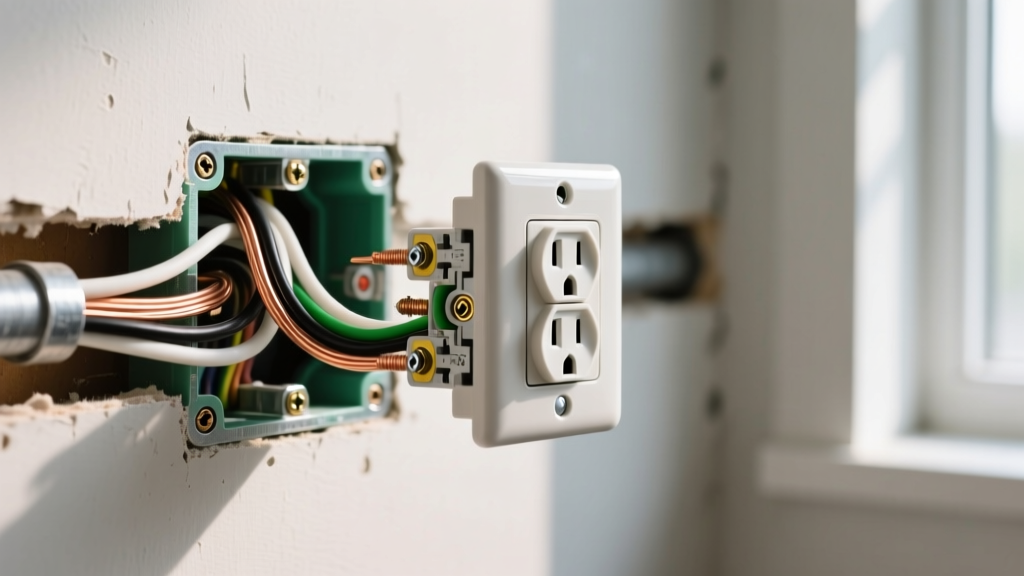
- Extract the Old Receptacle: Remove the in-use cover and unscrew the receptacle from the weatherproof box. Pull it out gently.
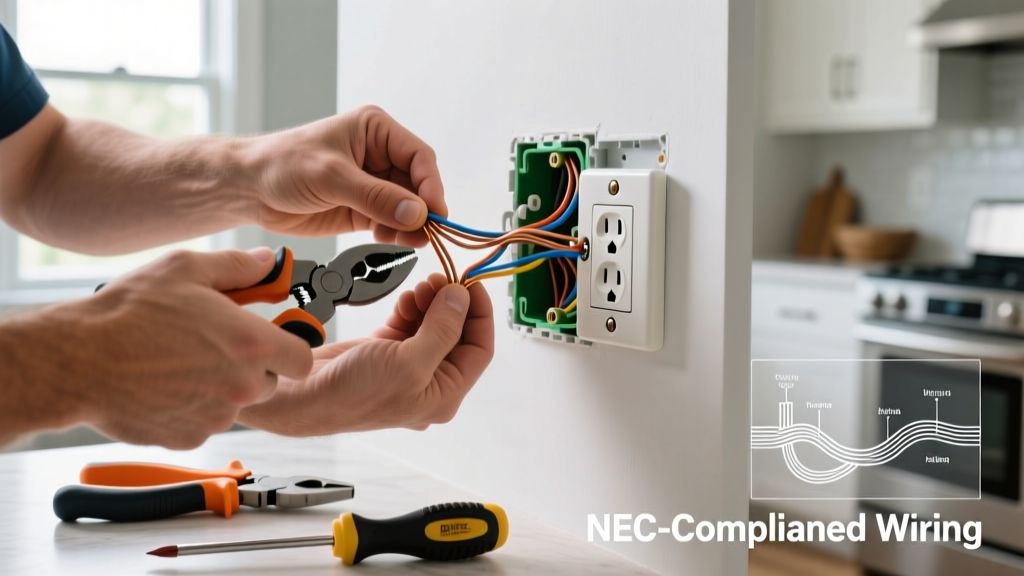
- Inspect the Wiring: Examine the exposed copper. If the wire insulation is cracked, or if the copper is black/green (severely oxidized), you must cut the wire back to bright, clean copper and strip a fresh 1/2-inch section using a precision wire stripper.
Phase 2: Wiring the WR GFCI Receptacle
Modern WR GFCIs feature "LINE" and "LOAD" terminals. Miswiring these is the most common DIY error.
- LINE Terminals: Connect the incoming power from the breaker panel here. The bare/green ground wire goes to the green ground screw. The black (hot) wire goes to the brass LINE screw. The white (neutral) wire goes to the silver LINE screw.
- LOAD Terminals: Only use these if you are feeding power downstream to another exterior outlet. If this is the end of the run, cap the load wires and leave the LOAD terminals empty.
- Torque Specification: Check the back of the Leviton or Hubbell receptacle for the torque spec (typically 14 in-lbs for 14/12 AWG wire). Set your torque screwdriver and tighten until it clicks. This prevents the "cold flow" of copper that causes loose connections and fires.
Phase 3: Weatherproofing and Sealing
The best receptacle in the world will fail if water breaches the electrical box.
- Install the WR Gasket: Slide the foam or rubber weather-resistant gasket over the receptacle face before pushing it into the box.
- Mount the In-Use Cover: Secure the extra-duty bubble cover over the gasket using the provided corrosion-resistant screws.
- The "Three-Sided" Caulk Rule: Apply a continuous bead of outdoor-rated clear silicone caulk along the top and both side edges of the cover flange where it meets the siding or stucco. Do NOT caulk the bottom edge. Leaving the bottom unsealed creates a weep hole, allowing any internal condensation to drain out rather than pooling inside the box.
Troubleshooting Matrix: Post-Installation Edge Cases
After restoring power, press the "TEST" button. The receptacle should click and trip. Press "RESET" to restore power. If issues arise, consult this matrix:
| Symptom | Probable Cause | Expert Resolution |
|---|---|---|
| GFCI will not reset (no click) | Line and Load wires reversed, or no incoming power. | Turn off breaker, swap Line/Load wires. Verify breaker is fully ON. |
| Trips immediately upon reset | Downstream ground fault or shared neutral issue. | Disconnect Load wires. If it holds, the fault is in the downstream wiring. |
| Trips randomly during rain | Moisture bypassing the in-use cover gasket. | Check caulk lines. Ensure the cover hinge is not warped and sealing tightly. |
| Receptacle has power, but downstream outlets are dead | Load wires disconnected or pigtails failed. | Verify Load terminals are properly torqued and downstream wiring is intact. |
Advanced Considerations for 2026 Smart Home Integrations
As outdoor lighting and security systems become more sophisticated, many homeowners are replacing standard outdoor outlets with smart GFCI receptacles or integrating outdoor smart plugs. If you are upgrading to support smart home ecosystems, ensure your exterior circuit has a reliable neutral wire (mandatory for most smart switches and Wi-Fi relays). Furthermore, the Consumer Product Safety Commission (CPSC) advises testing all GFCI devices, including smart-enabled ones, at least once a month using the physical test button, as software glitches can sometimes mask hardware trip failures.
Frequently Asked Questions
Can I replace an outdoor outlet with a standard indoor GFCI if it has a weatherproof cover?
No. The NEC specifically requires the WR (Weather-Resistant) designation for outdoor receptacles. Standard GFCIs lack the UV inhibitors and internal corrosion resistance required to survive exterior temperature swings and humidity, even when shielded by a cover.
Do I need a permit to replace an outdoor electrical outlet?
In most jurisdictions, a like-for-like replacement of a receptacle does not require a permit. However, if you are running a new circuit, upgrading the wire gauge, or adding a new exterior box where one did not exist, a permit and inspection are legally required.
What is the difference between a 15A and 20A outdoor GFCI?
A 15A GFCI accepts standard 15A plugs. A 20A GFCI features a "T-slot" neutral prong that accepts both 15A and 20A plugs. You can only install a 20A GFCI if the circuit wiring is 12 AWG and the breaker is rated for 20 Amps. Never put a 20A receptacle on a 15A breaker or 14 AWG wire.