
The Hidden Danger of Factory Headlight Switches
Upgrading to modern high-output LED light bars or auxiliary driving lamps is one of the most common modifications for off-road rigs, classic car restorations, and custom tractors. However, routing high-amperage loads directly through a factory or standard universal dashboard switch is a recipe for catastrophic failure. Most standard dashboard switches, such as the ubiquitous Standard Motor Products HS-185, are rated for a maximum of 15 to 20 amps on the headlight circuit. When you push 40+ amps through these internal contacts, the resulting resistance generates extreme heat, melting the plastic housing and potentially causing an electrical fire.
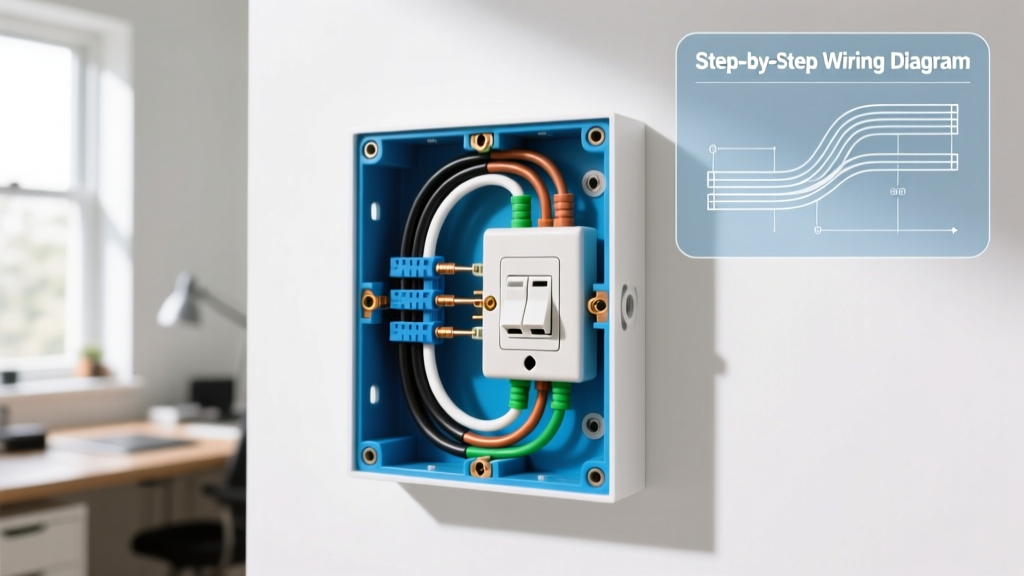
The solution is to use a heavy-duty universal switch merely as a low-amperage trigger for a set of high-current automotive relays. By understanding the correct wiring diagram for headlight switch relay configurations, you can safely deliver maximum current directly from the battery to your lights while keeping the delicate dashboard wiring completely isolated. In this 2026 comprehensive guide, we will break down the terminal logic, provide a detailed bill of materials, and walk through a professional-grade, step-by-step installation process.
Decoding the Wiring Diagram for Headlight Switch Terminals
Before cutting any wire, you must understand the back of a universal heavy-duty headlight switch, such as the Cole Hersee 48060 series from Littelfuse. These switches typically feature a 6-post or 7-post layout. Misinterpreting these posts is the number one cause of short circuits in DIY builds.
- BAT (Battery): The main 12V power input from the battery or ignition-switched fuse block. This post handles the total amperage of all triggered circuits.
- ACC (Accessory): Provides 12V power only when the switch is pulled to the accessory position. Used for auxiliary off-road lights or fog lamps.
- HEAD (Headlights): Outputs 12V only when the switch is pulled to the second detent (headlight position). This will serve as the trigger wire for your main headlight relays.
- TAIL (Taillights/Dash): Outputs 12V in both the first detent (parking lights) and second detent (headlights). Used to trigger marker lights and illuminate dashboard gauges.
- GRD (Ground): Required if your switch features an integrated LED or incandescent indicator lamp. Must be tied to a clean chassis ground.
Expert Insight: Never use the 'HEAD' or 'TAIL' posts to power high-draw accessories directly. According to SAE International wiring standards, switch contacts should never be loaded beyond 80% of their rated capacity to account for inrush current spikes when cold LED drivers or halogen filaments first energize.
Component Specifications & Bill of Materials
To execute this wiring diagram properly, you need automotive-grade materials. Hardware store wire and stamped brass connectors will corrode and fail under hood temperatures. Below is the required BOM for a dual-relay headlight harness setup (estimated 2026 pricing).
| Component | Specification / Model | Purpose | Est. Cost |
|---|---|---|---|
| Universal Switch | Cole Hersee 48060 (Heavy Duty) | Low-amp dashboard trigger control | $28.00 |
| Relays (x2) | Bosch-style 5-Pin 40A (e.g., SMP RY116) | High-current switching for Low/High beams | $14.00 |
| Power Wire | 10 AWG TXL (Cross-linked Polyethylene) | Main battery feeds and light outputs | $1.20/ft |
| Trigger Wire | 14 AWG GXL (Primary Automotive) | Switch to relay coil connections | $0.60/ft |
| Fuses & Holders | 30A MAXI Blade Fuses with inline housings | Overcurrent protection for main feeds | $12.00 |
| Terminals | Adhesive-Lined Heat Shrink Ring/Spade | Corrosion-proof, vibration-resistant connections | $18.00 |
Step-by-Step Installation: Building the Relay Harness
Phase 1: Power and Ground Distribution
The core philosophy of a relay-based wiring diagram for headlight switch setups is to keep high-amperage runs as short as possible.
- Disconnect the Battery: Always isolate the negative terminal first. Wait 10 minutes if working on modern vehicles with complex CAN-bus systems to allow modules to go to sleep.
- Mount the Relays: Locate a dry, well-ventilated area near the headlights, ideally on the inner fender well or radiator support. Use stainless steel self-tapping screws with rubber isolation washers to prevent galvanic corrosion between the relay bracket and the chassis.
- Run the Main Power (Pin 30): Cut two lengths of 10 AWG TXL wire. Strip 5/16-inch of insulation and crimp a 3/8-inch adhesive-lined heat shrink ring terminal using a ratcheting hex-crimp tool. Connect one end to the positive battery post (via a secondary fuse block) and the other to Pin 30 on each relay. Crucial: Install a 30A MAXI fuse within 6 inches of the battery connection to protect the main feed.
- Establish the Ground (Pin 86): Run 14 AWG GXL wire from Pin 86 on both relays to a dedicated, sanded-down bare metal point on the chassis. Use a star washer to bite through the paint and ensure a sub-10 milliohm ground path.
Phase 2: Triggering the Relays via the Switch
Now we integrate the dashboard switch into the diagram. The switch will only carry the 150mA required to energize the relay coils.
- Feed the Switch (BAT Post): Run 14 AWG wire from an ignition-switched 10A fuse in the cabin fuse box to the 'BAT' terminal on the back of the Cole Hersee switch. This ensures your headlights cannot be left on and drain the battery when the vehicle is off.
- Wire the Low-Beam Trigger: Run 14 AWG wire from the 'HEAD' terminal on the switch to Pin 85 on Relay #1. When you pull the switch to the second detent, 12V flows to Pin 85, energizing the coil and closing the high-amp circuit between Pin 30 and Pin 87.
- Wire the High-Beam Trigger: If utilizing a separate high-beam circuit, wire the 'ACC' post to Pin 85 on Relay #2. (Note: For vehicles requiring a dimmer switch toggle, the dimmer switch is placed on the output side, between Pin 87 and the headlights, using heavy 10 AWG wire).
- Connect the Outputs (Pin 87): Run 10 AWG wire from Pin 87 on the relays directly to the positive terminals of your headlight assemblies. Splice these into the factory headlight pigtails using sealed solder-sleeve heat shrink connectors to maintain IP67 waterproofing.
Expert Troubleshooting: Solving PWM Relay Chatter
If you are installing this wiring diagram for a headlight switch on a modern vehicle (particularly 2015+ Stellantis/Jeep/Dodge or late-model Fords), you may encounter a severe issue: relay chatter.
Modern Totally Integrated Power Modules (TIPM) do not send a steady 12V signal to the headlights. Instead, they use Pulse Width Modulation (PWM) at frequencies upwards of 500Hz to monitor circuit resistance and detect burnt-out bulbs. When a standard mechanical relay receives this PWM signal, the coil rapidly energizes and de-energizes, resulting in a loud buzzing sound and rapid flickering of your headlights. Furthermore, NHTSA vehicle lighting regulations strictly prohibit flickering headlamps on public roads.
The Engineering Fix: You must smooth the PWM square wave into a steady DC voltage. To do this, solder a 1000µF 25V electrolytic capacitor across the relay coil terminals (Pin 85 and Pin 86). Ensure the capacitor's negative stripe faces the ground (Pin 86). The capacitor acts as a low-pass filter, absorbing the rapid voltage drops and providing a steady current to hold the relay coil closed. Alternatively, upgrade to an automotive Solid State Relay (SSR) rated for 40A, which inherently ignores PWM frequency variations.
Final Testing and Voltage Drop Verification
Do not rely on visual brightness to verify your installation. You must perform a voltage drop test to ensure your crimps and wire gauges are sufficient.
- Set your digital multimeter to DC Volts.
- Turn the headlights on to draw maximum current.
- Place the red probe on the battery positive post and the black probe on the relay Pin 30 ring terminal. A reading above 0.2V indicates excessive resistance in the power feed (likely a poor crimp or undersized wire).
- Place the red probe on the relay Pin 86 terminal and the black probe on the battery negative post. A reading above 0.1V indicates a poor chassis ground.
By strictly adhering to this wiring diagram for headlight switch relay configurations, utilizing TXL wiring, and accounting for modern PWM signaling, you will achieve a bulletproof lighting system capable of handling massive auxiliary loads while maintaining complete compliance with automotive safety standards.