
The Complete Beginner's Guide to Safely Replace Electrical Outlet Devices
Learning how to replace electrical outlet receptacles is one of the most empowering and foundational DIY electrical skills you can acquire. Whether you are upgrading damaged vintage receptacles, swapping out builder-grade beige plastic for modern white or black finishes, or ensuring your home meets the latest 2026 National Electrical Code (NEC) safety standards, the process is straightforward when approached methodically. According to the U.S. Consumer Product Safety Commission (CPSC), faulty or degraded electrical receptacles are a leading cause of residential arc faults and electrical fires. By replacing aging units with modern Tamper-Resistant (TR) models, you significantly reduce both fire and shock risks.
In this beginner installation tutorial, we will walk through the exact steps to replace a standard 15-amp, 120-volt duplex receptacle. We will cover essential tools, wire preparation, termination torque specifications, and how to handle common edge cases like ungrounded boxes or short wires.
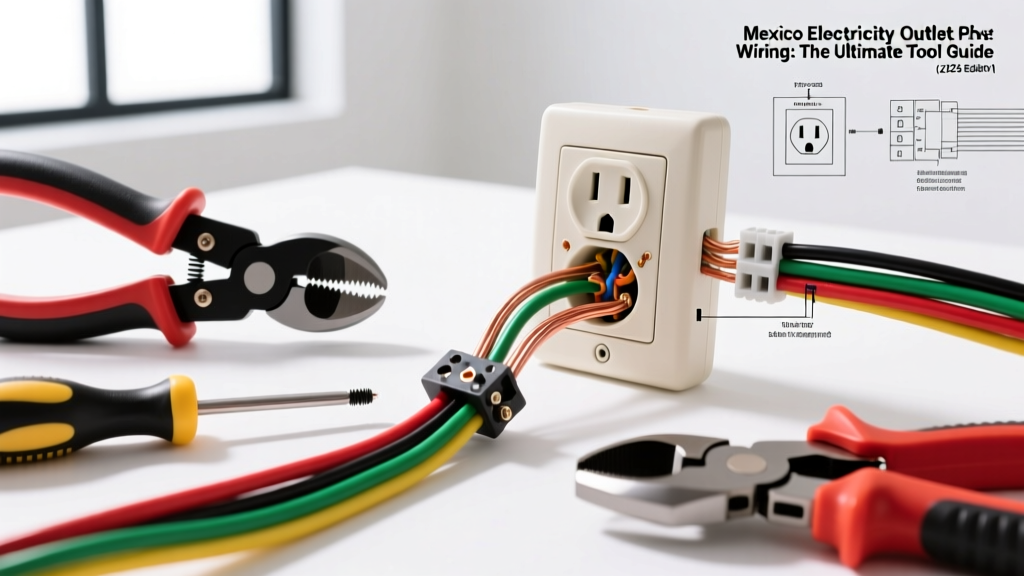
Essential Tools and Materials for 2026
Before you turn off the breaker, gather your materials. The cost of electrical components has stabilized in 2026, making high-quality, code-compliant parts highly accessible. A premium 15A TR duplex receptacle (like the Leviton 5262-W or Eaton TR7715W) typically costs between $2.50 and $4.50. Do not buy the $0.99 contractor bulk packs; they often lack robust internal yokes and use inferior terminal screws.
| Tool / Material | Purpose | Recommended Model | Approx. Cost |
|---|---|---|---|
| Non-Contact Voltage Tester | Verify power is OFF before touching wires | Klein Tools NCVT-2 | $22.00 |
| Wire Stripper / Cutter | Cleanly strip 14 AWG and 12 AWG solid copper | Klein Tools 11055 | $28.00 |
| Torque Screwdriver | Apply exact manufacturer torque to terminal screws | Klein Tools 32500 | $45.00 |
| TR Duplex Receptacle | The replacement outlet (15A, 125V) | Leviton 5262-W (White) | $3.50 |
| Lever Connectors | Pigtailing short wires safely | WAGO 221-212 (2-conductor) | $0.60 ea. |
Understanding Your Existing Wiring Anatomy
When you pull the old outlet from the wall, you will typically see three types of wires. Identifying them correctly is critical to ensuring your new receptacle functions safely and maintains proper polarity.
- Black (or Red) Wire: The "Hot" or "Line" wire. This carries the 120V current from your breaker panel. It connects to the Brass terminal screws.
- White Wire: The "Neutral" wire. This completes the circuit back to the panel. It connects to the Silver terminal screws.
- Bare Copper (or Green) Wire: The "Ground" wire. This provides a safe path for fault currents. It connects to the Green grounding screw at the bottom of the yoke.
Expert Insight: Never rely solely on wire color. In older homes, previous DIYers may have used white wires as switched hot legs (which should be re-identified with black tape). Always use your non-contact voltage tester to confirm which wire is truly hot.
Step-by-Step: How to Replace Electrical Outlet Safely
Step 1: Kill the Power and Verify
Locate your main electrical panel and turn off the breaker controlling the room you are working in. If your panel is unlabeled, plug a lamp into the outlet and turn off breakers until the lamp dies. Once the breaker is off, insert your Klein NCVT-2 tester into both the top and bottom slots of the receptacle. The tester must remain completely dark and silent. According to NFPA electrical safety guidelines, verifying the absence of voltage is the single most important step to prevent fatal shock hazards.
Step 2: Extract and Inspect the Old Receptacle
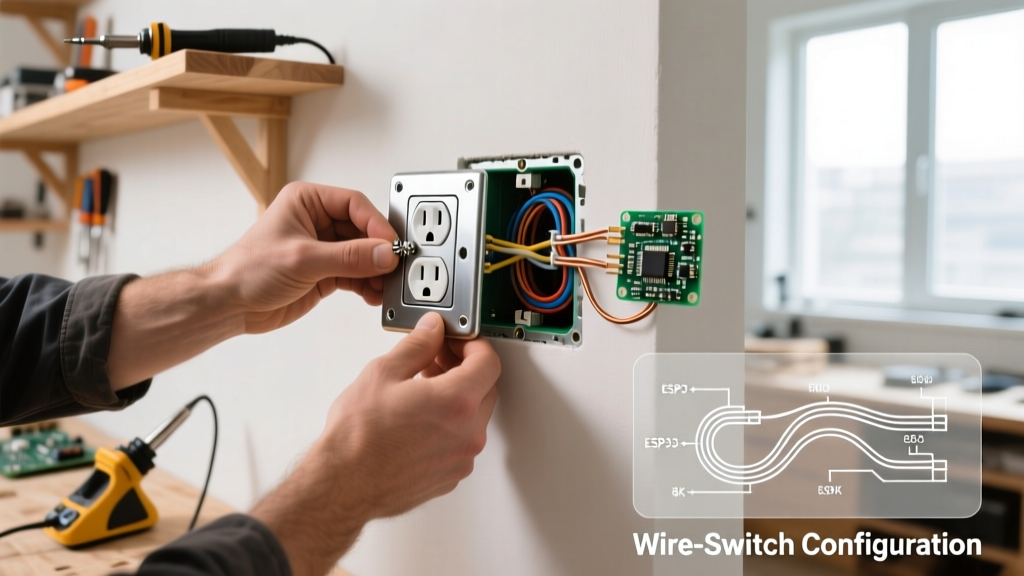
Remove the center faceplate screw, then remove the top and bottom mounting screws holding the receptacle to the electrical box. Gently pull the device out. Inspect the wires. If the wires are pushed into the small holes on the back of the old outlet (known as "backstabbing"), you are looking at a major fire hazard. Backstabbed connections rely on weak internal spring wipers that lose tension over time, especially under continuous loads like space heaters, leading to arcing and melted plastic.
Step 3: Prep the Wires for Termination
Disconnect the old outlet. If the wire ends are scored, brittle, or previously backstabbed, snip off the damaged ends with your wire strippers. Strip exactly 3/4 of an inch of insulation off the solid copper wire.
Why 3/4 inch? If you strip too little, the insulation will bind under the terminal screw, creating a high-resistance connection. If you strip too much, bare copper will be exposed outside the terminal yoke, creating a shock hazard and potential short circuit against the metal box.
Step 4: Side-Wire and Torque to Spec
Always use the side terminal screws, never the push-in holes. Form a slight "J-hook" in the stripped wire using the needle-nose pliers on your wire strippers. Hook the wire around the terminal screw in a clockwise direction. This ensures that as you tighten the screw, the loop pulls tighter around the shaft rather than pushing out.
Crucial Code Requirement: NEC 110.14(D) requires that electrical connections be torqued to the manufacturer's specified values. For a standard Leviton 15A receptacle, the brass and silver terminal screws require 14 inch-pounds of torque. Use a torque screwdriver to tighten them until it clicks. Under-torquing causes thermal expansion and arcing; over-torquing strips the soft brass screw heads.
Step 5: Mount, Wrap, and Test
Carefully fold the wires back into the box using a "Z-fold" technique to avoid pinching the ground wire. Mount the new receptacle using the provided mounting screws.
Pro-Tip: Skip the black electrical tape wrapped around the sides of the outlet. While old-school electricians did this to prevent shorts against metal boxes, modern TR receptacles feature full polycarbonate bodies that isolate the terminals. Tape can actually trap heat and melt over time.
Handling Common Beginner Edge Cases
Real-world wiring rarely looks like a textbook diagram. Here is how to handle the three most common issues when you attempt to replace electrical outlet devices in older homes.
Edge Case 1: The "No Ground" Scenario (2-Prong Boxes)
If you open the box and find only a black and white wire (no bare copper or metal conduit ground), you have an ungrounded system. Do not install a standard 3-prong outlet. Doing so creates a "bootleg" safety hazard, tricking users into thinking their sensitive electronics are grounded when they are not.
The Code-Compliant Fix: NEC 406.4(D)(2)(b) allows you to install a GFCI receptacle (such as the Leviton GFNL1-W3) in an ungrounded box. The GFCI provides life-saving shock protection by monitoring current imbalance, even without a ground wire. You must apply the included "GFCI Protected" and "No Equipment Ground" stickers to the faceplate.
Edge Case 2: Wires Are Too Short to Reach
If the existing wires are cut too short to comfortably reach the new receptacle's terminals, do not stretch them, as this puts mechanical stress on the wire nuts upstream. Instead, create a "pigtail." Strip a 6-inch piece of spare 14 AWG or 12 AWG wire (matching the existing gauge). Use a WAGO 221-212 lever connector to join the short wall wire to your new pigtail. WAGO connectors are UL-listed, reusable, and provide a far more reliable connection than traditional twist-on wire nuts for beginners.
Edge Case 3: Aluminum Wiring
If your home was built between 1965 and 1973, you might encounter aluminum wiring (identifiable by its dull silver color and "AL" stamp on the jacket). Standard copper-rated receptacles will cause a chemical reaction with aluminum, leading to severe oxidation and fires. You must use a receptacle specifically rated for aluminum, marked CO/ALR (Copper-Aluminum Revised), such as the Leviton 5262-CA. If you are unsure, hire a licensed electrician to evaluate the system.
Final Verification and Testing
Once the outlet is mounted and the faceplate is installed, turn the breaker back on. Insert a receptacle tester like the Klein Tools RT250 into the top and bottom sockets. The RT250 will illuminate a specific LED pattern to confirm correct wiring. You are looking for two amber lights indicating "Correct." If the tester indicates "Open Ground," "Reverse Polarity," or "Hot/Neutral Reverse," turn the power back off immediately and re-check your terminal connections.
Frequently Asked Questions (FAQ)
Can I replace a 15-amp outlet with a 20-amp outlet?
Only if the wiring and breaker support it. A 20-amp receptacle (which features a T-shaped neutral slot) requires 12 AWG wire and a 20-amp breaker. If your home is wired with 14 AWG wire and a 15-amp breaker, installing a 20-amp receptacle is a code violation and a fire hazard, as it allows devices to draw more current than the wire can safely handle.
Do I need a GFCI outlet in my kitchen or bathroom?
Yes. The NEC mandates Ground Fault Circuit Interrupter (GFCI) protection for all 125V, 15A, and 20A receptacles in wet or damp locations, including kitchens, bathrooms, garages, outdoors, and crawl spaces. You can achieve this by installing a GFCI receptacle at the first outlet in the circuit, which will protect all standard "downstream" outlets on the same line.
Why are the new outlets so hard to plug things into?
Modern receptacles are Tamper-Resistant (TR), mandated by the NEC since 2008. They feature internal spring-loaded shutters that only open when equal pressure is applied to both the hot and neutral slots simultaneously (like a standard plug). This prevents children from inserting single objects like keys or paperclips into the hot slot. Do not attempt to force or break these shutters; they will loosen slightly after a few dozen insertion cycles.
For more detailed wiring diagrams and manufacturer-specific torque charts, always refer to the Leviton support and FAQ documentation included with your specific device model.