
The Reality of Receptacle Replacement
Replacing a standard 120-volt duplex receptacle is one of the most common household electrical tasks, yet it remains a leading cause of residential electrical fires when terminated incorrectly. According to the U.S. Consumer Product Safety Commission (CPSC), faulty wiring, degraded contacts, and loose connections at the receptacle account for thousands of structure fires annually. Learning how to change an electrical outlet is not just about swapping plastic faceplates; it requires an understanding of wire gauges, circuit amperage, and proper termination torque.
This comprehensive guide details the exact step-by-step installation process, adhering to the latest 2026 National Electrical Code (NEC) standards for termination and safety. Whether you are upgrading a damaged builder-grade outlet to a commercial-spec receptacle or replacing a unit that no longer holds plugs securely, this guide provides the actionable specifics you need.
Before You Begin: Professional Tool Checklist
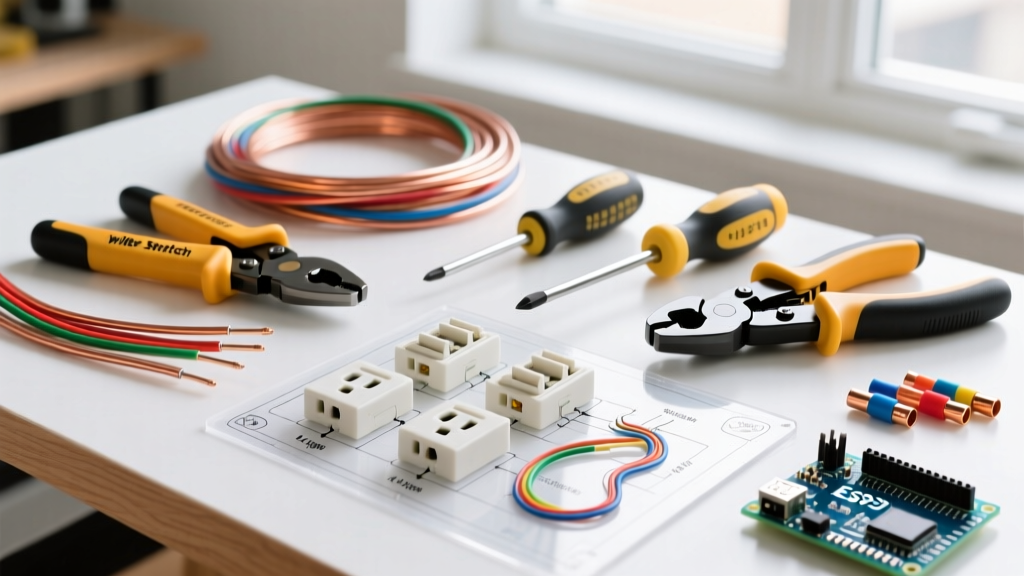
Do not rely on a generic multi-tool or a worn-out flathead screwdriver. Proper electrical work requires insulated, precision tools to prevent arc flashes and ensure secure terminations.
- Voltage Tester: Fluke 2AC VoltAlert or Klein Tools NCVT-2 (Dual-range non-contact tester).
- Wire Strippers: Klein Tools 11063W (Katapult) or Ideal 45-120 Reflex. You need clean strips without nicking the copper conductor.
- Screwdrivers: Wiha 32090 Insulated Screwdriver Set (1000V rated).
- Torque Screwdriver: Ideal Industries Torq-Screw or Park Tool TW-5. Critical for NEC 110.14(D) compliance.
- Receptacle Tester: Gardner Bender GRT-501 to verify wiring sequence post-installation.
Understanding Your Circuit: 15-Amp vs. 20-Amp
Before purchasing a replacement, you must identify your circuit's amperage. Installing a 20-amp receptacle on a 15-amp circuit is a code violation, and installing a 15-amp receptacle on a 20-amp circuit is a severe fire hazard if a 20-amp appliance is plugged in.
| Feature | 15-Amp Circuit (NEMA 5-15R) | 20-Amp Circuit (NEMA 5-20R) |
|---|---|---|
| Wire Gauge (NM-B) | 14 AWG (Typically White Jacket) | 12 AWG (Typically Yellow Jacket) |
| Breaker Size | 15 Amp | 20 Amp |
| Slot Configuration | Two parallel vertical slots | One vertical, one horizontal (T-slot) |
| Recommended Model | Leviton 5320-W (ProGrade) | Hubbell 5262 (Commercial) |
| Typical Cost (2026) | $4.50 - $7.00 | $6.00 - $11.00 |
Pro Tip: Always replace standard builder-grade outlets with 'Commercial Grade' or 'ProGrade' models. They feature thicker brass internal contacts and steel mounting straps that resist bending and maintain plug tension for decades, unlike the $1.00 residential models that wear out in 5 years.
Step 1: Kill the Power and Verify (Lockout/Tagout)
Never trust a wall switch to isolate power to an outlet. Go to your main electrical panel and switch off the breaker controlling the room. For maximum safety, follow OSHA Lockout/Tagout (LOTO) principles: place a piece of tape over the breaker and leave a note so no one accidentally turns it back on while you are working.
Remove the faceplate and insert your non-contact voltage tester into both the top and bottom slots of the receptacle. Test the tester on a known live circuit first to verify the battery is functioning. If the tester remains silent, you are clear to proceed.
Step 2: Extract and Inspect the Old Wiring
Unscrew the top and bottom mounting screws and gently pull the receptacle out of the gang box. Do not yank the wires. Once exposed, inspect the wiring for the following:
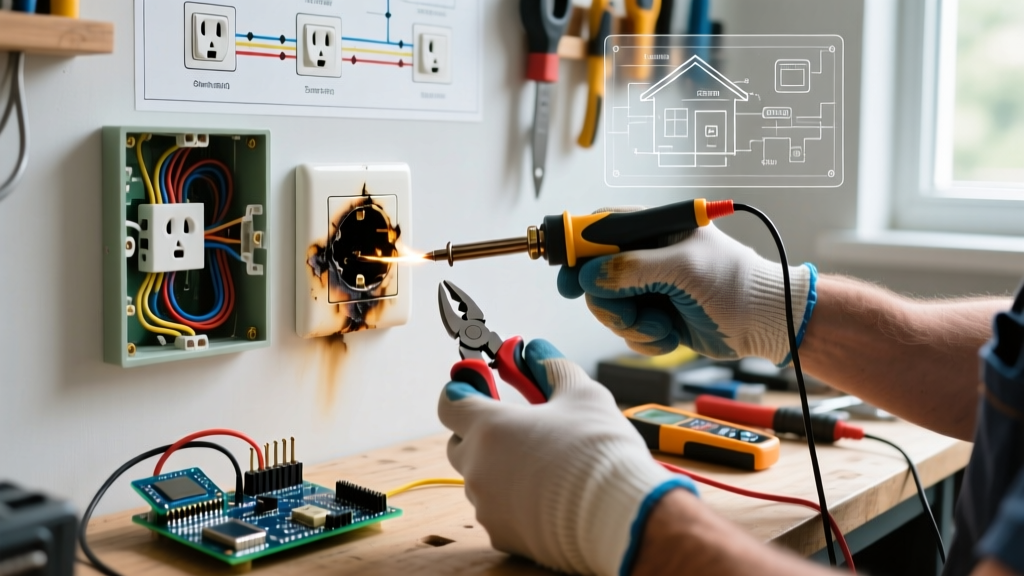
- Wire Condition: If the copper is blackened, brittle, or the insulation is cracked and crumbling, the wire has suffered thermal damage. You will need to cut back the damaged section and strip fresh wire, or call an electrician if there is insufficient slack.
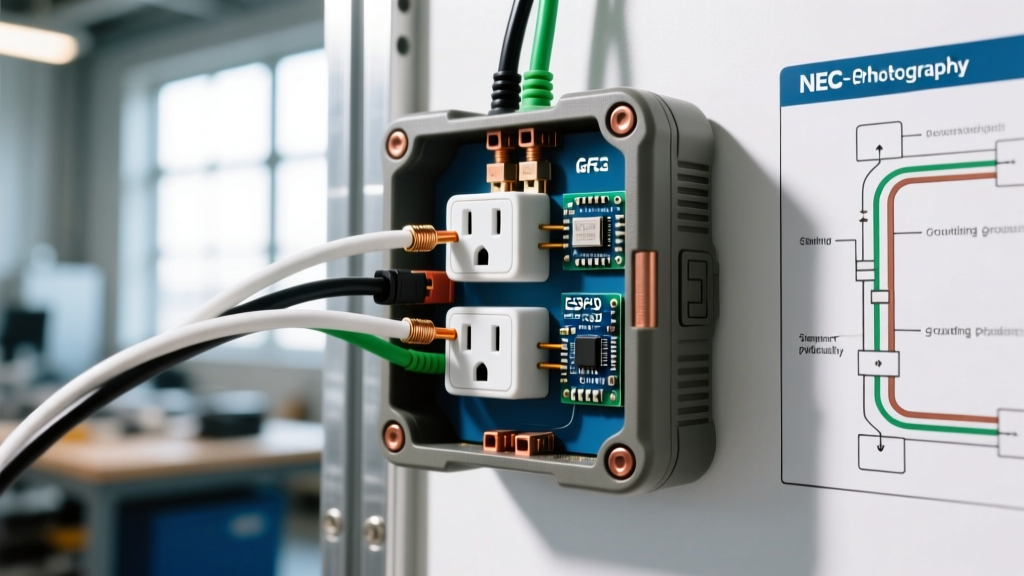
- Line vs. Load: If this is a standard outlet, line/load distinction does not matter. However, if you are replacing a GFCI outlet, use a multimeter or voltage sniffer (before killing the power) to identify which cable brings power from the panel (Line) and which continues to downstream outlets (Load).
- Switched Outlets: If the outlet is controlled by a wall switch (common in living rooms without overhead lighting), note that the brass 'hot' side fin tab will be broken off, allowing one half of the outlet to be always-on and the other half to be switched.
Step 3: Prep and Terminate the Wires
This is where most DIYers make critical errors. As of the 2026 NEC updates, termination methods are heavily scrutinized for long-term thermal stability.
The Problem with 'Push-In' Stab Connectors
Cheap residential outlets feature push-in holes on the back where you simply stab the stripped wire. Never use these. They rely on a small internal spring clip that grips the wire. Over years of thermal expansion and contraction (heating up when you use a vacuum or space heater, cooling down when unplugged), these clips loosen, creating high-resistance connections that melt the plastic housing and cause fires.
The Correct Method: Side-Wiring or Screw-Clamp Back-Wiring
Use one of these two approved methods:
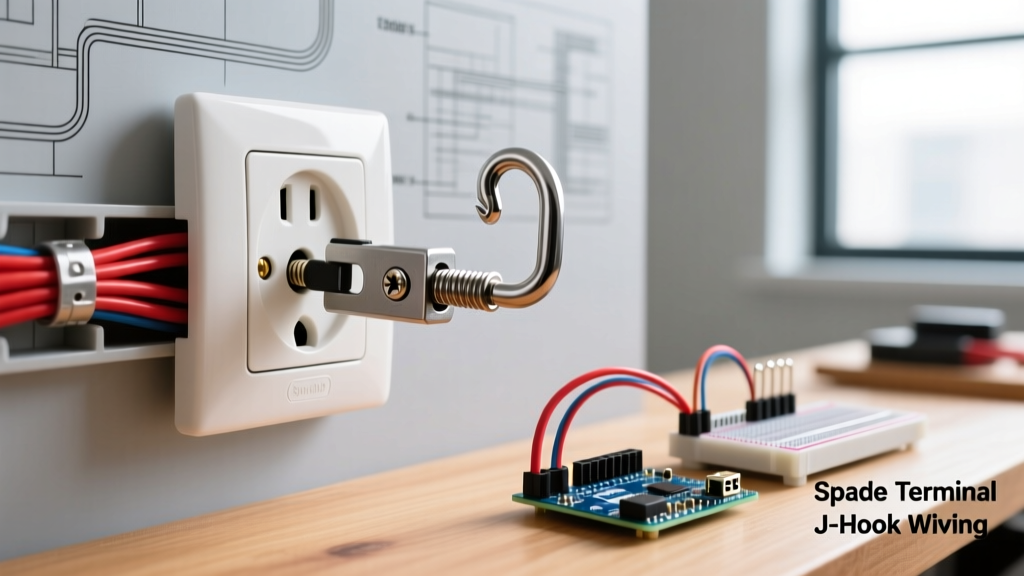
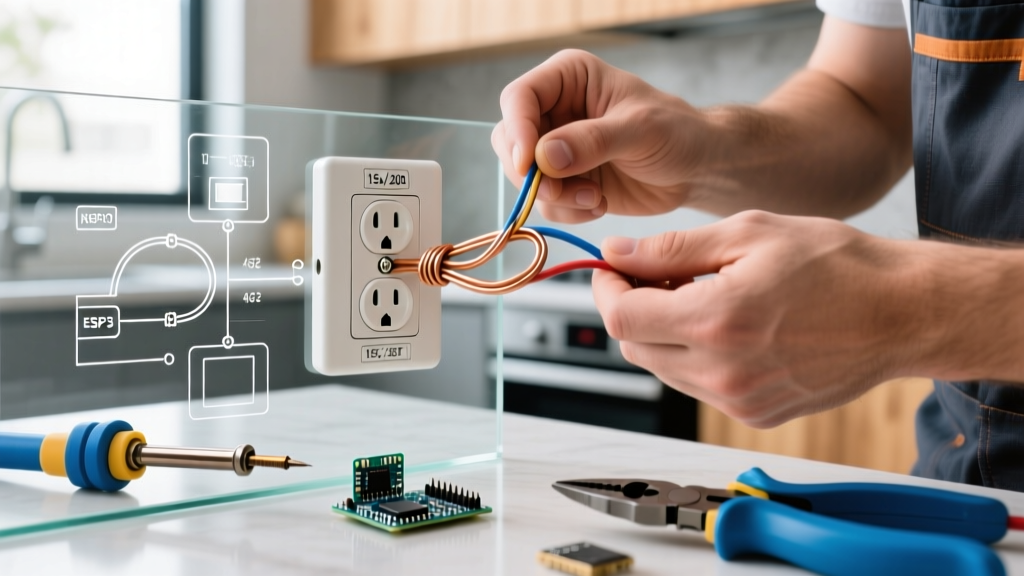
- Side-Wiring (Hook Method): Strip exactly 3/4 inch of insulation using the wire stripper's gauge. Form a tight 'J-hook' with the tip of your needle-nose pliers. Loop the hook clockwise around the terminal screw. This ensures that tightening the screw pulls the loop tighter rather than pushing it out.
- Screw-Clamp Back-Wiring: Premium commercial outlets (like the Leviton ProGrade) feature internal clamp plates on the back. You strip the wire straight (no hook needed), insert it into the back hole, and tighten the side screw. The screw pulls a heavy-duty brass clamp plate down onto the wire, providing a massive, secure surface area connection.
Terminal Mapping:
- Brass Screws: Hot wire (Black or Red).
- Silver Screws: Neutral wire (White).
- Green Screw: Ground wire (Bare Copper or Green).
Step 4: Apply Proper Torque
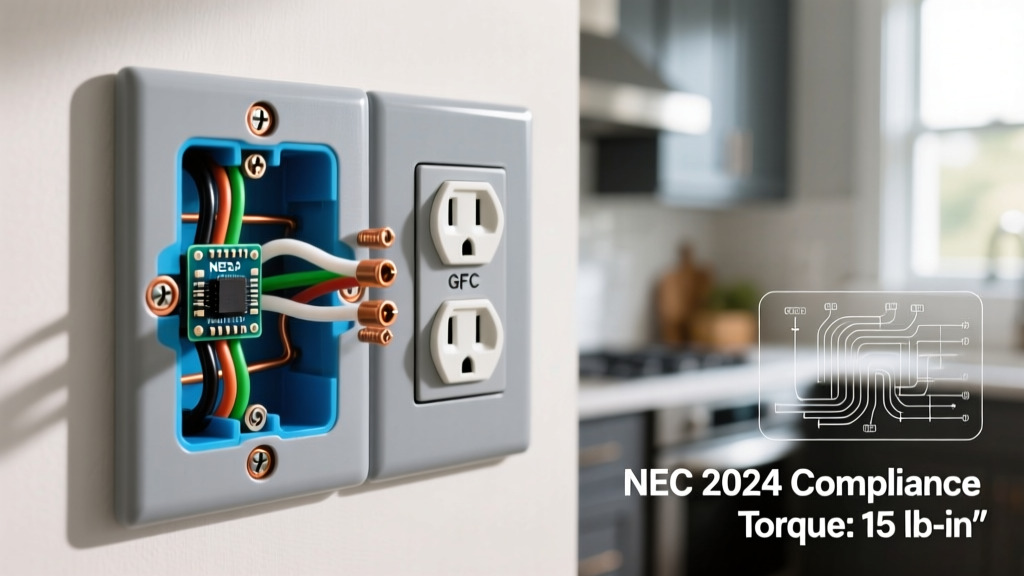
The National Fire Protection Association (NFPA 70 / NEC) Section 110.14(D) mandates that electrical connections must be tightened to the manufacturer's specified torque. Hand-tightening is no longer sufficient for code compliance or optimal safety.
Set your torque screwdriver to the specification listed on the receptacle's packaging or strap. For standard 15A and 20A Leviton and Hubbell receptacles, this is typically 12 to 14 inch-pounds (in-lbs). Tighten until the tool clicks. This prevents the screw from stripping the brass threads while ensuring the wire cannot vibrate or thermally shift loose.
Step 5: Mount, Test, and Finish
Carefully fold the wires back into the gang box. Use a 'Z-fold' technique: push the ground wire deep into the back, followed by the neutrals, and finally the hots. This prevents the ground wire from resting against the hot terminal screws.
Mount the receptacle using the provided machine screws. Ensure it sits flush against the drywall or plaster. If the box is recessed more than 1/4 inch from the wall surface, you must use plastic outlet shims (catalog number R50-027) to prevent the faceplate from cracking when tightened.
Before installing the faceplate, turn the breaker back on and insert your Gardner Bender receptacle tester. You are looking for two yellow lights (Correct Wiring). If you see a red light or a single yellow light, turn the power back off and consult the troubleshooting matrix below.
Troubleshooting Edge Cases
| Tester Reading | Condition | Probable Cause & Solution |
|---|---|---|
| 1 Yellow, 1 Red | Reverse Polarity | Hot and Neutral are swapped. Move the black wire to the brass screw and the white wire to the silver screw. |
| 2 Yellow, 0 Green | Open Ground | Ground wire is disconnected or broken. Check the green screw termination and ensure the bare wire is making solid contact. |
| 0 Lights | Open Hot / Dead | Breaker is off, or the hot wire has pulled out of the terminal. Verify breaker status and re-torque the brass screw. |
| 1 Yellow (Right), 1 Red | Hot/Neu Reverse + Open Ground | Severe wiring fault. Often found in older homes with DIY repairs. Rewire completely to match standard color codes. |
Cost Breakdown: DIY vs. Professional (2026 Estimates)
If you are changing a single standard outlet, the DIY route is highly cost-effective. A commercial-grade receptacle costs between $5.00 and $11.00, and a basic receptacle tester is around $12.00. Total material cost: Under $25.00.
However, if you are dealing with aluminum wiring (common in homes built between 1965 and 1973), ungrounded 2-prone circuits, or if your gang box is damaged, you must hire a licensed electrician. As of 2026, the national average for an electrician to replace a standard outlet, including the service call fee, ranges from $150 to $250. Never attempt to work on aluminum wiring without CO/ALR rated receptacles and specific antioxidant paste (like Noalox), as standard copper-rated terminals will cause galvanic corrosion and subsequent fires.
Final Thoughts
Knowing how to change an electrical outlet safely bridges the gap between basic home maintenance and professional electrical craftsmanship. By abandoning push-in connectors, utilizing commercial-grade hardware, and verifying torque specifications, you ensure your home's electrical infrastructure remains safe, code-compliant, and reliable for decades to come.