
The House Flipper's Outlet Triage Strategy
When evaluating a distressed property, electrical outlets are often the most abused and overlooked components in the home. For a house flipper, learning how to repair electrical outlets efficiently is not just about aesthetics; it is a critical path to passing municipal inspections, avoiding costly electrician call-outs, and maximizing your return on investment. A single failed outlet inspection can delay your closing by weeks, bleeding into your hard money loan interest.
In 2026, with material costs stabilizing but skilled labor remaining at a premium, flippers must act as their own first-line diagnosticians. This guide provides a field-tested triage strategy to identify, diagnose, and repair or replace faulty receptacles in residential flips, ensuring your property is safe, functional, and fully compliant with the latest National Electrical Code (NEC) standards.
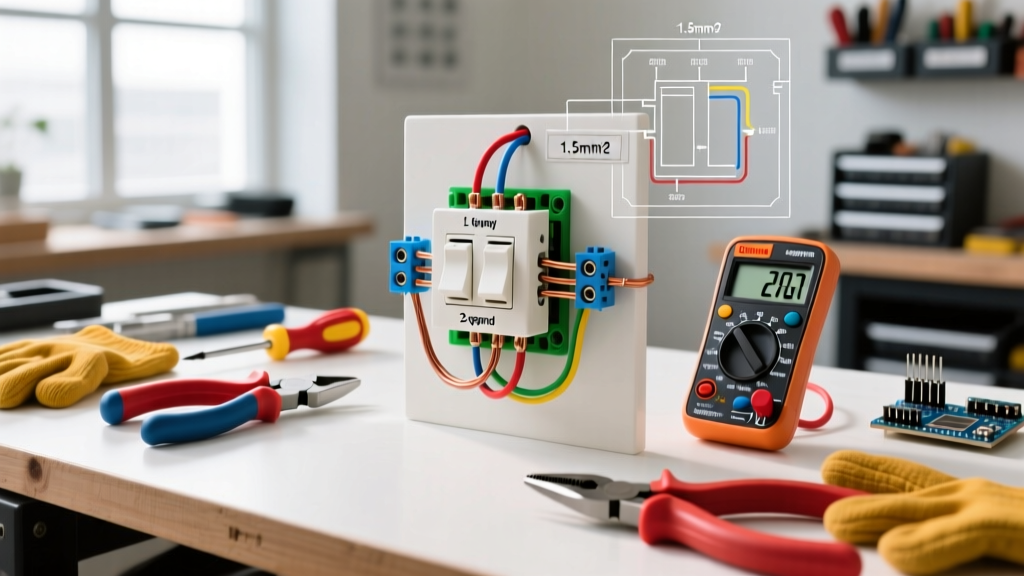
Essential Diagnostic Tools for the Job Site
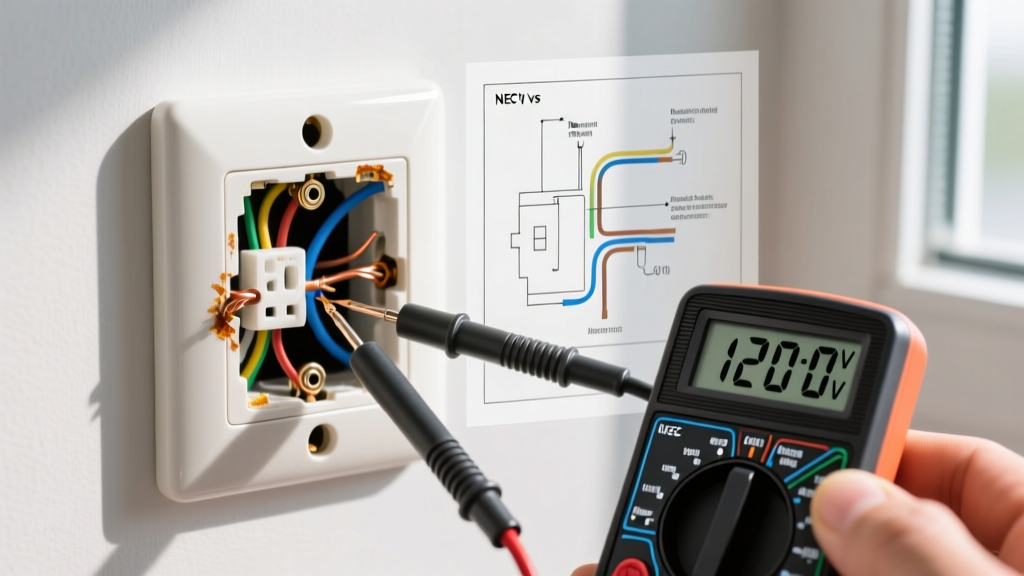
Before opening a single junction box, you need the right diagnostic arsenal. Guessing wiring faults based on visual cues alone is a recipe for failed inspections and potential fire hazards.
- Klein Tools RT250 GFCI Receptacle Tester (~$35.00): Unlike basic $10 testers, the RT250 verifies GFCI and AFCI protection, detects wiring faults, and features a clear LCD screen. It is an indispensable tool for modern flips where arc-fault protection is mandated.
- Wiha 11-Piece Insulated Screwdriver Set (~$45.00): Never use standard hardware store screwdrivers on live panels or outlets. Wiha's 1000V-rated insulated drivers protect against accidental short circuits.
- Non-Contact Voltage Tester (NCVT): The Fluke 2AC (~$30.00) is the industry standard for verifying a circuit is dead before your fingers ever touch the brass terminals.
- Utility Knife & Scoring Tool: Essential for safely removing painted-over cover plates without tearing the drywall paper face.
Top 5 Outlet Failures in Flips (And How to Fix Them)
Distressed properties are a graveyard of DIY electrical hacks. Below is a diagnostic matrix of the most common receptacle failures you will encounter, along with the exact triage protocol for each.
| Tester Reading / Symptom | Root Cause | Flipper Action Plan | Est. Fix Time |
|---|---|---|---|
| Open Ground | Missing equipment grounding conductor (common in pre-1960s homes). | Install a GFCI receptacle at the first outlet in the circuit and label downstream outlets "GFCI Protected / No Equipment Ground" per NEC 406.4(D). | 15 mins |
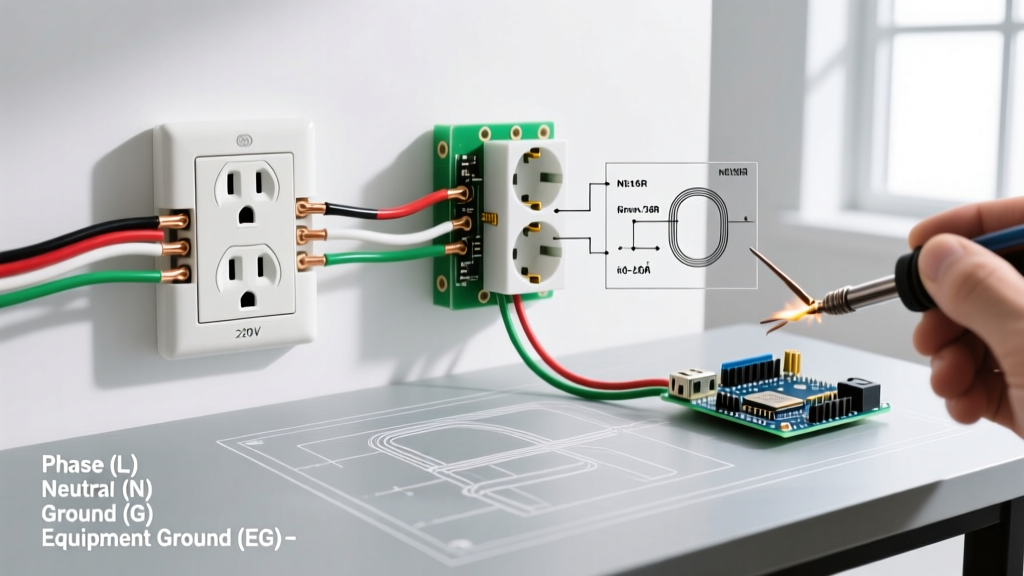
| Reverse Polarity | Hot (black) and Neutral (white) wires swapped on the terminals. | Swap the wires. Ensure black goes to the brass screw, white to the silver screw. | 5 mins |
| Hot/Neutral Reverse with Open Ground | Severe miswiring, often from a DIYer adding a 3-prong to a 2-wire system. | Complete re-termination. Verify line/load orientation and install GFCI if no ground exists. | 10 mins |
| Plug Falls Out Easily | Worn internal brass contacts; common in high-traffic areas or homes with heavy vacuum use. | Replace the receptacle. Do not attempt to bend the prongs; this creates an arc-flash hazard. | 10 mins |
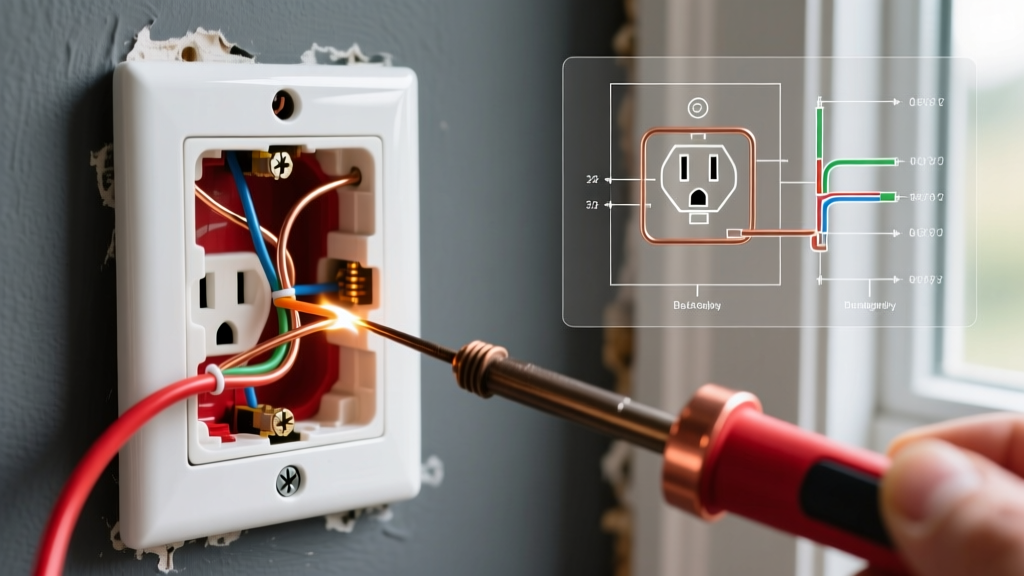
| Melted Plastic / Scorch Marks | Backstabbed push-in connections that loosened under heavy load (e.g., space heaters). | Cut back damaged wire to clean copper. Side-wire the new outlet using the shepherd-hook method. | 15 mins |
The Danger of Backstabbed Connections
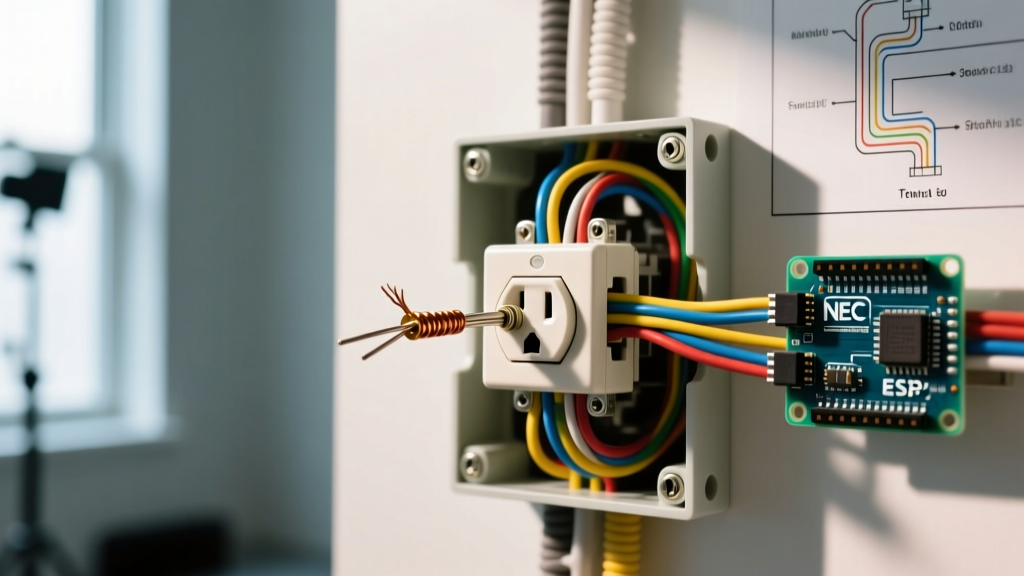
The most pervasive failure mode in homes built between 1970 and 2005 is the "backstabbed" outlet. DIYers and production builders favored pushing stripped wire into the spring-loaded holes on the back of the receptacle to save time. However, these spring clips lose tension over time. When a high-draw appliance like a window AC unit or space heater is plugged in, the loose connection creates electrical resistance, generating immense heat that melts the polycarbonate housing.
The Fix: Always use the side-wiring terminals. Strip the wire to exactly 3/4 inch, form a "shepherd's hook" with your linesman pliers, and loop it clockwise around the terminal screw. As you tighten the screw clockwise, the loop pulls tighter rather than pushing out. For 15A circuits using 14 AWG wire, tighten the terminal to roughly 12-14 inch-pounds to ensure a gas-tight connection without snapping the screw.
⚠️ CRITICAL FLIPPER WARNING: The "Bootleg Ground"A standard 3-light tester will not catch a bootleg ground. This occurs when an unscrupulous seller or amateur connects a jumper wire between the neutral (silver) terminal and the ground (green) terminal to trick an inspector into thinking a 3-prong outlet is grounded. If the neutral wire ever breaks or disconnects upstream, the chassis of any plugged-in metal appliance will become energized at 120V, creating a lethal shock hazard. Always remove the cover plate and visually inspect the ground screw on older flips to ensure no jumper wires are present.
Bulk Replacement: Maximizing ROI on Receptacles
When a property requires replacing 30+ outlets, material selection directly impacts your bottom line and installation speed. Standardizing on a single brand ensures consistent screw tension, uniform cover plate fit, and faster installation. Here is how the top three contractor-grade brands compare in 2026 bulk pricing:
- Leviton Decora 15A TR (Model R52-05320-WMP): The gold standard for flips. Features a shallow profile that makes pushing wires into crowded boxes easier. Bulk 10-pack cost: ~$14.50 ($1.45/ea).
- Eaton 15A TR (Model 1215W): Excellent value with robust auto-ground clips that grab the metal box securely. Bulk 10-pack cost: ~$11.00 ($1.10/ea).
- Pass & Seymour / Legrand 15A TR: Known for the tightest internal plug grip, virtually eliminating the "loose plug" complaint from buyers. Bulk 10-pack cost: ~$16.00 ($1.60/ea).
"Never buy the $0.60 'builder grade' outlets from the big box bargain bins. The internal brass straps are paper-thin, the plastic faces crack during installation, and they will fail your final buyer's home inspection due to loose internal contacts. Always spend the extra $0.80 per unit for contractor-grade Tamper-Resistant (TR) models."
Navigating NEC Code Upgrades During a Flip
Municipal inspectors are increasingly strict regarding the National Electrical Code (NEC) during flip renovations, particularly when the scope of work triggers an "upgrade to current code" clause. According to the National Fire Protection Association (NFPA), the NEC mandates specific protections that flippers must integrate to pass final inspections.
Tamper-Resistant (TR) Receptacles
As highlighted by the Electrical Safety Foundation International (ESFI), Tamper-Resistant receptacles are now required in almost all 15A and 20A residential areas, including living rooms, hallways, and kitchens. TR outlets feature internal spring-loaded shutters that only open when equal pressure is applied to both slots simultaneously (like a standard plug). If you install standard non-TR outlets in a flip, you will fail inspection. Ensure every box of outlets you buy has the "TR" stamp on the face.
GFCI and AFCI Retrofitting
If your flip involves updating a kitchen or bathroom, all countertop and wet-area receptacles must be GFCI protected. Furthermore, if you are replacing a breaker panel or altering the branch circuit wiring in bedrooms and living areas, AFCI (Arc-Fault Circuit Interrupter) protection is required. If running new 12/2 or 14/2 Romex to the panel is cost-prohibitive, you can install an AFCI/GFCI dual-function receptacle at the first outlet in the circuit to protect the downstream legacy wiring, provided the downstream outlets are clearly labeled.
When to Call a Licensed Electrician (Red Flags)
While a competent flipper can handle 90% of outlet repairs, certain diagnostic findings require immediate escalation to a licensed master electrician. Do not attempt to repair the following issues yourself:
- Federal Pacific (FPE) or Zinsco Panels: If your outlet troubleshooting leads you back to these legacy breaker panels, they are known fire hazards that will not pass modern insurance underwriting. The entire panel must be replaced.
- Knob and Tube Wiring: If you open an outlet box and see fabric-wrapped wires without a ground, supported by ceramic knobs, stop immediately. This requires a full or partial rewire.
- Aluminum Branch Wiring: Common in homes built between 1965 and 1973. Standard copper-rated outlets will cause galvanic corrosion and arcing when connected directly to aluminum wire. You must use CO/ALR rated receptacles or have an electrician perform Alumiconn pigtailing.
- Double-Tapped Breakers: If tracing a dead outlet leads to a panel where two wires are shoved under a single breaker lug not rated for it, this is a major fire code violation requiring professional remediation.
Mastering outlet diagnostics is one of the highest-ROI skills a house flipper can develop. By systematically testing, identifying backstabbed or bootlegged connections, and standardizing your bulk material purchases, you can transform a distressed, failing electrical system into a safe, code-compliant asset that sails through municipal inspections and impresses your final buyers.