
The Right Tools for Safe Outlet Extraction
Learning how to remove electrical outlet receptacles is a foundational DIY skill, whether you are upgrading to smart plugs, replacing a damaged unit, or troubleshooting a dead circuit. However, working with 120V or 240V mains electricity leaves zero margin for error. The difference between a quick, safe swap and a dangerous arc-flash incident often comes down to the tools you use and how you use them.
This comprehensive tool and material guide details the exact equipment required for outlet removal in 2026, comparing professional-grade and budget-friendly options, before walking you through the precise extraction procedure.
Critical Safety Warning
According to the National Fire Protection Association (NFPA), electrical failures or malfunctions are a leading cause of home fires. Never bypass the breaker panel verification step. Always assume wires are live until tested with a calibrated, dual-range non-contact voltage tester.
Essential Tool Kit for Outlet Removal
Before touching the faceplate, assemble the following tools. Using the correct tool prevents stripped screws, damaged drywall, and accidental short circuits.
1. Non-Contact Voltage Tester (NCVT)
An NCVT detects the electromagnetic field around live AC wires. For outlet removal, you need a CAT IV 1000V rated tester to ensure safety against transient surges.
- Professional Choice: Fluke 2AC-II VoltAlert (~$45). Features a continuous self-test function and a bright LED indicator that is easily visible in dark junction boxes.
- Budget Choice: Klein Tools NCVT-2 (~$25). Offers dual-range detection (12-1000V AC), which is crucial for distinguishing between low-voltage thermostat wiring and dangerous mains voltage.
2. 1000V Insulated Screwdrivers
Standard hardware store screwdrivers feature bare metal shafts that can conduct electricity if the tool slips and bridges a live terminal to the metal junction box. You must use VDE-certified, 1000V insulated screwdrivers.
- Required Sizes: #1 and #2 Phillips, 1/4-inch and 3/16-inch slotted flathead.
- Top Pick: Wiha 11920 1000V Insulated Slotted and Wiha 320P Phillips (~$12 each). These feature a direct-molded insulation layer that meets the IEC 60900 standard, ensuring the insulation will not slip or roll back under pressure.
3. Circuit Breaker Finder
If your electrical panel is unlabeled, guessing which breaker controls the outlet is a severe hazard.
- Top Pick: Sperry Instruments ET-6402 (~$40). You plug the transmitter into the outlet, and the receiver wand beeps when placed over the correct breaker in the main panel, saving time and eliminating guesswork.
4. Needle-Nose Pliers and Side Cutters
When disconnecting wires, especially those looped around terminal screws or jammed into backstab holes, precision gripping is required.
- Top Pick: Knipex 26 01 200 SB Needle-Nose Pliers (~$45). The serrated jaw tips grip smooth copper wire tightly without slipping, and the integrated shear can cleanly snip 12 AWG solid copper if a wire is damaged during extraction.
Tool Comparison Matrix: Pro vs. Budget
| Tool Category | Professional Model | Budget Model | Price Range | Key Advantage |
|---|---|---|---|---|
| Voltage Tester | Fluke 2AC-II | Gardner Bender GSP-380 | $20 - $45 | Continuous self-testing |
| Insulated Screwdriver | Wiha 1000V Series | Klein 1000V Series | $8 - $18 | IEC 60900 certification |
| Circuit Finder | Sperry ET-6402 | Amprobe AT-3260 | $35 - $50 | GFCI trip testing built-in |
| Wire Pliers | Knipex 26 01 200 | Channellock 3017CR | $25 - $45 | Serrated grip precision |
Step-by-Step: How to Remove Electrical Outlet Safely
With your tools assembled, follow this systematic procedure to extract the receptacle without damaging the wall or the existing wiring.
Step 1: Kill the Power and Verify
- Use your circuit breaker finder to identify the correct breaker, then switch it to the OFF position.
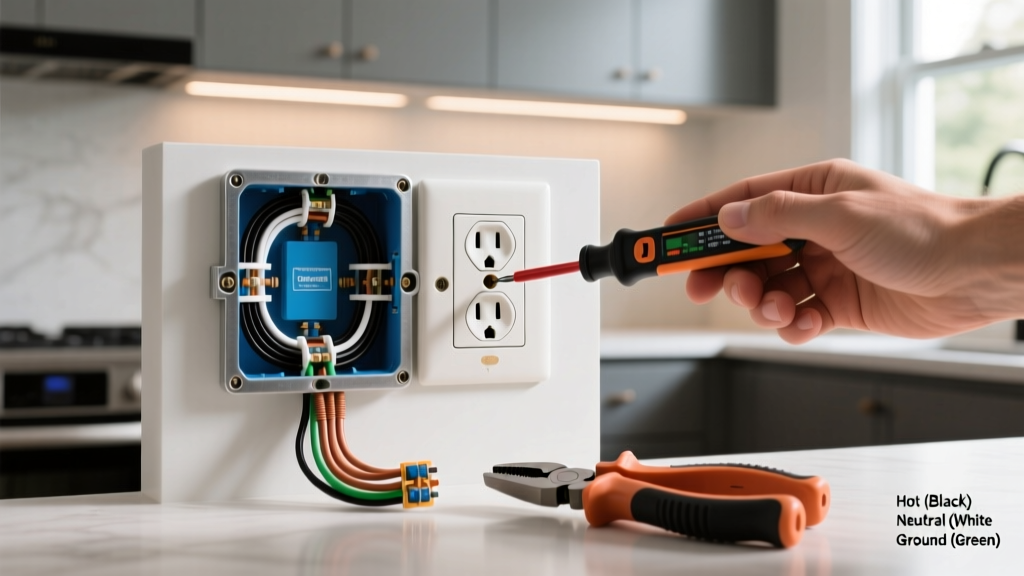
- Insert the NCVT into the top and bottom slots of the outlet. The tool should remain completely dark and silent.
- For absolute certainty, test a known live outlet in another room to verify your NCVT battery and sensor are functioning correctly.
Step 2: Score and Remove the Faceplate
Painters often paint over faceplates, sealing them to the drywall. Do not just pry the plate off, as this will tear the drywall paper face, requiring extensive patching.
- Take a utility knife or an OLFA SVR-1 scoring blade and carefully score the perimeter of the faceplate where it meets the wall.
- Use your #2 Phillips insulated screwdriver to remove the center mounting screw.
Step 3: Extract the Receptacle Yoke
Remove the top and bottom mounting screws that secure the outlet yoke (the metal strap) to the junction box. Pull the outlet straight out of the box gently. Do not yank it, as older Romex wiring insulation can become brittle and crack if bent sharply.
Step 4: Disconnect the Wiring
Identify the wiring configuration before disconnecting. According to the Consumer Product Safety Commission (CPSC), proper identification of line, load, neutral, and ground is vital for preventing shock hazards during reinstallation.
- Brass Screws (Hot/Line): Black or red wires. Loosen the terminal screws counter-clockwise and unhook the wire loop.
- Silver Screws (Neutral): White wires. Loosen and unhook.
- Green Screw (Ground): Bare copper or green wire. Loosen and unhook.
Pro-Tip on Backstabbed Connections: Many homes built between 1980 and 2015 utilized push-in (backstab) wire connections on the rear of the outlet. To release these without cutting the wire, insert a 1/8-inch slotted flathead screwdriver into the small release slot adjacent to the wire hole while gently pulling the wire outward with your needle-nose pliers. If the release mechanism is broken, you must snip the wire flush with the outlet and strip 3/4-inch of new insulation for your replacement.
Troubleshooting Stubborn Extractions
Stripped Yoke Screws
Decades of over-tightening can strip the soft brass or steel mounting screws. If your Phillips bit slips, do not continue turning, as this will cam-out and destroy the screw head entirely. Switch to a manual impact driver (like the Milwaukee 48-22-8510) struck lightly with a mallet to break the corrosion seal, or use a SpeedOut screw extractor bit to drill out the head.
Plaster Ears and Oversized Gaps
When removing an outlet to inspect the box, you may notice the drywall cutout is much larger than the outlet itself, causing the yoke to slip into the wall when tightened. Keep a pack of Caterpillar Spacers (CAT SPACER) or folded cardboard strips on hand to shim behind the yoke ears, ensuring a flush, code-compliant fit when reinstalling.
Material Disposal and Upgrades
Once the outlet is removed, inspect the copper wiring. If the ends are heavily oxidized (dark brown or black), snip them back and strip fresh wire. When discarding the old receptacle, note that standard outlets are not recyclable in standard curbside bins due to the mix of brass, steel, and thermoplastic. Take them to a local e-waste or scrap metal facility.
When installing the new outlet, the Occupational Safety and Health Administration (OSHA) and modern NEC guidelines mandate the use of Tamper-Resistant (TR) receptacles in all residential living spaces to prevent childhood electrical injuries. Ensure your replacement unit has the 'TR' stamp on the face.
Frequently Asked Questions
Can I remove an outlet and cap the wires to leave the box empty?
No. The National Electrical Code (NEC) requires that any junction box containing live spliced wires must remain accessible. You cannot cap wires and drywall over them. You must terminate the wires with proper wire nuts, push them into the box, and install a solid, screw-on blank cover plate.
What if there are two sets of black and white wires connected to the outlet?
This indicates the outlet is part of a 'daisy-chain' circuit, feeding power downstream to other outlets. You must connect both sets of black wires to the new brass terminals (using a pigtail wire if the new outlet only accepts one wire per screw) and both white wires to the silver terminals to maintain power to the rest of the room.