
Understanding the Italy Electrical Outlet Ecosystem
Installing an Italy electrical outlet requires a precise understanding of local standards, specifically the CEI 64-8 wiring code and the unique physical receptacle formats used in the region. While most of Europe standardized on the Schuko (Type F) plug, Italy historically utilized the Type L plug (CEI 23-16/V3), characterized by three pins in a straight line. Today, modern Italian homes predominantly use 'Bipasso' (dual-path) or hybrid Schuko-Italian receptacles, which accept both standard European Schuko plugs and traditional Italian Type L plugs.
As of 2026, the integration of smart home ecosystems (such as Bticino Living Now with Netatmo or Vimar IoT) has made the neutral wire mandatory in almost all Italian wall boxes, eliminating the older practice of neutral-bypass wiring. Whether you are retrofitting a historic property in Milan or wiring a new build in Rome, this step-by-step guide ensures your installation meets current safety and performance benchmarks.
Italian Receptacle Specifications & Compatibility Matrix
Before beginning installation, it is critical to match the receptacle rating to your circuit breaker and wire gauge. The IEC World Plugs database outlines the physical dimensions, but local Italian standards dictate the electrical limits.
| Outlet Type | Amperage | Pin Spacing / Diameter | Max Load (230V) | Required Wire Gauge (CEI 64-8) |
|---|---|---|---|---|
| Type L (Standard) | 10A | 19mm spacing / 4mm dia | 2,300W | 1.5 mm² |
| Type L (Industrial) | 16A | 26mm spacing / 5mm dia | 3,680W | 2.5 mm² |
| Schuko (Type F) | 16A | 19mm spacing / 4.8mm dia | 3,680W | 2.5 mm² |
| Bipasso / Hybrid | 16A (10A+16A) | Accepts 10A, 16A, Schuko | 3,680W | 2.5 mm² |
Note: For detailed physical specifications of the Type L format, refer to the World Standards Type L guide.
Italian Wiring Color Codes (CEI 64-8 Standard)
Italy follows the harmonized European IEC color codes. Misidentifying these wires is a primary cause of fatal electrical shocks and equipment failure. Always verify with a multimeter, as older pre-1990s installations may feature non-standard legacy colors (like black for phase or grey for neutral).
- Brown (Marrone): Phase / Line (Fase) - Carries the 230V alternating current.
- Blue (Blu): Neutral (Neutro) - Completes the circuit back to the panel.
- Yellow/Green (Giallo/Verde): Earth / Ground (Terra) - Safety path for fault currents.
Required Tools and Materials
To perform a professional-grade installation, gather the following specific tools and materials. Budget approximately €15 to €25 for a high-quality hybrid receptacle (e.g., Bticino Living Now or Vimar Eikon) and €10 for consumables.
- Voltage Tester: Fluke 1AC-II VoltAlert or a traditional Italian 'cacciavite cercafase' (phase tester screwdriver).
- Wire Strippers: Calibrated for 1.5 mm² and 2.5 mm² solid copper conductors.
- Multimeter: For verifying earth continuity and exact voltage (should read 225V-235V).
- Insulated Screwdrivers: VDE-certified flathead and Phillips (size 0 and 1).
- Receptacle & Faceplate: 3-module or 4-module Bipasso hybrid outlet with plaster ring (coperchio).
Step-by-Step Installation Guide
Step 1: Isolate the Circuit and Verify
Navigate to your main electrical panel (quadro elettrico). Switch off the specific 10A or 16A miniature circuit breaker (MCB) controlling the room. Do not rely solely on the main disconnect if individual branch breakers are available. Use your non-contact voltage tester on the existing outlet to confirm the circuit is dead. For maximum safety, apply a lockout/tagout (LOTO) device to the breaker panel to prevent accidental re-energization.
Step 2: Prepare the Wall Box (Scatola da Incasso)
Italian wall boxes are typically rectangular, designed to hold 3, 4, or 6 modules. Carefully remove the existing faceplate and unscrew the mechanism from the plaster ring. Inspect the box for debris, dried plaster, or paint. Clean the mounting threads with a small wire brush. If the box is damaged, you will need to install a retrofit box extender before proceeding.
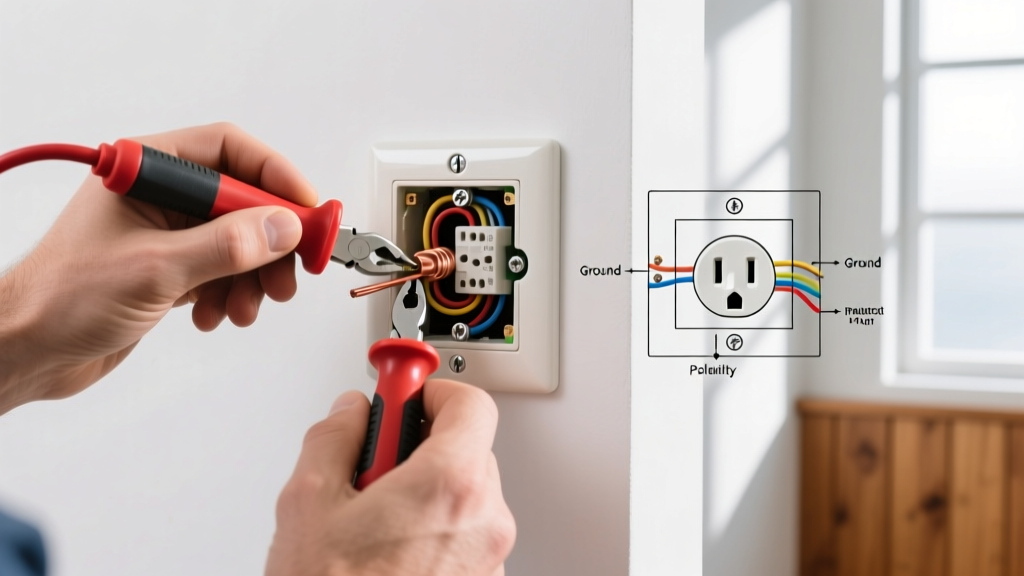
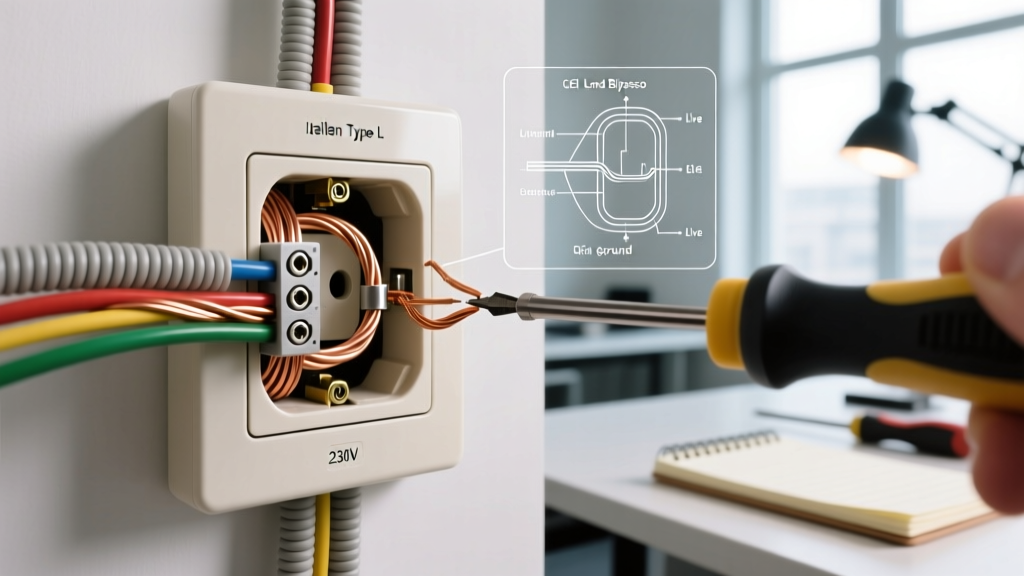
Step 3: Strip and Terminate the Conductors
Strip exactly 12mm of insulation from the 1.5 mm² or 2.5 mm² solid copper wires. Do not nick the copper, as this creates a micro-fracture that will overheat under load.
- Connect Earth (Terra): Insert the Yellow/Green wire into the central terminal of the Bipasso receptacle. The earth pin is always located in the middle of a Type L configuration to ensure it makes contact first upon insertion.
- Connect Neutral (Neutro): Insert the Blue wire into the right-hand terminal (when facing the front of the outlet).
- Connect Phase (Fase): Insert the Brown wire into the left-hand terminal.
Expert Tip: While Italian AC alternates and polarity technically reverses 50 times a second, maintaining strict Phase-Left/Neutral-Right consistency is required by CEI 64-8 for standardized troubleshooting and safety switching.
Step 4: Secure the Mechanism and Faceplate
Gently fold the wires into the back of the wall box, ensuring no bare copper is exposed and the yellow/green earth wire is not pinched against the sharp edges of the metal or plastic box. Align the receptacle mechanism with the mounting holes and secure it using the provided M4 machine screws. Ensure the mechanism sits perfectly flush. Finally, snap the decorative faceplate into the plaster ring.
Step 5: Verification and Testing
Return to the panel and re-energize the circuit. Use a multimeter set to AC Voltage to measure between Phase and Neutral (expect ~230V), Phase and Earth (~230V), and Neutral and Earth (expect < 2V). Finally, plug in a dedicated socket tester with an RCD (Residual Current Device) trip function to verify that the earth fault loop impedance is low enough to trip the main differential breaker within the required 40 milliseconds.
Common Installation Failures and Edge Cases
Even experienced DIYers encounter specific failure modes when working with Italian electrical systems. The Comitato Elettrotecnico Italiano (CEI) frequently highlights the following hazards in residential audits:
- The 1.5 mm² / 16A Breaker Mismatch: Wiring a 16A Schuko or Bipasso outlet using 1.5 mm² wire protected by a 16A breaker is a severe fire hazard. The wire will overheat before the breaker trips. You must either upgrade the wire to 2.5 mm² or downgrade the breaker to 10A (though a 10A breaker defeats the purpose of a 16A Schuko socket).
- Floating Earth in Older Builds: Homes built before 1990 often lack a continuous earth wire in lighting circuits. If you are converting a switch box to an outlet box, you must pull a new dedicated earth wire from the panel. Never bridge neutral to earth.
- Smart Outlet Neutral Starvation: When installing 2026-era smart outlets (like Vimar IoT), the device requires a constant 230V power supply. If the wall box was previously used for a switched loop without a bundled neutral, the smart outlet will fail to boot. Always verify the presence of a dedicated blue neutral wire before purchasing smart receptacles.
Frequently Asked Questions
Can I use a standard European Schuko plug in an older Italian Type L 10A outlet?
No. A standard Schuko plug (Type F) has 4.8mm pins and a grounding clip on the side. It will not physically fit into a pure 10A Type L outlet, which has 4mm pin holes and a central earth pin. You must use an adapter or, preferably, upgrade the wall receptacle to a modern Bipasso hybrid.
What is the standard height for electrical outlets in Italy?
According to CEI 64-8 guidelines, standard wall outlets should be installed at a minimum height of 17.5 cm (approx. 7 inches) from the finished floor. Outlets installed in bathrooms or near water sources have stricter zoning rules and must be placed at least 60 cm away from the edge of a shower or bathtub.
Do I need a permit to replace an Italy electrical outlet?
Replacing a like-for-like receptacle in an existing, code-compliant box does not require a permit or a certified electrician. However, if you are running new circuits, upgrading the main panel, or altering the wiring topology, Italian law (DM 37/08) requires the work to be performed and certified by a licensed professional.