
Introduction: Extending Your Circuit Safely
Whether you are finishing a basement, adding a kitchen backsplash, or simply need power on the other side of a living room wall, knowing how to extend an electrical outlet is a fundamental DIY skill. In electrical terms, 'extending' an outlet typically means adding a new receptacle downstream from an existing one—a method commonly known as daisy-chaining. While the concept is straightforward, executing it safely requires strict adherence to the National Electrical Code (NEC) regarding box fill, wire gauge, and circuit load limits.
⚠️ SAFETY WARNING: Working with electricity carries inherent risks of shock and fire. Always turn off the circuit breaker and verify the power is dead using a non-contact voltage tester before opening any electrical box. If your home's wiring is aluminum, knob-and-tube, or lacks a ground wire, stop and consult a licensed electrician.
Understanding Circuit Limits: 15-Amp vs. 20-Amp
Before you cut any drywall, you must identify the amperage of the circuit you are extending. Overloading a branch circuit is a leading cause of residential electrical fires. According to the National Fire Protection Association (NFPA), general lighting and receptacle circuits are typically limited to 15 or 20 amps.
As of 2026, modern homes heavily favor 20-amp circuits for kitchens, bathrooms, and garages, while 15-amp circuits remain standard for bedrooms and living areas. You must match your extension wire and receptacle to the existing circuit's breaker size.
| Circuit Breaker | Required Wire Gauge | NM-B Cable Type | Receptacle Rating | Max Continuous Load (80%) |
|---|---|---|---|---|
| 15 Amp | 14 AWG | 14/2 NM-B | 15A (Standard) | 1,440 Watts |
| 20 Amp | 12 AWG | 12/2 NM-B | 20A or 15A (T-Slot) | 1,920 Watts |
The Hidden Trap: NEC Box Fill Calculations
The most common mistake DIYers make when extending an outlet is ignoring NEC Article 314.16 (Box Fill Calculations). Every electrical box has a maximum cubic-inch capacity based on the number of wires, devices, and clamps inside it. When you add a new cable to extend the circuit, you are adding volume to the existing box.
Box Fill Math Example (14 AWG Wire)
For 14 AWG wire, each current-carrying conductor (hot and neutral) counts as 2.0 cubic inches. All ground wires combined count as a single conductor volume. The receptacle device counts as two conductor volumes.
- Existing Setup: 1 incoming cable (2 wires) + 1 device + 1 ground + 1 internal clamp = 5 volumes. (5 x 2.0 = 10 cu. in.)
- After Extension: Add 1 outgoing cable (2 wires). The ground and clamp volumes do not increase. Total = 7 volumes.
- New Requirement: 7 x 2.0 = 14.0 cubic inches minimum.
If your existing box is a standard 12 cu. in. shallow box, it is now legally overfilled. You must either upgrade the existing box to a deeper 18 cu. in. model or use a surface-mounted junction box to transition the new cable.
Tools & Materials Required
To achieve a professional, code-compliant installation, gather the following specific tools and materials. Prices reflect average 2026 retail costs.
- Voltage Tester: Klein Tools NCVT-2 Non-Contact Voltage Tester (~$28)
- Wire Strippers: Klein 11063W Katapult Wire Stripper (~$32)
- Cable: Southwire 14/2 or 12/2 NM-B Romex (~$0.45 - $0.65 per foot)
- New Box: Carlon B114R 14 cu. in. Non-Metallic Old-Work Box (~$1.75)
- Receptacle: Leviton T5262-W 15A Tamper-Resistant Duplex (~$2.50)
- Connectors: Wago 221-413 Lever Nuts (Pack of 50 for ~$18) — highly recommended over traditional twist-on wire nuts for secure, vibration-proof pigtailing.
Step-by-Step: How to Extend an Electrical Outlet
Step 1: Kill the Power and Verify
Locate your main electrical panel and switch off the breaker controlling the outlet. Plug a lamp into the target outlet to confirm it is dead. Next, remove the faceplate and place your Klein NCVT-2 directly against the black (hot) wire terminal. The tester must remain completely dark and silent. The U.S. Consumer Product Safety Commission (CPSC) strongly recommends double-verifying dead circuits before any physical contact.
Step 2: Cut the Drywall and Mount the New Box
Hold the Carlon old-work box against the wall where you want the new outlet. Trace the outline with a pencil. Use a drywall saw to cut along the lines. Feed your routed NM-B cable through the knockout hole in the back of the new box, pull it through the wall opening, and tighten the two mounting screws. The box's plastic flanges will clamp securely against the back of the drywall.
Step 3: Route and Strip the NM-B Cable
Run the new NM-B cable from the existing box to the new box. Leave at least 8 inches of extra cable protruding from both boxes. Use your cable ripper to strip back the outer yellow or white PVC jacket, exposing about 3/4 inch of the individual insulated wires. Strip exactly 3/4 inch of insulation from the ends of the black, white, and bare copper wires.
Step 4: Pigtailing at the Existing Box
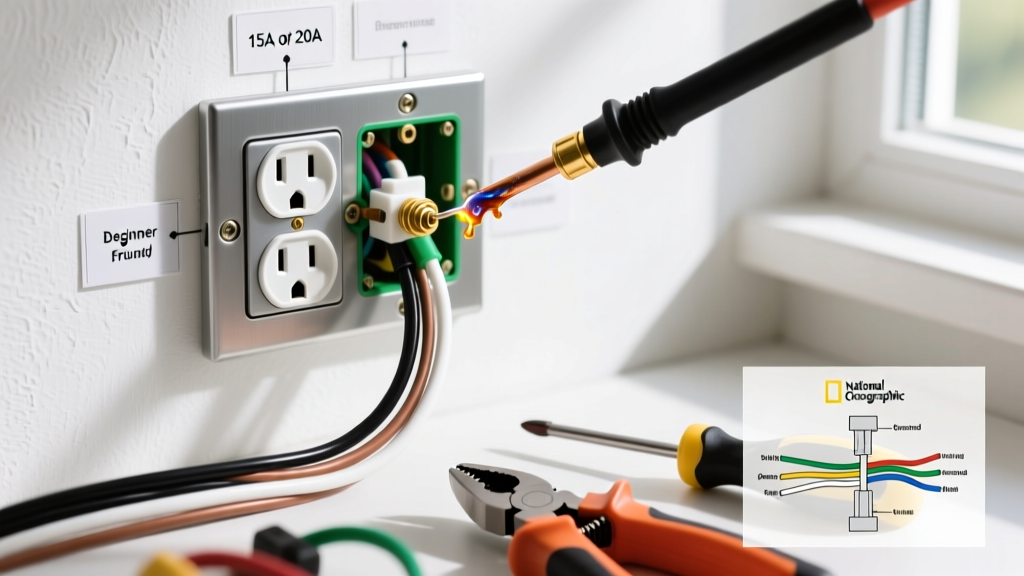
Never use the push-in 'backstab' terminals on the back of the receptacle; they are notorious for causing high-resistance connections and fires over time. Furthermore, passing both the incoming and outgoing wires directly under the receptacle's side terminal screws is a bad practice. Instead, use the pigtailing method.
- Disconnect the existing black, white, and ground wires from the old receptacle.
- Cut three 6-inch 'pigtail' wires (one black, one white, one bare) from your scrap NM-B cable.
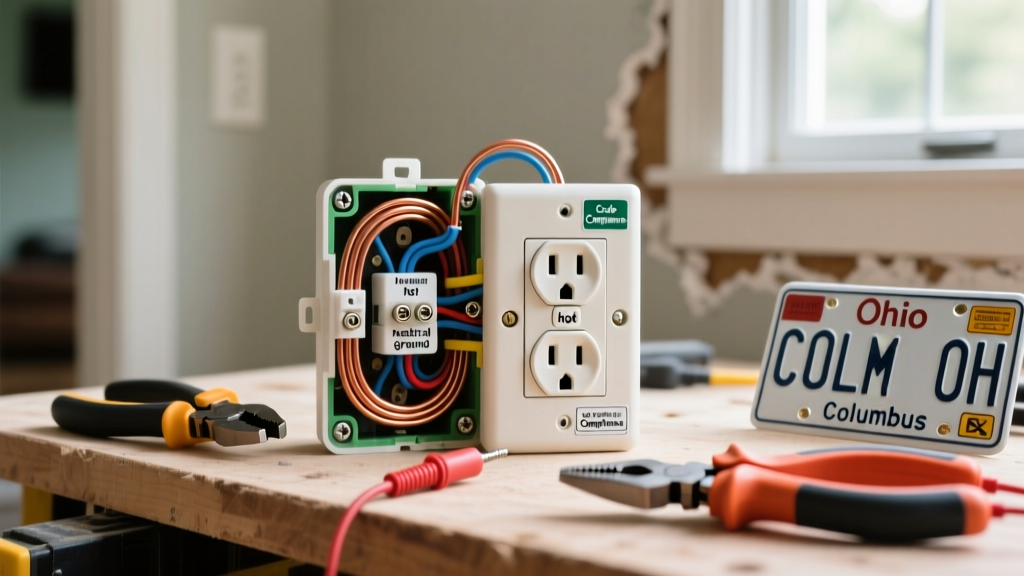
- Group the incoming black wire, the outgoing black wire, and the black pigtail together. Secure them using a Wago 221-413 lever nut.
- Repeat the process for the white (neutral) wires and the bare copper (ground) wires.
- Connect the free ends of your pigtails to the brass (hot), silver (neutral), and green (ground) screws on the existing receptacle. Torque the terminal screws firmly—approximately 14 in-lbs for standard 15A devices.
Step 5: Wire the New Outlet
At the new box, connect the black wire to the brass screw, the white wire to the silver screw, and the bare copper wire to the green grounding screw. Ensure no bare copper is exposed outside the terminal, and that no insulation is pinched under the screw head. Wrap a single layer of high-quality electrical tape (e.g., 3M Super 33+) around the sides of the receptacle to cover the terminal screws before pushing it into the box. This prevents accidental shorting against the metal box or drywall foil.
Step 6: Final Testing
Restore power at the breaker panel. Plug a receptacle tester (like the Sperry ET6402) into the new outlet. The tester's lights should indicate 'Correct' (typically two amber lights). Test the GFCI/AFCI breaker at the panel to ensure the extended circuit trips properly.
Special Considerations: Kitchens, Bathrooms, and Outdoors
If you are extending an outlet in a kitchen, bathroom, garage, or outdoor area, standard receptacles are illegal. NEC Article 210.8 mandates Ground Fault Circuit Interrupter (GFCI) protection in wet or damp locations. Furthermore, the latest NEC cycles require Arc Fault Circuit Interrupter (AFCI) protection for almost all living spaces. If your existing breaker does not have AFCI protection, extending the circuit may require you to upgrade the breaker at the panel or install an AFCI/GFCI dual-function receptacle at the first point in the daisy-chain.
Frequently Asked Questions
Can I extend an outlet using 14/2 wire on a 20-amp breaker?
No. This is a severe code violation and a major fire hazard. If the breaker is 20 amps, you must use 12 AWG wire for the entire circuit, including any extensions. Using 14 AWG wire on a 20A circuit means the wire could melt and catch fire before the breaker ever trips.
How many outlets can I daisy-chain on a single 15-amp circuit?
The NEC does not specify a hard limit on the number of receptacles on a general lighting branch circuit. However, a standard rule of thumb used by electricians is to limit it to 8 to 10 receptacles to prevent nuisance tripping and excessive voltage drop. You must also calculate the anticipated load; a circuit powering a space heater and a microwave will trip immediately, regardless of how many outlets are on it.
Do I need a permit to extend an electrical outlet?
In most municipalities, adding a single receptacle to an existing circuit does not require a permit, as it is considered minor maintenance. However, if you are running a completely new circuit from the panel, finishing a basement, or altering wiring in a kitchen, a permit and inspection are usually required. Always check with your local Authority Having Jurisdiction (AHJ).