
Why Relocate an Electrical Outlet?
Whether you are mounting a flat-screen TV, installing a kitchen backsplash, or rearranging living room furniture, an existing receptacle is often exactly where you don't want it. Learning how to relocate an electrical outlet is a high-value DIY skill that saves you from relying on ugly extension cords or paying premium electrician rates. As of 2026, with the widespread adoption of the 2023 National Electrical Code (NEC), relocating a receptacle requires strict adherence to box fill calculations, tamper-resistant mandates, and proper cable securing.
Before you cut into your drywall, review the cost and time expectations for this project.
| Project Scope | Estimated Cost (2026) | Time Required | Skill Level |
|---|---|---|---|
| DIY Relocation (Standard Drywall) | $45 - $85 | 3 - 5 Hours | Intermediate |
| DIY Relocation (Metal Studs/Fireblocks) | $90 - $150 | 5 - 8 Hours | Advanced |
| Licensed Electrician (Standard) | $250 - $450 | 1 - 2 Hours | N/A |
Pre-Installation Planning & NEC Code Compliance
Relocating an outlet isn't just about moving the box; it's about extending the circuit legally. According to the National Fire Protection Association (NFPA), any new or modified wiring must meet current NEC standards.
Circuit Sizing and Wire Gauge
First, identify the breaker size feeding the existing outlet.
- 15-Amp Circuit: Requires 14 AWG copper wire (14/2 NM-B). Standard for most bedroom and living room lighting/receptacle circuits.
- 20-Amp Circuit: Requires 12 AWG copper wire (12/2 NM-B). Mandatory for kitchen, dining, and bathroom small-appliance branch circuits.
Critical Rule: You can never use 14 AWG wire on a 20-Amp breaker, even if the original outlet was wired incorrectly. Always match the wire gauge to the breaker's overcurrent protection rating.
Box Fill Calculations (NEC Article 314.16)
When you add a junction box behind the drywall to splice the old wire to the new wire, you must calculate 'box fill'. Every conductor, clamp, and device yoke counts as a specific volume. For 12 AWG wire, each conductor counts as 2.25 cubic inches. A standard 4x4x1.5 inch metal junction box (21 cubic inches) is usually sufficient for a simple splice, but always verify your math to prevent overcrowding and heat buildup.
Tools and Materials Checklist
Skip the cheap tools. Electrical work demands precision and safety. Here is the exact loadout you need for a clean relocation:
- Voltage Tester: Klein Tools NCVT-1 Non-Contact Voltage Tester and a Klein MM400 Digital Multimeter for dead-circuit verification.
- Drywall Cutting: Milwaukee M12 Rotary Tool with a 1/8 inch drywall bit, or a manual jab saw (Stanley 20-045).
- Wire Fishing: Klein Tools 50 ft. Steel Fish Tape and a Greenlee 7/16 inch x 54 inch flexible ship auger bit (for drilling through fireblocks).
- Boxes & Devices: Arlington BE1 Old Work Outlet Box (single gang) and a 4x4 metal junction box for the hidden splice.
- Receptacle: Leviton T5262 Tamper-Resistant Duplex Receptacle (NEC 406.12 mandates tamper-resistant in almost all residential areas).
- Torque Tool: Klein Tools 32500TORQ insulated torque screwdriver.
Step-by-Step Installation Guide
Step 1: Power Verification and Lockout
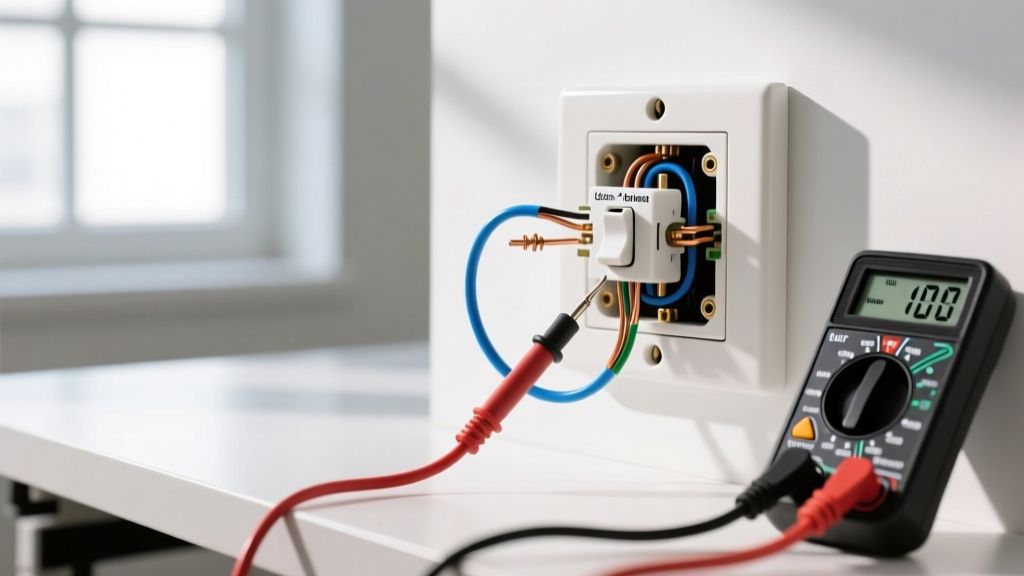
Shut off the breaker controlling the outlet. Following principles adapted from OSHA's Lockout/Tagout guidelines, place a piece of tape over the breaker so no one accidentally turns it back on. Test the existing outlet with your NCVT-1. Then, remove the faceplate and test the terminal screws with your multimeter to confirm 0.0V between the hot (black) and neutral (white), and hot to ground (bare copper).
Step 2: Demolition and Old Box Extraction
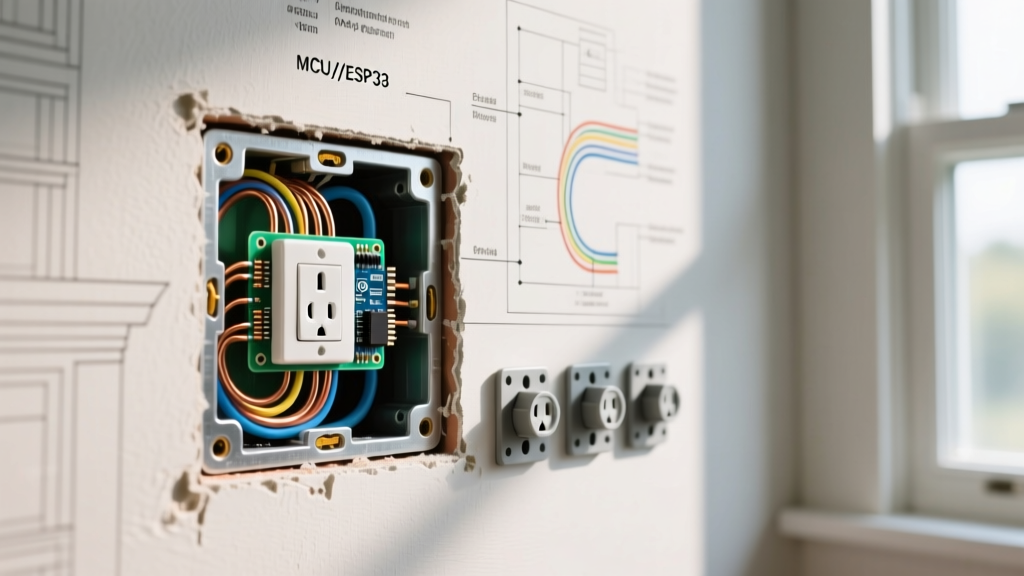
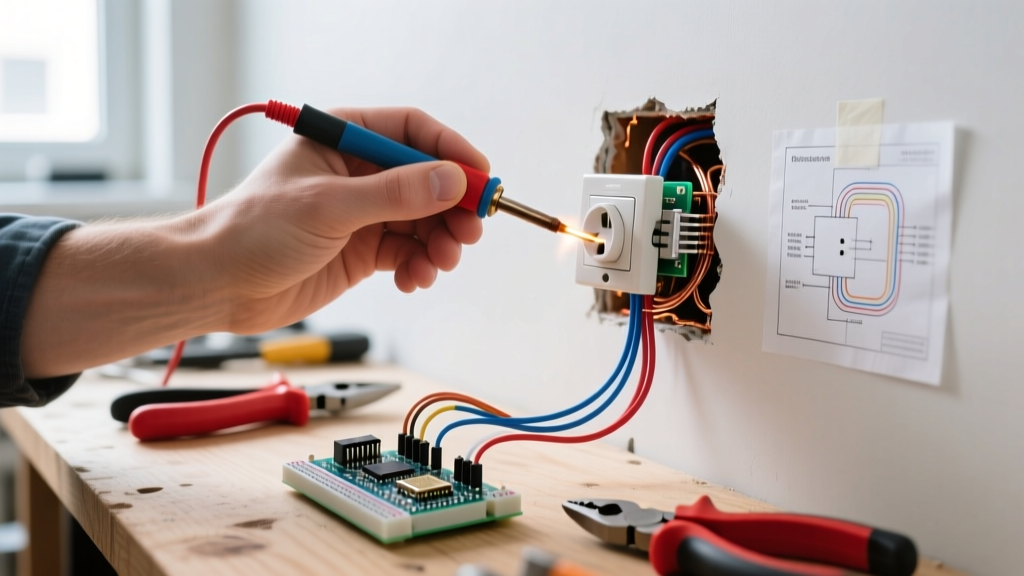
Unscrew the existing receptacle and pull it out. Disconnect the wires. If the existing box is nailed to a stud, use a reciprocating saw with a short metal-cutting blade to cut the nails, or use a jab saw to cut the drywall around the box to free it. You will leave the existing cable in the wall; it will serve as the feed for your new hidden junction box.
Step 3: Routing the New Cable
Measure the distance from the old box location to the new desired location. Cut a length of 12/2 or 14/2 NM-B Romex cable, adding 18 inches of slack on both ends.
- Cut the drywall opening for the new outlet using your rotary tool or drywall saw. Use the Arlington BE1 template to ensure a perfect fit.
- Feed the fish tape down from the new opening toward the old opening (or vice versa, depending on wall cavity obstructions).
- If you encounter horizontal fireblocks between studs, you will need to drill through them. Use your flexible ship auger bit attached to a right-angle drill to bore a 3/4 inch hole through the center of the fireblock.
- Hook the new NM-B cable to the fish tape, wrap it tightly with electrical tape to prevent snagging, and pull it back through the wall cavity.
Step 4: Installing the Hidden Junction Box
Because you are extending a cable, the splice must remain accessible. You cannot just bury wire nuts in the drywall. Install a 4x4 metal junction box in the wall cavity near the old location. If you have attic or basement access directly above/below, mount the junction box on the side of a stud where it can be accessed from the unfinished space. If the wall is entirely enclosed, you must install an access panel over the junction box, or reroute the entire cable back to the panel (which is often more cost-effective than installing an ugly access panel in a living room).
Expert Warning: Burying splices behind drywall without an accessible junction box is a severe NEC violation (Article 300.15) and a leading cause of residential electrical fires. Always ensure splices are reachable.
Step 5: Mounting the New Old-Work Box
Push the new NM-B cable through the knockout of the Arlington BE1 old-work box. Leave at least 1/4 inch of cable sheath extending into the box. Insert the box into the drywall hole and tighten the mounting screws. The box's internal flaps will flip and clamp securely against the back of the 1/2 inch or 5/8 inch drywall.
Step 6: Terminating the Receptacle
Strip 3/4 inch of insulation from the black and white wires using Klein 11055 wire strippers. Form a shepherd's hook with the exposed copper.
- Hot (Black): Connect to the brass terminal screw.
- Neutral (White): Connect to the silver terminal screw.
- Ground (Bare/Green): Connect to the green grounding screw.
Torque Specification: Use your torque screwdriver set to 14 in-lbs (the standard specification for Leviton residential receptacles). Proper torque prevents loose connections that cause arcing and thermal expansion failures over time.
Push the wires neatly into the box, folding them in an accordion pattern. Mount the Leviton T5262 receptacle, attach the faceplate, and restore power at the breaker.
Edge Cases and Troubleshooting
Dealing with Metal Studs
If your home uses metal studs (common in modern condos and commercial builds), you must protect the NM-B cable from the sharp edges of the stud punch-outs. Per NEC 300.4(B)(1), you must install listed plastic grommets or bushings in every metal stud hole the cable passes through. Failure to do so can result in the cable sheath being sliced, leading to a short circuit or ground fault.
Hitting HVAC Ducts or Plumbing
Interior walls often conceal HVAC returns or plumbing vents. If your fish tape won't pass, use a stud finder with AC/Metal detection (like the Bosch GMS120) to map the cavity. You may need to route the cable up into the ceiling joist bays, across, and back down the adjacent wall cavity to bypass the obstruction.
Patching the Old Outlet Hole
To finish the job, patch the original outlet hole. Don't use standard pre-mixed joint compound for the base layer; it shrinks and cracks. Instead, use a setting-type compound like USG Easy Sand 45. Cut a piece of scrap drywall to fit the hole, secure it to a wooden backing block screwed into the existing drywall, and tape the seams with fiberglass mesh tape. Apply three coats of the setting compound, sanding lightly between coats, before priming and painting.
Final Safety Verification
Once the outlet is installed and powered, test it with a GFCI/Receptacle tester (like the Klein RT210). Even if the circuit isn't GFCI protected, this tool will verify correct wiring (hot/neutral polarity and proper grounding). For comprehensive home electrical safety tips and updates on tamper-resistant technology, refer to the Electrical Safety Foundation International (ESFI).
Relocating an outlet requires patience, especially when fishing wires through enclosed wall cavities. By adhering to NEC box fill rules, utilizing proper torque specs, and ensuring all splices remain accessible, you will achieve a clean, code-compliant installation that functions flawlessly for decades.