
Bridging the Gap: From Blueprint Symbols to Physical Installation
Before you can install an outlet, you must know exactly which outlet to install. Architectural blueprints and electrical schematics use specific variations of the electrical symbol outlet to dictate the exact device type, amperage, and National Electrical Code (NEC) requirements for each room. For a beginner, staring at a sheet of blueprints filled with circles, semicircles, and cryptic letters can feel like reading an alien language.
This guide bridges the gap between deciphering the electrical symbol outlet on your plans and executing a flawless, code-compliant physical installation. We will decode the most common blueprint symbols, translate them into specific hardware you can buy today, and walk through a professional-grade installation tutorial that prioritizes safety and longevity.
Decoding the Blueprint: What Your Electrical Symbol Outlet Means
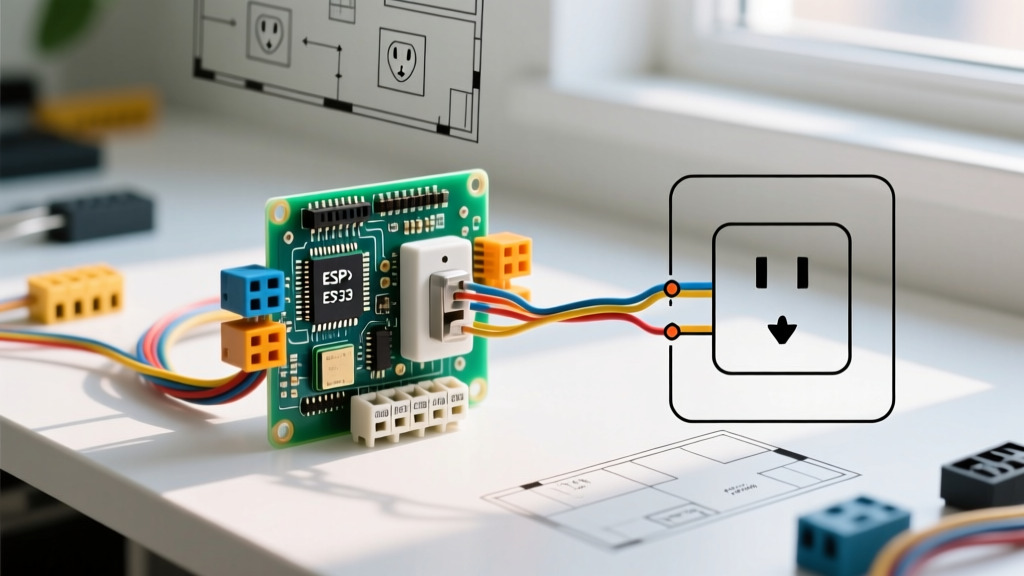
The standard electrical symbol outlet is typically represented by a semicircle with two parallel lines extending from it, or a circle bisected by two parallel lines. However, modifiers and adjacent letters change the meaning entirely. According to standard architectural drafting conventions and guidelines referenced by the National Fire Protection Association (NFPA), here is how to read the variations you will encounter on your plans.
| Blueprint Symbol / Modifier | Meaning & Application | NEC Location Requirement (2023/2026 Cycle) |
|---|---|---|
| Standard Semicircle | Standard 15A or 20A duplex receptacle. No special protection required at the device level. | General living areas, bedrooms, hallways (must be AFCI protected at the breaker). |
| Semicircle + "G" or "GFCI" | Ground Fault Circuit Interrupter. Protects against electrical shock via ground faults. | Bathrooms, kitchens, garages, unfinished basements, outdoors, within 6 ft of sinks. |
| Semicircle + "A" or "AFCI" | Arc Fault Circuit Interrupter. Protects against electrical fires caused by arcing. | Often handled at the breaker, but device-level AFCI receptacles are used for retrofitting. |
| Semicircle + "WP" or Bubble | Weatherproof / Watertight. Requires an "in-use" bubble cover. | Exterior walls, patios, decks, and damp locations. |
| Semicircle + Diagonal Line | Split-wired (Half-Hot). One half is always on; the other is controlled by a wall switch. | Living rooms or bedrooms where floor lamps are switched via a wall toggle. |
Translating Symbols to Physical Gear
Once you have identified the electrical symbol outlet on your blueprint, you must purchase the correct physical receptacle. Do not guess the amperage; match the wire gauge in your wall to the device rating. As noted by the Occupational Safety and Health Administration (OSHA), mismatching wire gauges and device ratings is a primary cause of residential electrical fires.
- Standard 15A (14 AWG Wire): Leviton 5320-WMP Duplex Receptacle. Cost: ~$1.25 per unit. Ideal for standard bedroom and living room circuits.
- Standard 20A (12 AWG Wire): Leviton 5362-WMP Duplex Receptacle. Cost: ~$2.10 per unit. Required for kitchen countertops and dining areas where high-draw appliances are used.
- GFCI 15A: Leviton GFNT1-W SmartLockPro. Cost: ~$18.50. Features an auto-monitoring function that tests itself every 3 seconds.
- Weatherproof Cover: TayMac MX1000 Extra-Duty In-Use Cover. Cost: ~$12.00. Mandatory for any outdoor electrical symbol outlet installation.
Step-by-Step Beginner Installation Tutorial
Reading the symbol is only half the battle. The physical installation requires precision. Amateur electricians often rely on "backstabbing" (pushing wires into the back of the device), which relies on a weak brass spring clip that can overheat and fail under continuous 15A loads. We will use the professional side-wiring method.
Step 1: Kill Power and Verify
Turn off the corresponding breaker at the main panel. Use a non-contact voltage tester like the Klein Tools NCVT-3 (~$25.00) to test the top and bottom slots of the existing outlet. Never assume the breaker label is correct.
Step 2: Strip and Prepare the Wires
Remove the outlet from the gang box. Using a wire stripper with a built-in gauge (such as the Klein 11063W), strip exactly 5/8 of an inch of insulation from the black (hot), white (neutral), and bare copper (ground) wires. Most modern receptacles have a physical 5/8" strip gauge molded into the back of the plastic strap—use it to ensure no bare copper is exposed outside the terminal.
Step 3: Form the J-Hook
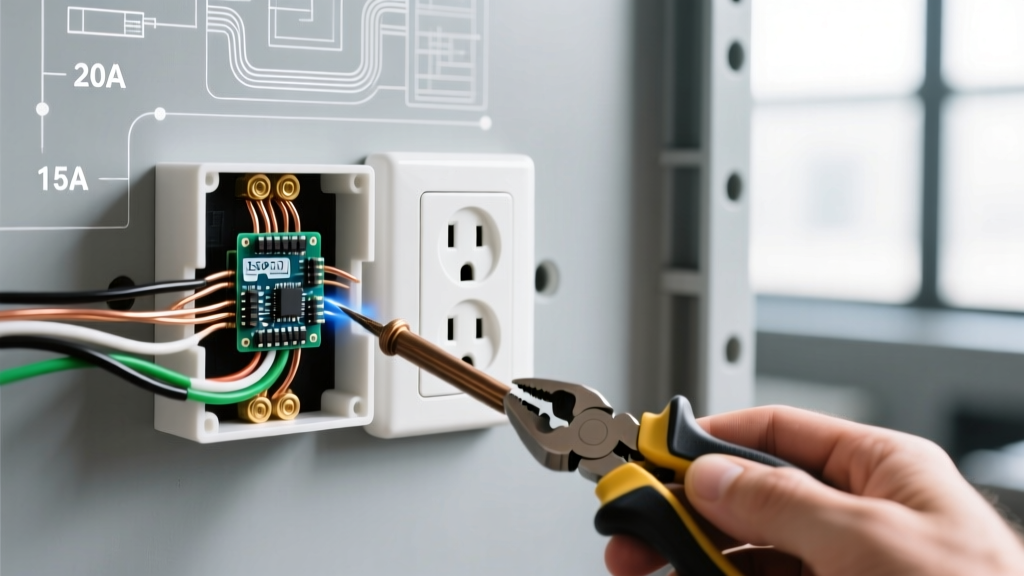
Using needle-nose pliers, bend the stripped end of each wire into a tight "J" shape or shepherd's hook. Critical Rule: The hook must curve clockwise. When you tighten the terminal screw (which turns clockwise), the hook will close tightly around the screw shaft. A counter-clockwise hook will be pushed out as the screw tightens, creating a dangerous loose connection.
Step 4: Terminate and Torque
Loop the black wire onto the brass (hot) terminal, the white wire onto the silver (neutral) terminal, and the bare copper onto the green (ground) terminal.
Pro-Tip for 2026 Code Compliance: The NEC strictly enforces manufacturer torque specifications. For a standard Leviton 15A/20A receptacle, the required torque for 14-12 AWG copper wire is typically 14 in-lbs. Use a calibrated torque screwdriver (like the Klein 32308) to prevent over-tightening (which strips the screw) or under-tightening (which causes arc faults).
Step 5: Secure and Test
Carefully fold the wires into the back of the gang box using a "Z" fold pattern to avoid pinching the hot wire against the metal box. Secure the receptacle with the provided mounting screws. Restore power and test with a receptacle tester (e.g., Sperry Instruments GFI-6302). Two amber lights indicate a correct installation.
Common Edge Cases and Troubleshooting
Even if your electrical symbol outlet indicated a standard installation, existing wiring can present hidden challenges.
The Multi-Wire Branch Circuit (MWBC) Trap
If you open a gang box and find two black wires and two white wires connected to a single standard duplex outlet, you may be dealing with an MWBC. This setup shares a single neutral wire between two hot legs. Warning: If you are replacing this outlet and decide to split it (breaking the brass fin tab), you must install a handle-tie on the two corresponding breakers in the panel. Failing to do so can overload the shared neutral wire, causing a fire inside your walls.
Reversed Polarity
If your receptacle tester shows one amber and one red light, you have reversed polarity. This means the hot and neutral wires are swapped. While a lamp will still turn on, the internal fuse of an appliance will not protect the device during a surge. Simply swap the black wire to the brass screw and the white wire to the silver screw to resolve this.
Open Ground in Older Homes
If your blueprint shows a standard electrical symbol outlet, but your home was built before 1965, you may only find two wires (black and white) in the box, with no bare copper ground. According to the Electrical Safety Foundation International (ESFI), you cannot install a standard 3-prong receptacle here. You must either run a new ground wire to the panel, or install a GFCI receptacle and label it "GFCI Protected - No Equipment Ground," which is a legal NEC exception that provides shock protection without a physical ground wire.
Final Thoughts
Understanding the electrical symbol outlet on your blueprints ensures you buy the right materials and meet local code requirements. By combining this knowledge with professional installation techniques—like proper wire stripping, clockwise J-hooks, and precise torque settings—you guarantee a safe, reliable circuit that will last for decades. Always prioritize safety, verify your power is off, and consult a licensed electrician if you encounter wiring that deviates from standard color codes.